Section IV, Continued
Section IV, page 3
TASCAM TM-D1000 Tutorial
1/99
When you are ready to change the configuration of the mixer from the default settings, it is important to
know that the busses (1-2, 3-4) share the routing with the auxiliaries. So, you can have 4 busses and no
auxiliaries, 2 busses and 2 auxiliaries, or no busses and 4 auxiliaries. For more information on this, read
Section V - Buss+Aux=4.
Note: The following walk-through assumes you have not changed the mixer from the factory default
configuration. For more information on effect configuration with the effects card, see Section VI - Effect
Set-ups.
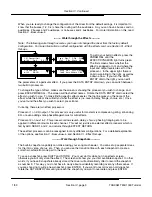
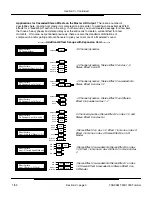
2-01 Concert Hall
In:100
Dir: 0
Eff:100
Type Rev-T
Hall
52ms
98
P-Dly
Diff
2.8s
1-18 0dB Limit
In:100
Eff:Off
Thshd Att-T
-16dB
900ms 1/64
Rls-T Ratio
3ms
--------- Walk through the Effects ----------
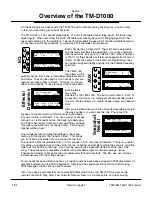
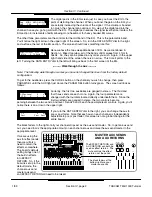
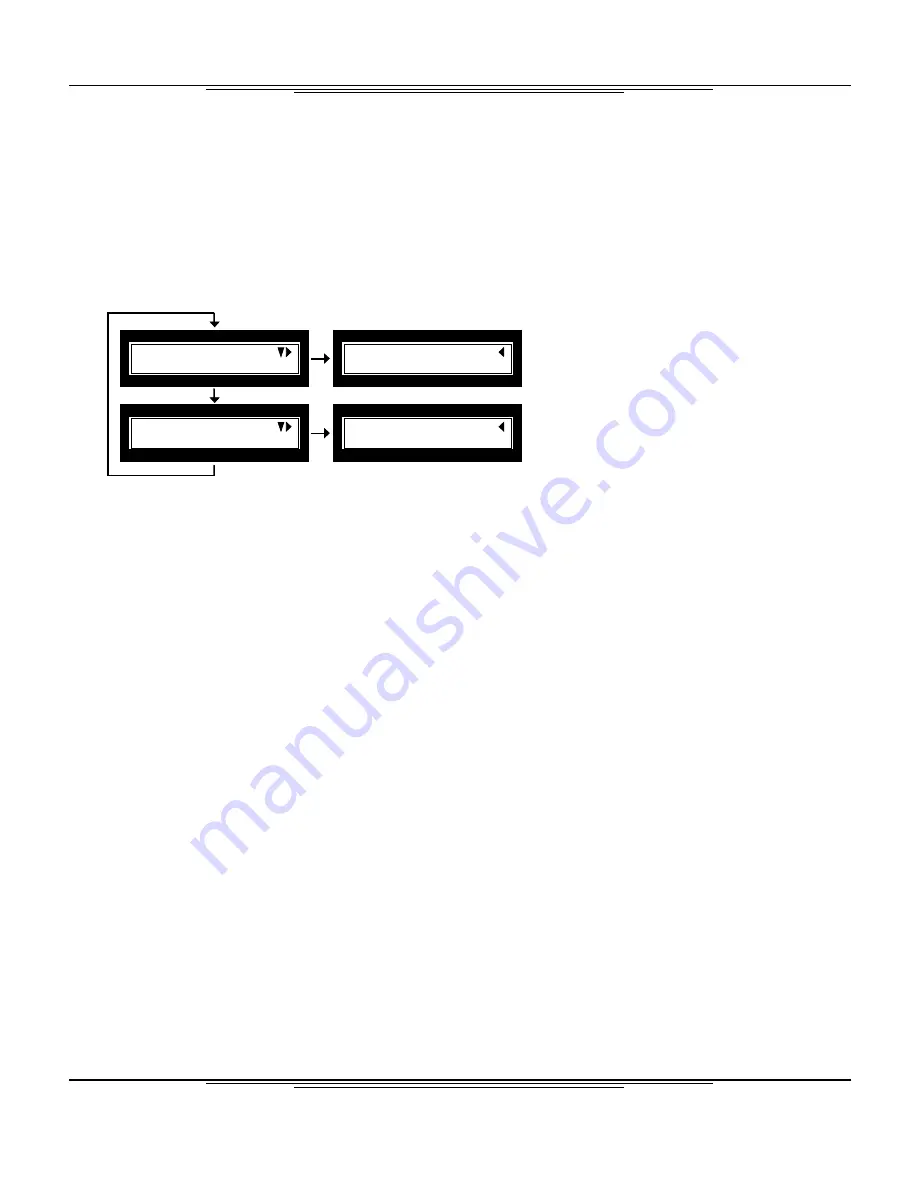
To get to your built-in effects, press the
PARAM SEL until the
EFFECT/DYNAMICS light turns green.
The first screen shows whether the
effect is engaged or not, and where the
input and output levels are set for that
processor. In the upper right, there is
an arrow pointing to the right, as well as
a down arrow. If you turn the DATA
ENTRY dial to the right, you can edit
the parameters of a particular effect. If you press the DATA ENTRY dial down, you can switch between
two built-in processors.
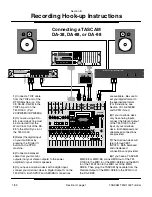
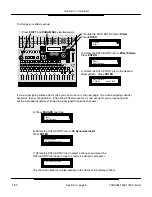
To change the type of effect, make sure the screen is showing the processor you wish to change, and
press ESCAPE/RECALL. The screen will flash effect names. Rotate the DATA ENTRY dial to select the
effect you wish to use. To make finding specific effects easier, the top line gives you the name of the
effect, while the bottom line will tell you what the effect is (i.e. reverb, delay, flange, chorus, etc.) Once
you’ve found the effect you wish to select, press Enter.
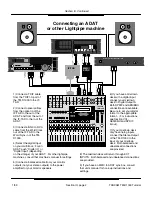
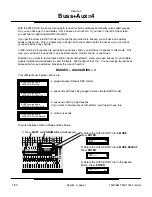
Currently, there are two effect processors
Processor 1 on L/R output - This processor is very useful for master mix compression, gating, enhancing
EQ, or even adding some phase/flange/chorus for wild effects.
Processor 2 on aux 1&2 - This processor allows reverb, delay, chorus, phasing, flanging etc. to be
applied in different amounts to each channel. This will act just like an external effect processor which is
fed by AUX SEND 1 and 2, and returns through EFFECT RETURN.
These effect processors can be reassigned to many different configurations. For a detailed explanation
of the options, see Section V - Buss+Aux=4, and Section VI - Effect Set-ups.
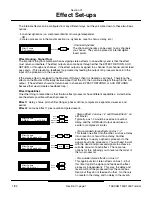
The built-in snapshot capability can make mixing your song much easier. You can set up separate mixes
for the intro, verse, chorus, etc. Then, you can use the transition time with each snapshot to create a
smooth crossfade from one part to the next.
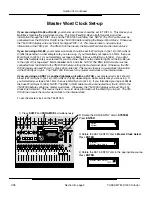
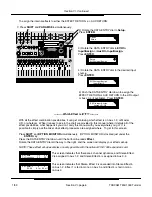
To save a snapshot, press SHIFT and STORE. (You must do this while not in an effects screen,
otherwise you will only store the effect.) The screen will show you your first available snapshot. In other
words, if you have 8 snapshots already stored, the mixer will automatically offer to record the snapshot
as number 9. This way, you do not have to worry about accidentally recording over any other scenes. If
you are choosing to write a new snapshot, press ENTER. If you want to record over an old snapshot,
rotate the DATA ENTRY dial until you reach the snapshot you want to overwrite and press ENTER.
---------- Walk through Snapshots ----------

