


6 − DVD±RW/HD playback & recording
TASCAM DV-RA1000HD
1
Select the
PROJECT
sub-menu from the main menu.
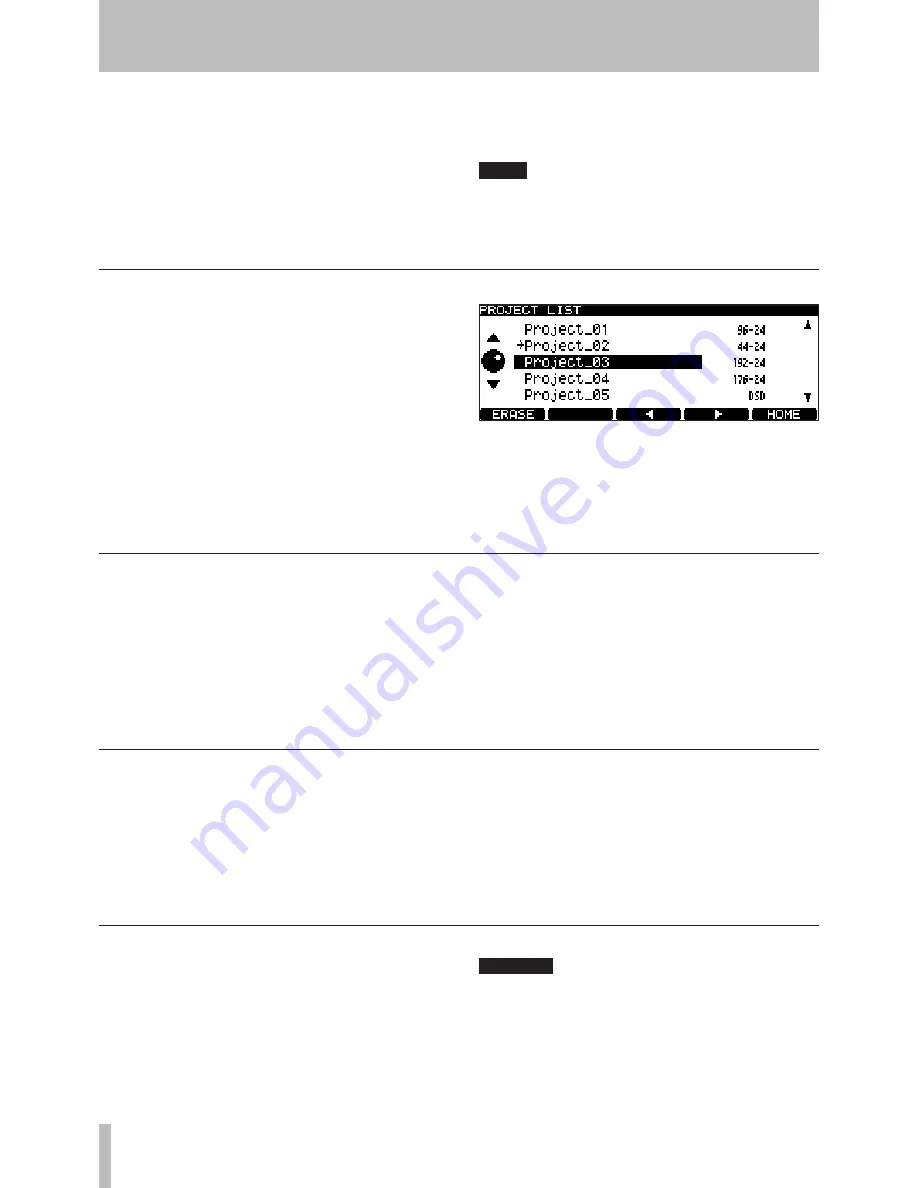
2
Highlight the
OPEN
sub-menu to show a list of the
names of all projects on the disc, together with
their sampling frequencies (see Figure 6.6,
Load-
ing a project
).
The current project is shown with an arrow be-
side the name.
3
Use the
JOG/DATA
dial to move the cursor to the
project to be renamed, and press either the
F3
or
F4
key.
You can then edit the name of the project as
explained in “Naming files, projects, marks, etc.”
on page 29.
4
Press
ENTER
when done.
Changing the name of a project
1
Select the
PROJECT
sub-menu from the main menu.
2
Highlight the
OPEN
sub-menu to show a list of the
names of all projects on the disc, together with
their sampling frequencies.
The current project is shown with an arrow be-
side the name (see Figure 6.6,
Loading a project
).
3
Press the
F1
(
ERASE
) key to delete the highlighted
project. You are asked to confirm the deletion.
Press
ENTER
to delete, or
CANCEL
to cancel the
operation.
All files in the project will be deleted along with the
project itself.
Deleting a project from disc
When a disc that has already been used is formatted, a
new project is automatically added to the disc.
Reformatting a DVD±RW disc on the DV-RA1000HD
will never result in an entirely blank disc (but of course,
all previous data is removed during a format process).
CAUTION
If you attempt recording many times to the same
DVD±RW disc and erasing or formatting it often,
you may find that it does not record properly. You
should use a new disc for any really important re-
cordings.
Formatting a disc
1
Select the
PROJECT
sub-menu from the main menu.
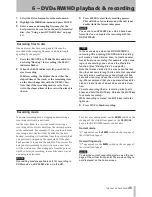
2
Highlight the
OPEN
sub-menu to show a list of the
names of all projects on the disc, together with
their sampling frequencies.
The current project is shown with an arrow be-
side the name.
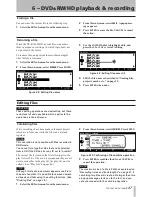
Figure 6.6: Loading a project
3
Use the
JOG/DATA
dial to move the cursor to the
project to be loaded, and press
ENTER
. The se-
lected project is then loaded (the sampling fre-
quency is automatically changed).
Changing the current project
3
Use the soft keys and
JOG/DATA
dial (or an at-
tached PS/2 keyboard) to enter the text. (See
“Naming files, projects, marks, etc.” on page 29.)
You can add more lines to the notes than you
can see on screen and scroll up and down to view
them.
4
Press and hold
ENTER
for a second or so, to store
the project text (brief presses of
ENTER
add a
carriage return). Press and hold
CANCEL
to exit
without saving (brief presses of
CANCEL
act as a
delete key).
NOTE
Remember that this text will not be stored on
DVD±RW until you write the UDFMI. (See “Writing
the UDFMI” on page 0.)


