TASCAM DR-40X
31
4 – Recording
14.
When using MS mics, use the + and – buttons to select
the
MS DECODE
item, and press the ENTER/MARK or
/
button.
Use the + or
– button to set
MS DECODE
to
ON
.
(Default:
OFF
)
15.
After completing the setting, press the
¤
(HOME)[
8
]
button to return to the Home Screen.
Starting dual recording
1.
Press the RECORD [
0
] button to start dual recording.
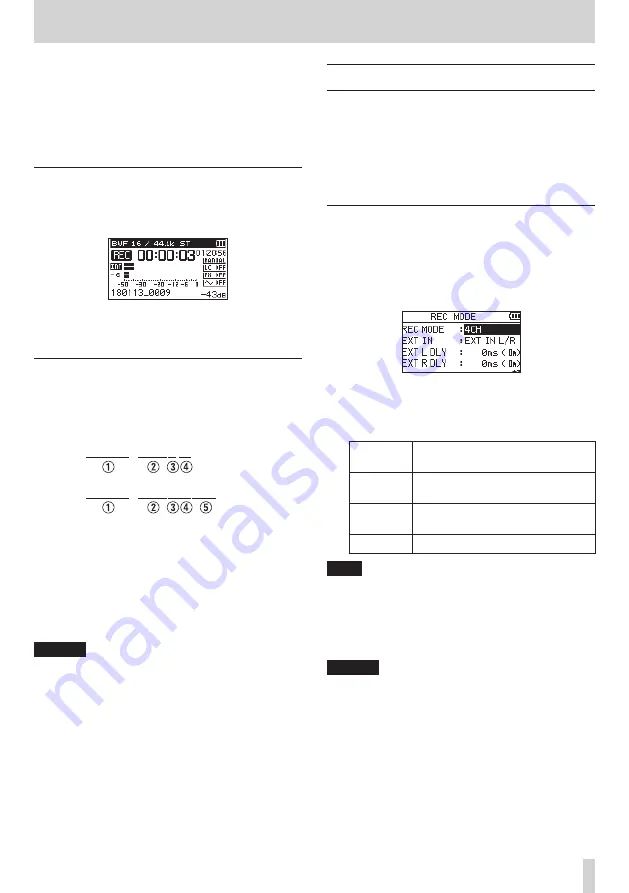
During dual recording, the recording screen appears as
follows.
On the recording screen, the top meter shows the main
recording input level and the bottom meter shows the
backup recording input level.
Dual recording file names
Dual recording allows two files to be recorded simultane-
ously. The name of the backup recording file is the same as
the name of the main recording file with “
DXX
” added to it.
The “
XX
” in “
DXX
” is according to the
DUAL LVL
setting value.
180113_0002S12.WAV
180113_0002S34D06.WAV
1
: Set by the
FILE NAME
screen
TYPE
item
2
: Recording file base number
3
: “S” is the source file
4
: Assigned channels (“12” is channels 1/2 and “34” is
channels 3/4)
5
: Dual level setting value (This would be “D06” if
recorded at −6 dB or “D10” if recorded at −10dB, for
example.)
CAUTION
i
If the input level is less than
-24
dB, dual recording might
not have the expected result.
i
When
LEVEL MODE
is set to
PEAK REDUCTION
or
AUTO
LEVEL
,
DUAL LVL
cannot be changed.
Recording 3 or 4 channels
You can use the built-in mics and connect external mics or
other equipment to record three or four channels.
The recordings will be saved as two stereo files (channels 1/2
and channels 3/4).
If the INT MIC, EXT IN L channel and EXT IN R channel are
different distances from their sound sources, you can set time
delays for the EXT IN L and EXT IN R channels to compensate,
using the INT MIC position as the baseline.
Making settings for 3/4-channel recording
1.
Press the REC MODE button to open the
REC MODE
screen.
2.
Use the + and – buttons to select
REC MODE
, and press
the ENTER/MARK or
/
button.
3.
Use the + and – buttons to set it to
4CH
.
4.
Press the
.
button to return to setting item selection.
5.
Use the + and − buttons to set the external input(s)
used.
EXT IN
(options)
Meaning
EXT IN 1/2
(default)
Use two external input channels as a
stereo pair
EXT INDEP.
Use two external input channels with
independent level setting
EXT IN 1
Use one external input channel (L)
NOTE
i
If the
EXT IN
item is set to
EXT IN 1
, two stereo files will
be created for it, but the EXT IN R channel will be silent.
i
If the
EXT IN
item is set to
EXT IN 1
and you want the
EXT IN L channel to be centered while monitoring, press
the MIXER button and set the 3ch PAN to
C
(center) when
recording or in recording standby.
CAUTION
If the
EXT IN
item is set to
EXT IN 1
, the effect function
will be disabled during recording.


