17
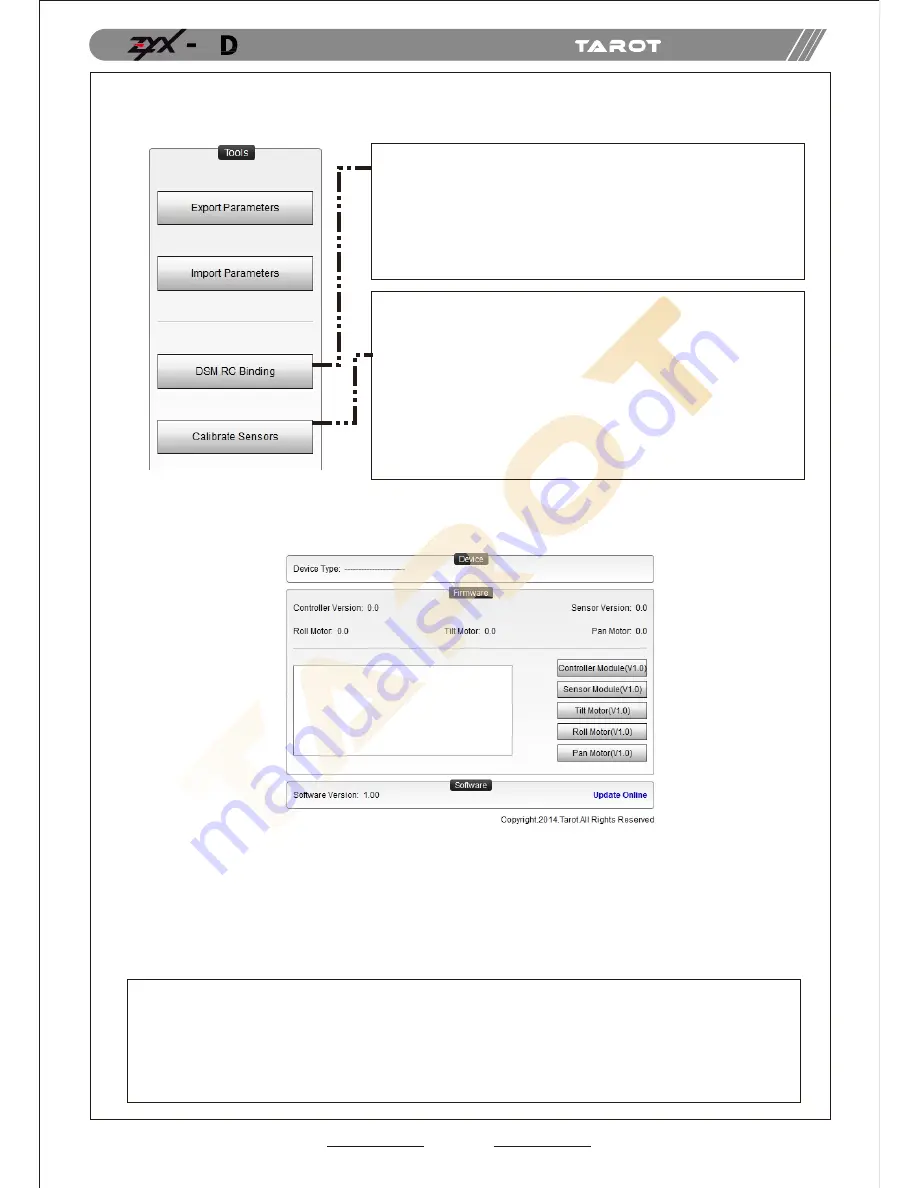
5. Tools
6. Firmware Upgrade
Upgrade Procedures
:
(1)Please make sure the connection between controller module and PC, and check whether or not the version of
each module can be correctly seen.
(2) Please connect the module and PC through a USB cable.
(3)Click the corresponding module for upgrade. Wait until all the procedures have been done.
TIPS
:
If there is something wrong during the upgrade, please check the connection of the module, the version of each
module version. Ensure the upgrade button has been clicked correctly. You can repeat upgrading for several
times until your device is broken.
Please ensure all the modules are in the same version number. Otherwise, gimbal will not work.
Moreover, you could screenshot the upgrade procedures and send your concerns or problems through the
feedback on the top right corner of the assistant software.
1. Power up the gimbal and correctly connect to the assistant software.
2. Choose a correct receiver type and click “Write Parameters to Flash”.
3. Click “DSM RC Binding” button, and the gimbal will stop.
4. Connect Satellite Receiver to the corresponding port. Receiver
LEDs will ash.
5. Turn on the Tx to bind.
6. After binding, power cycle the gimbal.
Sensors Calibration
When sensors suffer from squeezing, striking or violent changes
of temperature, deviation might occur. In order to avoid drifts
and tilting, please calibrate sensors.
Methods to calibrate:
1. Click “Stop Gimbal” button.
2. Keep the gimbal still. This process will affect the nal result.
Click "Calibrate Sensors" button. Calibration lasts for around
4 seconds.
3. When "Calibration is sucessful" shows on the left bottom,
the calibration procedures nishes.
ASSEMBLY SECTION
5


