background image


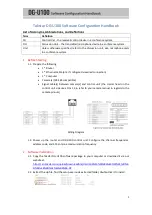
computer has multiple network interfaces. Please choose the correct network 
interface in use so that you can discover the control unit IP after login. 


4.2.


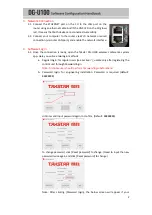
Device port number is  automatically generated by computer and does not have to be 
changed. Click [Password login] to start configuration. 


5.


Device Management 

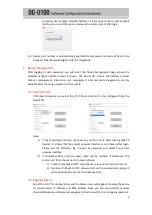
After  logging  in  with  password,  you  will  enter  the  Device  Management  page  where  the 
selected  network  interface  name  is  shown.  The  device  list,  device  information,  receiver 
channel  management,  discussion  unit  management  and  camera  management  are  only 
available after choosing a relevant control unit IP. 
 

5.1.


Search Device 

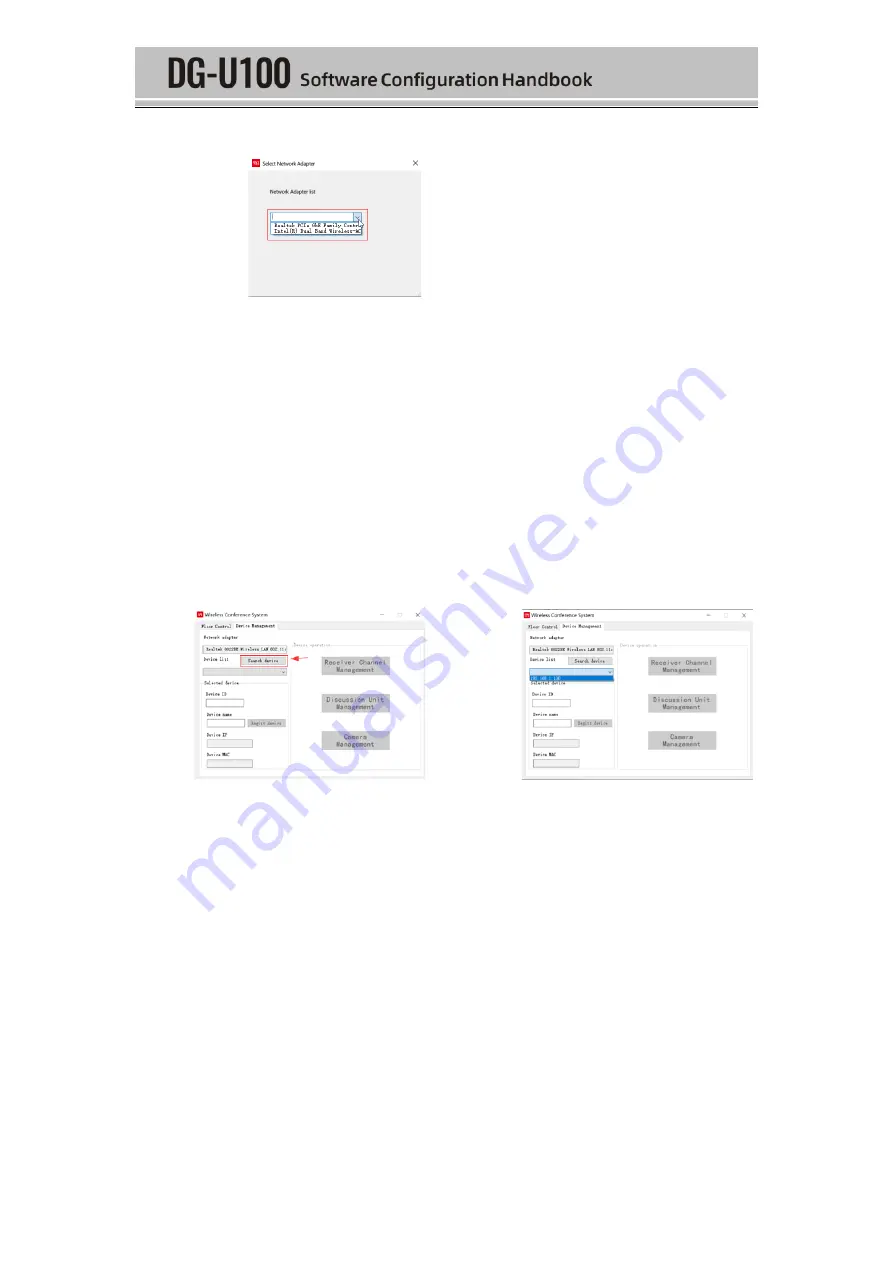
Click  [Search  device]  and  select  the  IP  of  the  control  unit  to  be  configured  from  the 
Device list. 


Note: 

A.


If  the  drop-down  list  does  not  show  any  control  unit  IP  after  clicking  [Search 
device], it is likely that the correct network interface is not chosen after login. 
Please  exit  the  software,  log  in  again  by  password  and  select  the  correct 
network interface. 

B.


If  multiple  control  units  are  used,  there  will  be  multiple  IP  addresses.  The 
control unit IP can be set on CU in two methods: 

1)


Static IP (uncheck DHCP): manually set unique IP on each control unit. 

2)


Dynamic IP (check DHCP): allow control unit to automatically assign IP 
when multiple CUs are used in the same LAN. 
 

5.2.


Register Device 

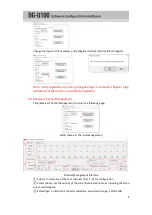
Select the CU IP for configuration, and the below screen will appear, showing the device 
ID,  device  name,  IP  address  and  MAC  address.  Now  you  can  also  perform  receiver 
channel/discussion unit/camera management functions which are no longer greyed out. 

Summary of Contents for DG-U100

Page 1: ......

Page 2: ...1 Computer Camera s RS 485 compatible Signal cable s between camera s and control unit the crystal head on the control unit side uses Pins 1 2 6 refer to your camera manual in regards to the camera pi...

Page 3: ...tar DG U100 wireless conference system app Here you will see two login methods a Regular login for regular users see Section 7 usable only after registering the control unit through Password login Not...

Page 4: ...l unit to be configured from the Device list Note A If the drop down list does not show any control unit IP after clicking Search device it is likely that the correct network interface is not chosen a...

Page 5: ...red 5 3 Receiver Channel Management Click Receiver Channel Management to enter the following page Select Receiver Channel Management Channel Management Interface Select CH select any of the four chann...

Page 6: ...ority and the other settings such as EQ input output volume can be adjusted later as required by live test after syncing discussion units Close this page to proceed to the next step 5 4 Discussion Uni...

Page 7: ...or Guest priority will have their channel IDs automatically generated and will be totally occupied By system default the ABCD channel corresponds to Chairman 11 14 or Guest 1 4 C The Register checkbox...

Page 8: ...ot be performed Select unit select the unit that needs to link to a camera Bond to this shows the ID of the camera 1 7 currently linked to the selected unit at If not linked to any is shown instead Se...

Page 9: ...n management software check and enable Tracking and the camera ID the same camera ID set above select the corresponding protocol of the camera the baud rate 9600 software default and then select the u...

Page 10: ...licable only if the priority of the channel is set as Delegate ID displays the ID of the CU selected in Device list under Device Management if you want to monitor other CU in a multi CU system please...

Page 11: ...ce Users can perform regular login by directly clicking the Regular login button or by waiting 30s to be automatically logged in Regular login only provides Floor Control function If the CU is not reg...

Reviews: