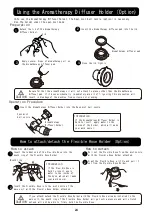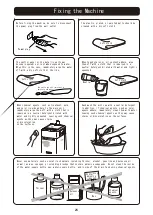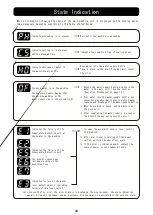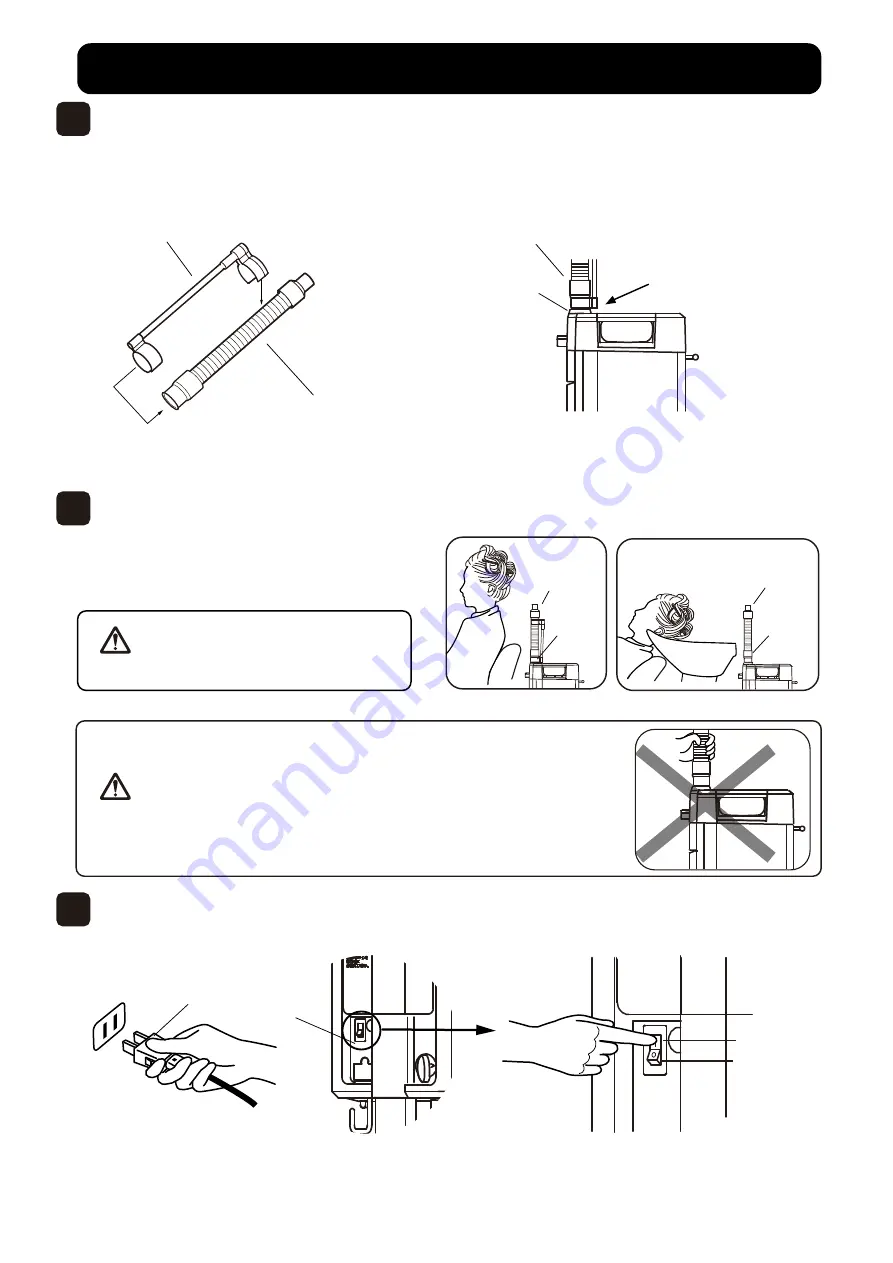
Operation Procedures( )
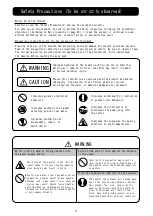
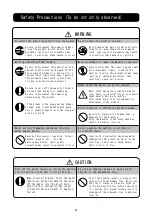
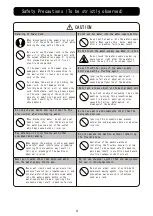
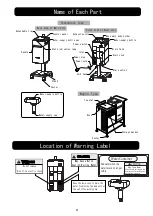
・When the product is moved and the flexible hose or the exhaust
nozzle located at the root of the hose is held, the nozzle may be
damaged, resulting in machine failure. In order to move the product,
be sure to hold the handle behind the main unit
(See "Name of Each Part" on page 4).
・Do not move the product or expose it to vibrations while the product
is in operation. Ignoring this precaution may cause abnormal
operation of the machine.
CAUTION
CAUTION
・Be careful about interference with
other equipment.Ignoring this
precaution may damage other
equipment or cause physical injury.
11
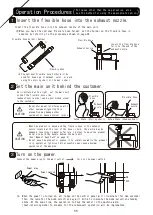
As illustrated at the right, set the main unit
so that the flexible hose side
(exhaust nozzle side) can be positioned closer
to the customer.
Setup State (Styling chair)
Setup State (Shampoo bowl)
Exhaust
nozzle
Flexible
hose
Exhaust
nozzle
Flexible hose
Exhaust nozzle
Flexible hose
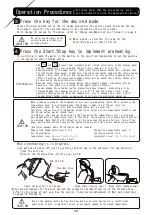
Connect the power plug to the wall outlet.
Turn on the power switch.
→
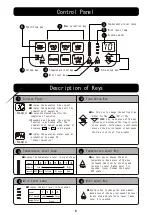
※ When the power is turned on, all lamps on the control panel will illuminate (for two seconds).
Then, the lamp for the mode selection key will blink to indicate the mode selection standby
state. At the same time, the operation to keep the water in the machine warm
(heat‑retaining mode) to prepare for the subsequent operation will be implemented.
ON
OFF
1
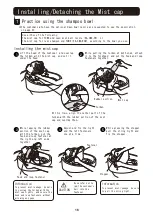
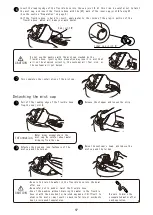
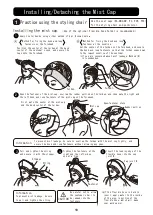
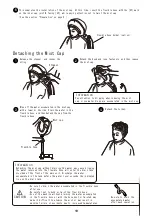
Insert the flexible hose into the exhaust nozzle.
2
Set the main unit behind the customer.
3
Turn on the power.
Insert the flexible hose
fully to the end of the
exhaust nozzle.
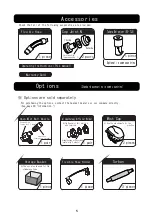
※ When you have the optional Flexible hose holder, set the holder on the flexible hose in
advance by referring to the procedures shown on page 24.
Flexible hose
①
②
Insert the flexible hose into the exhaust nozzle of the main unit.
Power switch
Power plug
※ The optional Flexible hose holder will be
used for head spa, treatment, color, or perm
using the styling chair or the men's chair.
Flexible hose holder (Option)
For cases other than the cap practice, also
see the method for using the appropriate option.
Summary of Contents for SPA MIST II AK-160
Page 2: ......

