


Listening area:
Loudspeaker/earphone control:
1. Loudspeaker volume control knob
2. Built-in Hi-Fi loudspeaker
When the microphones of all interpreter units in the
booth are disabled, you can listen to the
loudspeaker of the interpreter unit. Push the function
knob to go to the floor channel. Turn the function
knob to select a different channel.
4. Earphone volume control knob
When headphones are plugged in, impedance is
automatically recognized and audio level is adjusted
accordingly;
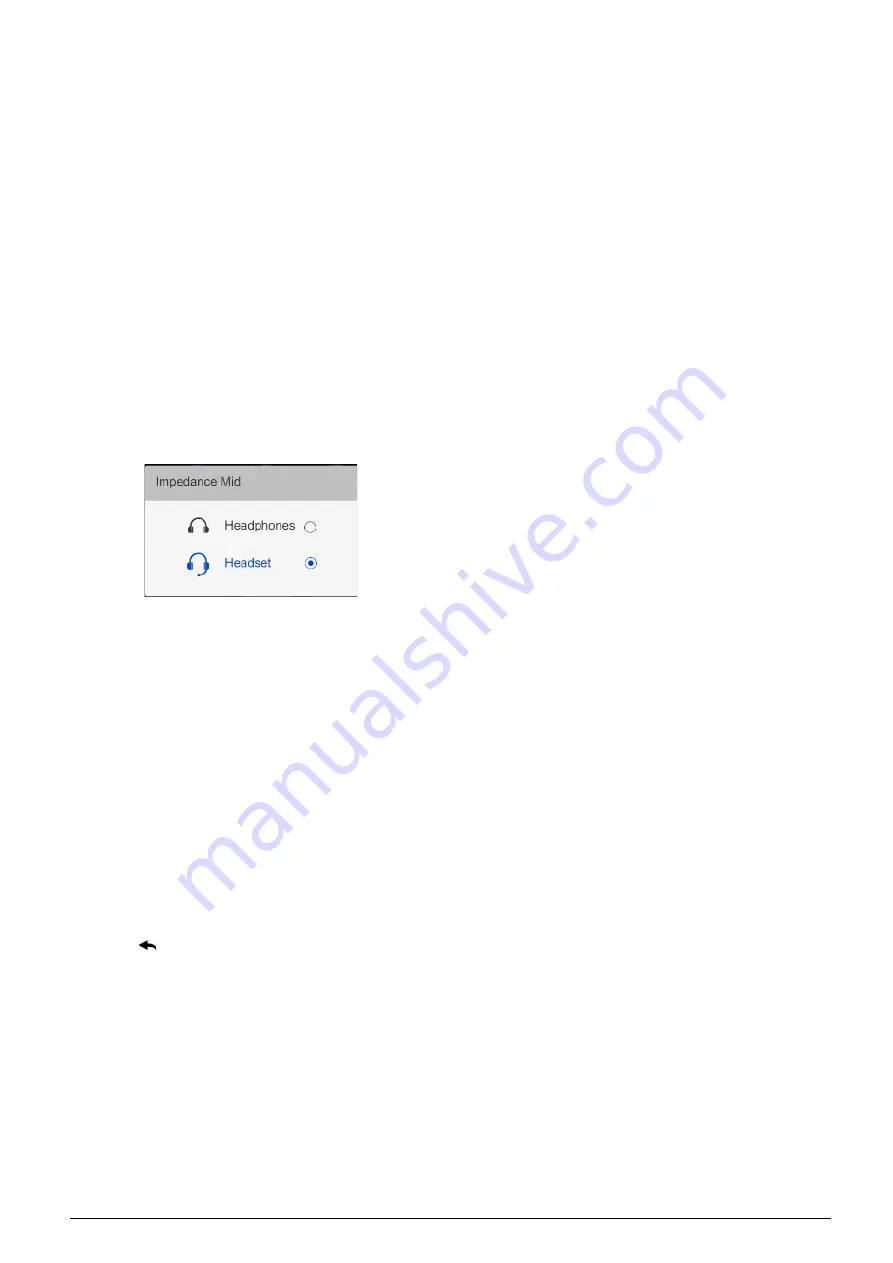
When headset connected, you can select headset
function or headphone function through pop-up
dialog;
When headphones level exceeds a preset value, a
floating window will be triggered to alert.
5. Earphone bass control knob
6. Earphone treble control knob
Input channel control:
7. Floor channel ON/OFF switch
Press this button to access the floor language and
the Floor indicating light will be activated.
Switch between floor channel and auto-relay
channel.
8. Monitor channel switch button
(1/2/3/4/5/6/7)
Switch to preset the input channel
18. Back (
) button
Press the button to activate LCD menu, if no
operation in 5 s, menu exits; and if press any other
buttons, menu exits too;
Press the button again to return to the upper level
menu.
19. Function knob
Push the function knob to go to the floor channel for
loudspeaker, turn the function knob to select a
different channel;
When the monitor channel shortcut switch button
(1/2/3/4/5/6/7) was pressed, push the function knob
to go to channel 1, turn the function knob to select
the interpretation channel;
When the Output channel B/C switch button (B C)
was pressed, push the function knob to go to
channel 1, turn the function knob to select the output
channel;
When operate the LCD menu, press the function
knob to confirm.
Speaking area:
9. Microphone ON/OFF switch
Press this button to turn on the microphone and the
red indicating light will be activated, press this button
again to turn off the microphone.
When microphone is active, booth number of the
microphone will be displayed on LCD of all the
interpreter units which set the language channel as
output;
If the interpreter booth is off, the green indicating
light will be activated.
If one interpreter unit is activated, the green
indicating lights for others in the same booth will be
off, when the interlock mode in a booth is set to
Interlock.
10. Microphone mute key (MUTE)
Push and hold the Mute button to temporarily
disable the microphone and the Mute indicating
light will be activated. The speech timer does not
stop. Release this button on voice recovery.
11. Output channel A/B/C switch with indicating
lights
Switch to preset the output channel;
Indicating light will be on when the channel is
engaged;
Indicating light of its own will be on when the
microphone is active;
“Allow switching output channel when microphone
is active” can be set by by application software
(Control – Booth Manage. – Param. Setup).
12. HELP
If selected “Allow Help” by application software
(Control – Booth Manage. – Param. Setup), press
this key to ask the operator for help and help
information will be displayed on the status bar of
the application software; at the same time,
3


