MICO-PS-3P
46
6. Network Print Monitor
Preparation
The MICO-PS-3P supports
TCP/IP
,
IPX/SPX
and
NetBEUI
protocols under Windows
95/98/Me. Please make sure that the following steps have been completed before
proceeding with installation under Windows PC.
Select A Desired Protocol
TCP/IP
The TCP/IP Protocol must be installed. For further information, please read “
TCP/IP Protocol
Installation”
section in this chapter.
Note:
If TCP/IP protocol is chosen, please refer to “Assigning an IP Address to the print
server” section later in this chapter.
IPX/SPX
The IPX/SPX-compatible Protocol must be installed. For further information, please read
“
IPX/SPX-compatible Protocol Installation”
section in this chapter.
NetBEUI
The NetBEUI protocol must be installed. For further information, please read “
NetBEUI
Protocol Installation”
section in this chapter.
MICO-PS-3P
47
TCP/IP Protocol Installation
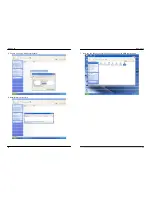
1. Click
Start
, point to
Settings
and select
Control Panel
.
2. Double click the
Network
icon.
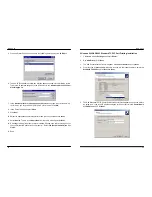
3. If
the
TCP/IP Protocol
is not already installed, click
Add
.
4. Select
Protocol
and click
Add
.
5. Select
Microsoft
from the Manufacturers list.
6. Select
TCP/IP Protocol
from the Network Protocols list.
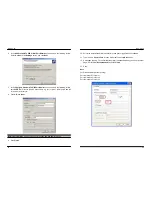
7. Specify an IP address, Subnet Mask, and Gateway address or specific “Obtain IP
address automatically”, if a DHCP server is available on the LAN.
8.
Restart the computer.
9. Done.
Note:
Using TCP/IP protocol to access the print server requires well-configured TCP/IP
settings. If you are not familiar with these settings, please consult your network
administrator for details or ask for help.
IPX/SPX-compatible Protocol Installation
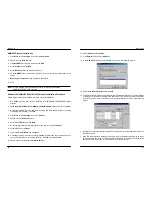
1. Click
Start
, point to
Settings
, and select
Control Panel
.
2. Double click the
Network
icon.
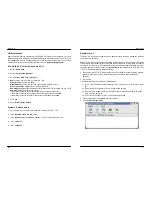
3. If
the
IPX/SPX-compatible Protocol
is not already installed, click
Add
.
4. Select
Protocol
and click
Add
.
5. Select
Microsoft
from the Manufacturers list.
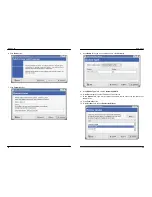
6. Select
IPX/SPX-compatible Protocol
from the Network Protocols list and follow the
instructions on the screen.
7.
Restart the computer.
8. Done.

