background image


Model 1700 / 1750 Rotary Platform Abraser 

15 

Operating Instructions ver. 1.0 


p/n 135505 

Refacing Vitrified Wheels (Calibrade) 

All  Calibrade  wheels  are  diamond  trued  at  the 
factory  and  may  be  used  continuously  without 
further  refacing  until  the  abrading  surfaces  show 
indications of becoming: 

Worn  out  of  round


–  Occasionally,  wheels 

become out of round due to an uneven surface 
of  the  test  specimen  or  other  reasons.  The 
normal abrading surface  of the  wheels should 
be concentric with the hub. 

Crowned


–  The  working  surfaces  of  wheels 

that are “crowned” appear slightly rounded. To 
check for  this  condition,  place  a  straight edge 
on the two wheels. The straight edge should be 
in contact with the full width of the wheels. 

Clogged


– “Clogged” wheels can be identified 

as  adhesive  buildup  of  wear  debris  on  the 
working faces of the wheels and should not be 
confused  with  the  discoloration  caused  by 
abrading dust. 

Refacing is also advised when starting a series of 
comparative  tests  or  changing  to  an  entirely 
different  material.  In  some  instances,  where  there 
is a tendency for the working surfaces of the wheels 
to  pick  up  excess  material,  it  may  be  desirable  to 
reface the wheels before testing each specimen. 

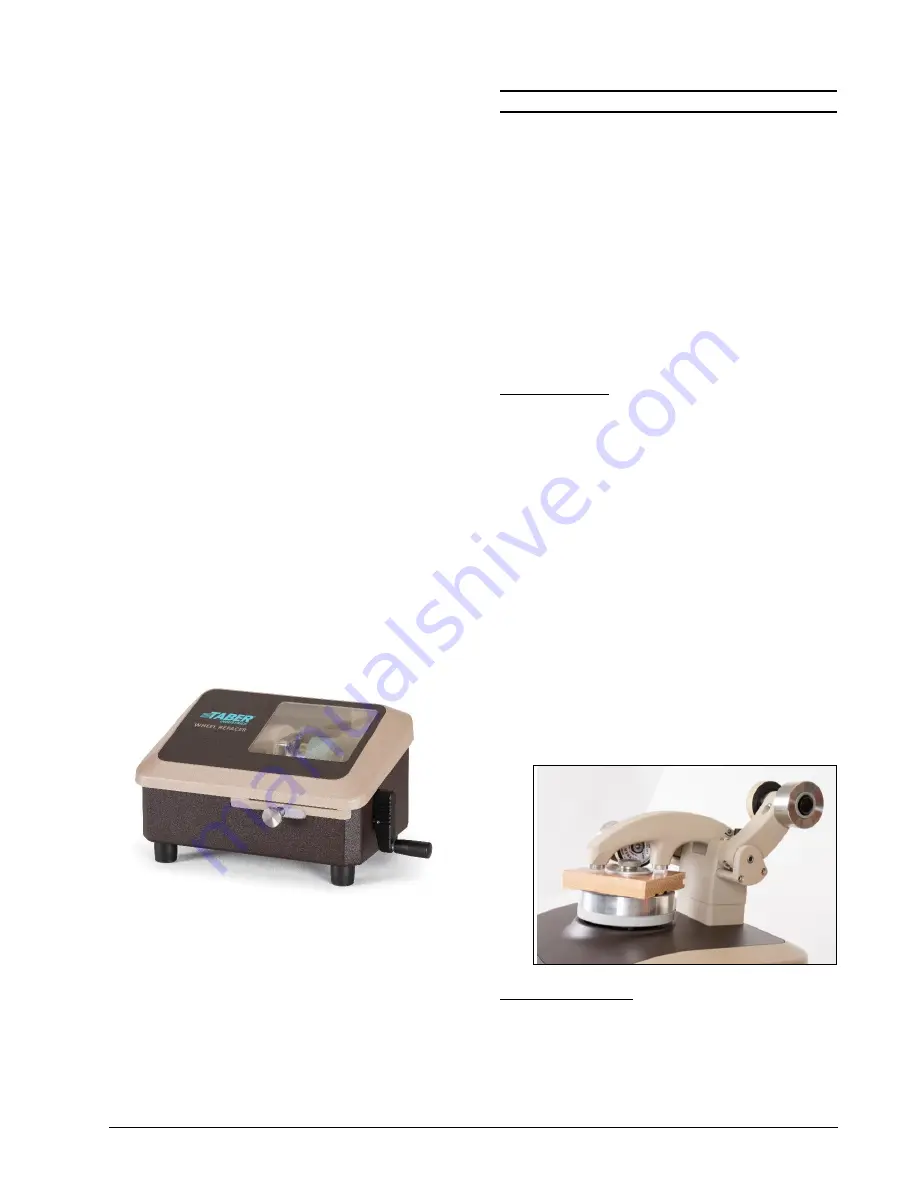
To  properly  reface  Calibrade  wheels,  a  Taber 
Wheel  Refacer  must  be  used.  This  instrument 
utilizes a diamond tool that is traversed across the 
working  surface  to  precision  dress  the  abrading 
wheels.


NOTE:

  Refacing  Calibrade  wheels  may  leave  a  sharp 

edge that may sever threads when testing textile fabrics. 
It is acceptable to remove this sharp edge prior to testing. 
To do so, cut a small strip from an S-11 refacing disc and 
hold  it  lightly  against  the  outer  edge  of  each  wheel. 
Manually  turn  the  nut to  rotate the motor shaft.  Reverse 
the wheels on the arbor and round the opposite corners. 
Only  the  extreme  sharpness  of  the  edges  should  be 
removed. A radius of 0.4 mm is sufficient. 


SPECIMEN PREPARATION 


As you start testing, use of these guidelines should 
assist in developing a test procedure that will yield 
reproducible  test  results,  accurate  within  the 
variations of quality inherent in the material itself. 


The suggested number of test specimens from 
each laboratory sampling unit is a minimum of 
three (3). 


All  specimens  should  be  labeled  to  maintain 
specimen identity. 


Specimen Size 

Rigid  Materials


–  Rigid  specimens  are  often  cut 

from a larger sheet utilizing an appropriate cutting 
method.  Specimens  should  be  approximately  100 
mm  square  with  surfaces  plane  and  parallel.  A 
6.5mm diameter hole must be drilled in the center 
of  the  specimen  to  secure  it  to  the  standard 
specimen holder (SH-125). The material thickness 
that  can  be  evaluated  with  the  Taber  Abraser 
without additional accessories, is 6.5 mm or less. 


NOTE:


The  width  of  the  wear  path  is  12.7  mm,  and 

located 31.75 mm from the center of the specimen. 


NOTE:


Optional “Drive Pin” specimen holder (SH-19) is 

available for testing rigid materials that are difficult to drill 
a center hole in. 


NOTE:


Optional  accessories  are  available  to  test 

specimen  thickness  greater  than  6.5  mm.  Materials 
greater  than  6.5  mm  but  less  than  12.7  mm  can  be 
evaluated using the S-21 Extension Nut. The Arm Height 
Extension modification will permit testing up to 40 mm in 
thickness. 


Flexible  Materials 

–  Flexible  specimens  are 

typically  circular  and  require  the  use  of  the  hold-
down ring. A 130 mm - 135 mm diameter specimen 
is  required  so  the  hold-down  ring  will  grip  the 
overlapped material. If a mounting card is used, the 
specimen  should  be  approximately  108  mm  in 
diameter. 

Summary of Contents for 1700

Page 1: ...Taber Rotary Platform Abrasion Tester Model 1700 1750 Operating Instructions...

Page 2: ......

Page 3: ...ntanglement hazard Do not place body parts or objects in the area surrounding the specimen holder and wheels as this may cause injury and or damage the equipment WARNING To minimize airborne particula...

Page 4: ...CIRCUMSTANCES SHALL TABER BE LIABLE FOR ANY INJURIES DAMAGE TO OR REPLACEMENT OF OTHER PRODUCTS OR PROPERTY COSTS FOR RECOVERING REPROGRAMMING OR REPRODUC ING ANY PROGRAM OR DATA USED WITH THE PRODUCT...

Page 5: ...t the wheels traverse a complete circle on the specimen surface revealing abrasion resistance at all angles relative to the weave or grain of the material It is important to recognize there may be sev...

Page 6: ...t the vacuum unit to the Abraser 6 Plug the female connector of the Abraser power cord into the power inlet located on the rear of the instrument Connect the instrument to a 115V 60 Hz or 230V 50 Hz c...

Page 7: ...button and then select the desired option After making your selection press OK NOTE Options shown below in bold text are factory default settings Language English Mandarin Japanese Spanish French Ger...

Page 8: ...test parameters When the instrument is not operating press the appropriate button and use the dial or odometer to set the value After making your selection press OK Test Cycles The Abraser can be pre...

Page 9: ...shown for the correct specimen holder To change between the left or right press the arrow button on the side of the display screen or press the toggle switch at the top status bar LEFT or RIGHT will...

Page 10: ...uum suction for accurate standardization and control of test procedures WARNING Do not use the vacuum for wet tests To minimize risk of shock disconnect the electrical cord to the vacuum unit NOTE Whe...

Page 11: ...be refreshed at intervals during the test NOTE Do not exceed 50 resurfacing cycles on an S 11 refacing disc If more than 50 cycles are required to refresh the wheels use additional refacing discs Vac...

Page 12: ...Operating Instructions ver 1 0 p n 135505 Display Option The Rotary Platform Abrasion tester can be programmed to show Cycles or Time Both Cycles and Time can be displayed as ascending completed Cycle...

Page 13: ...e way onto the mounting hub Release the push button The hub retaining lip will secure the wheel until it is disengaged Genuine Taber abrading wheels are supplied in pairs A close inspection of the whe...

Page 14: ...al counterweight kit is available when less than 250 g load is required Vacuum System Models 1700 1750 include a Taber vacuum unit that includes a heavy duty motor and life lubricated sealed bearings...

Page 15: ...larly defined intervals Do not confuse coloring of the wheels with clogging as this may simply be due to the wheel faces becoming coated with fine abrading dust a condition that must be expected It is...

Page 16: ...and mount the test specimen Select CONTINUE to continue testing or REFACE to perform a second refacing NOTE The S 11 refacing disc is used only once for a maximum of 50 cycles Never reface wheels wit...

Page 17: ...ter edge of each wheel Manually turn the nut to rotate the motor shaft Reverse the wheels on the arbor and round the opposite corners Only the extreme sharpness of the edges should be removed A radius...

Page 18: ...plate and nut and finally tighten the hold down ring Avoid tightening to excess so as not to wrinkle the specimen Trim off any excess material around the edges WARNING To prevent damage to the instru...

Page 19: ...wear life under changing atmospheric conditions as in automobile and aircraft materials the atmosphere of the laboratory may be controlled accordingly NOTE If an environmentally controlled test labor...

Page 20: ...y 3 Secure specimen to Abraser specimen holder 4 Select and mount the auxiliary weights if necessary 5 Adjust the vacuum nozzle gap 6 Using the Abraser touchscreen enter the appropriate test parameter...

Page 21: ...iable method that records the weight loss of the test specimen due to abrasion This method is recommended when the results are to be compared with those of similar materials having nearly the same spe...

Page 22: ...cific gravities a correction factor must be applied to give a true indication of the wear resistance In doing this the aluminum material evidences a much greater volume loss as seen by comparison of t...

Page 23: ...es or more it is often attributed to procedural errors or an instrument that is out of calibration or one of the factors mentioned below Physical properties of the material such as hardness or resilie...

Page 24: ...for unpaired data at a probability level chosen prior to the testing series If bias is found either its cause must be found and corrected or future test results must be adjusted in consideration of t...

Page 25: ...5505 HELP At the bottom of the display screen is the HELP button Pressing this will provide details on the instrument USB Port Incorporated into the Model 1700 1750 Abraser is a USB port This is used...

Page 26: ...he holder and lift straight upward To install the specimen holder align the set screws with the flats on the motor shaft Cleaning Vacuum Pick Up Nozzle Abraded material and debris may collect in the v...

Page 27: ...14120 USA Phone 716 694 4000 Fax 716 694 1450 E mail sales taberindustries com WebSite www TaberIndustries com www OrderTaber com Part Description 133338 Quick Release Wheel Hub Collet Kit replacement...

Reviews: