


12
Operating the SADV 1250 R HD
Switching on
Press the
button on the front panel of the unit.
The green indicator LED above the button lights up, as
does the display screen. The unit is now ready for use.
For Stereo playback (CD /SACD) switch ON your HiFi
system and select the audio input the
SADV 1250 R HD
is connected to.
For playback of SACD multichannel discs select the
analogue 5.1 or 7.1 multichannel input of your surround
amplifier or surround receiver.
For playback of DVDs select the appropriate digital input
of your surround decoder or surround receiver. Switch on
your TV set and choose the video input to which the
SADV 1250 R HD
is connected to.
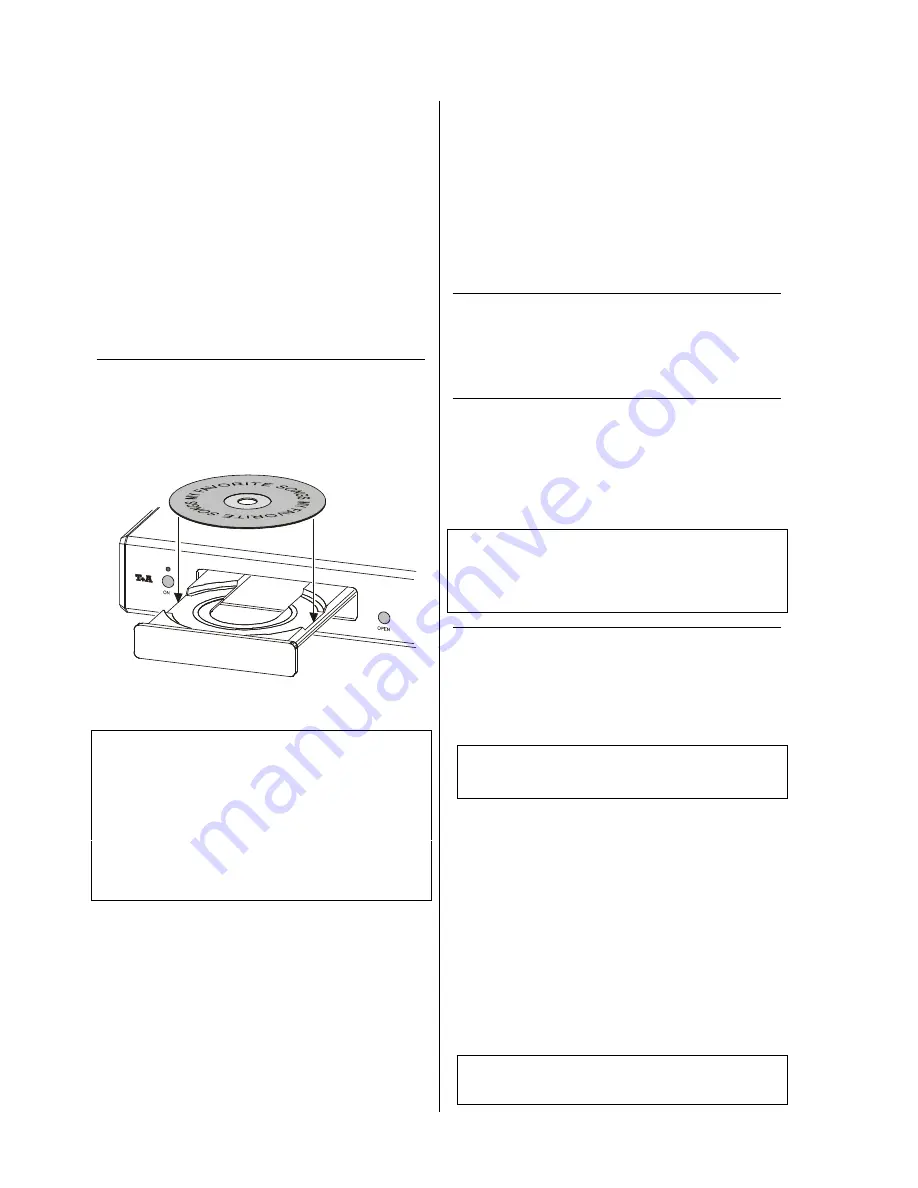
Loading a Disc
1. Press the
button on the front panel to open
the drawer.
2. Place the disc in the
centre
of the circular recess in
the drawer,
with the side to be played facing down.
3. Press the
button on the front panel to close
the drawer.
Note:
After closing the disc tray, the
SADV 1250 R HD
automatically selects the playback mode suited best for
the format of the disc /Stereo for CD, MCH for DVD and
SACD).
Please make sure that for SACD playback the 5.1/7.1
multichannel input and for DVD playback either the digital
input or the 5.1/7.1 multichannel input of your surround
amplifier/receiver is selected.
For CD playback either the stereo- or the 5.1/7.1 MCH
Input of your amplifier can be used.
Starting playback
Some discs feature an “autostart” function. These discs
will start automatically. Other DVDs show an On-Screen-
Menu after start-up. Please follow the instructions of the
menu.
CD and SACD are started by pressing the
-
button.
Starting playback
Some discs feature an “autostart” function. These discs will
start automatically. Other DVDs show an On-Screen-Menu
after start-up. Please follow the instructions of the menu.
CD and SACD are started by pressing the
-button.
Stopping playback
You can stop playback at any time by pressing the
button.
Resuming playback
You can resume playback of a stopped CD / DVD / VCD
by pressing the
- button on the front panel, or the
or
button on the remote control handset.
RESUME
After loading a previously played DVD/VCD the playback
can be continued at the position where the playback was
interrupted before. Please press the
/
button while the
'RESUME'
icon is displayed on the
screen.
Note:
Some discs suppress the resume function in which case,
these discs can only be started from their disc menu.
The
RESUME
function is available not only for the DVD
played last, but also for the last four DVDs that were played.
Selecting a Chapter or Title
1.) Selecting using a skip button
You can initially select CD tracks, DVD titles or chapters
by pressing the skip forward button
or the skip back
button
repeatedly until you reach the desired point.
Note regarding DVD:
If the last chapter of a title is reached, the machine
skips automatically to the previous or following track.
2.) Selecting using the DVD disc menu
Most DVDs feature a Select menu for titles and scenes in
a film. Once you insert a DVD this menu usually appears
automatically. During playback the disc menu can be
opened at any time by pressing the
button on the
front panel or the blue
button of the remote
control briefly (
F1
: bue
rocker).
Select the desired scene in the disc menu and confirm
your selection by pressing the
button. Playback
will jump now to the selected scene.
3.) Selecting chapter and track - direct numeric input
It is also possible to select a DVD chapter or CD track by
entering the number of the section using the numeric buttons
(
. . .
) on the remote control handset.
Note:
If the number has more than one digit, press the digits
quickly in sequence.
Summary of Contents for SADV 1250 R HD
Page 1: ...V1 0 Order No 9103 0360 USER MANUAL SADV 1250 R HD...
Page 2: ...2...
Page 17: ...17 Setup menu Menu overview...
Page 22: ...22...
Page 40: ...40...


