Hardware installation
2-9
•
Restart the device
(soft reset)—the switch is pressed for less
than 5 seconds. The device will restart.
•
Reset the device
(hard reset)—the switch is pressed for longer
than 5 seconds. All LEDs on the device light up continuously.
Once the reset switch is released the device will restart with
the restored factory settings.
2.4
Hardware installation
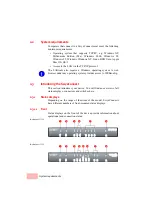
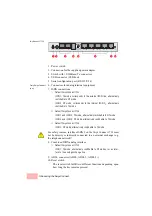
Installation of the SwyxConnect involves the following steps:
1.
LAN
– first of all connect your SwyxConnect to the LAN or to an
individual PC. Plug in one end of the supplied network cable
(green connectors) to a LAN connector on the device
, and the
other end into an available network connector socket in your local
network, a free socket on a switch or hub, or the networking
connector of an individual PC.
The LAN connectors use autosensing to recognize the data rate
(10/100 Mbit) and the type (node/hub) of attached network
devices. It is possible to connect devices of different speeds and
types in parallel.
Avoid having multiple unconfigured SwyxConnects at once within a
single network segment. Any unconfigured SwyxConnect takes on
the same IP address (ending in '254'), and so address conflicts could
arise. To avoid problems, multiple SwyxConnects should be
configured one after the other with the respective device being
assigned with a new and unique IP address (not ending in '254') each
time.
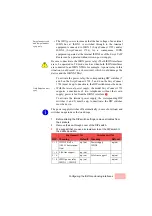
2.
ADSL
– connect the ADSL interface
with the splitter by using
the supplied ADSL connector cable (transparent connectors).
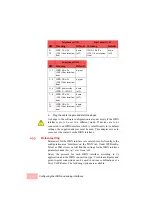
3.
Connection to the ISDN
– to connect the Swyx VoIP Router to
the ISDN, plug in one end of a supplied ISDN cable (light-blue
connectors) to an ISDN interface in TE mode. When shipped, the
ISDN interfaces marked with
⌧
are set up in TE (external)
mode.
Plug in the other end of the ISDN cable into an ISDN/S
0
point-to-point line connector or point-to-multipoint line connector.
For the model SwyxConnect 1723, the interface ISDN2 is not to be
connected to the ISDN network, even after being reset to TE mode!
Please also observe the notices about configuring the ISDN interfaces
(
→
page 14).
Summary of Contents for SwyxConnect 1722
Page 112: ...I 5 ...

