


14
*2. H/V Delay
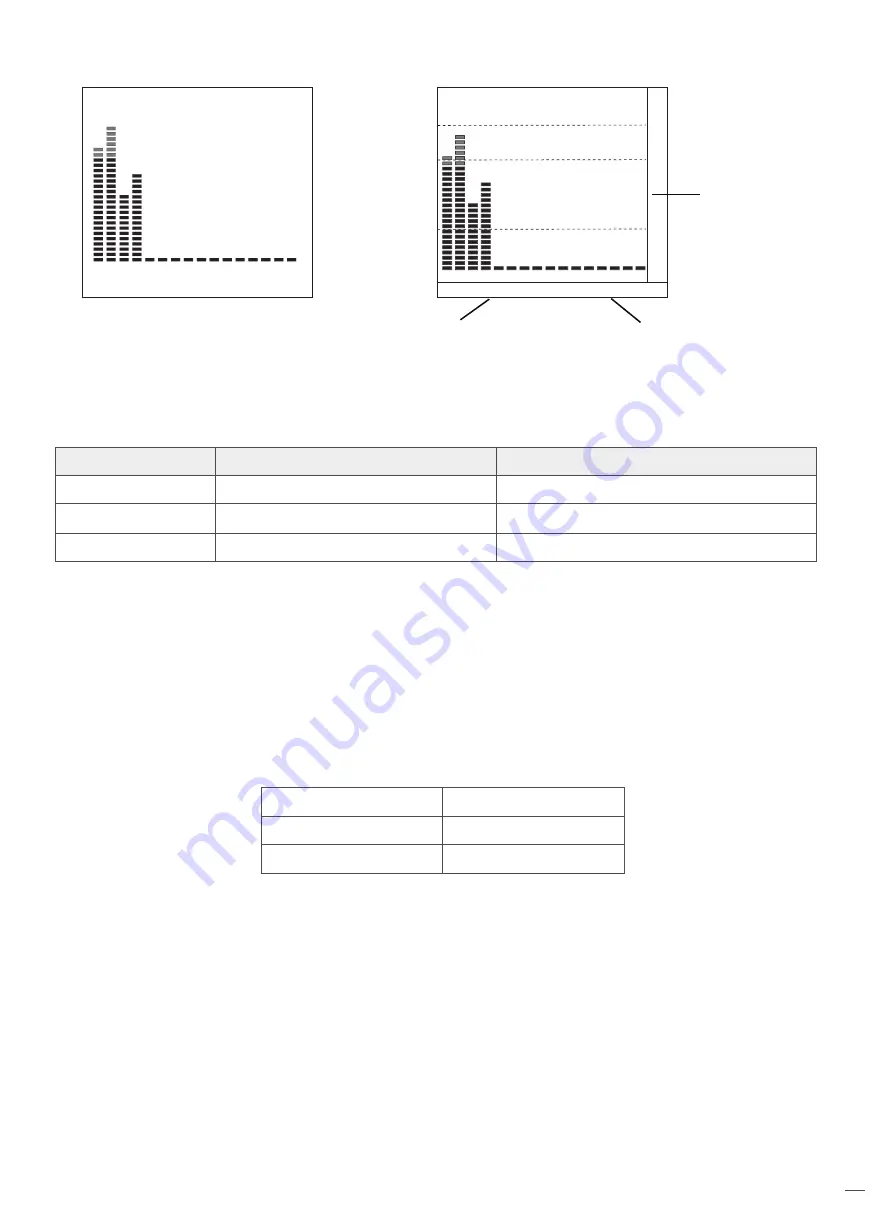
H/V Delay is not displayed on HDMI channel.
Audio alarm information
M
T
U
E
M
T
U
E
M
T
U
E
M
T
U
E
U
N
L
O
C
K
E
D
U
N
L
O
C
K
E
D
U
N
L
O
C
K
E
D
U
N
L
O
C
K
E
D
U
N
L
O
C
K
E
D
U
N
L
O
C
K
E
D
U
N
L
O
C
K
E
D
U
N
L
O
C
K
E
D
1 2 3 4 5 6 7 8 9 10111213141516
-48
-20
-09
L -32DB 01CH
R -13DB 02CH
Left Channel:1 Green
Right Channel:2 Red
Type 1
Type 2
Ⅶ、Auto Calibration
*1
Menu option
Probe Select*2
Start Calibration*3
Measurement*4
Instruction
Select the calibrator
Start to calibrate or not
Test current color
Selection
X-rite l1 Pro OEM,Jeti Specbos 1211
NO/YES
NO/YES
*1 Auto Calibration
Monitor internally installed 3DLUT Calibrate software,support to directly connect with
below calibrator via USB interface on the front panel.
When start to calibrate,calibrate probe will read the standard color created by monitor
and upload the result to monitor via USB interface.
Monitor will compare the color which created by calibrate probe with standard color
and create a 3D LUT file and finish calibrating automatically.
*2 Probe Select
This monitor support below kinds of calibrate probe:
BRAND
X-rite
JETI
MODE
I1 Pro OEM
Specbos 1211
*3 Start Calibration
Steps:
1、 Switch on monitor.
2、 Connect Calibrator with monitor via USB interface on the front panel(Compatible with X-rite
and JETI).Make sure monitor and calibrator is in good condition and the aging time of
monitor is over 30 minutes.
3、 Select “MENU”-“AUTO CALIBRATION”-“Probe Select” to select current calibrate probe.
4、 Select “Start Calibration”-“YES” to start calibrating.Monitor will show info box and calibrate
position hint box,make sure the lens of calibrator is forward to the calibrate position hint
box.Do not push the LCD screen when setting the calibrator.


