English
43
A
dv
anc
ed C
onfigur
ation
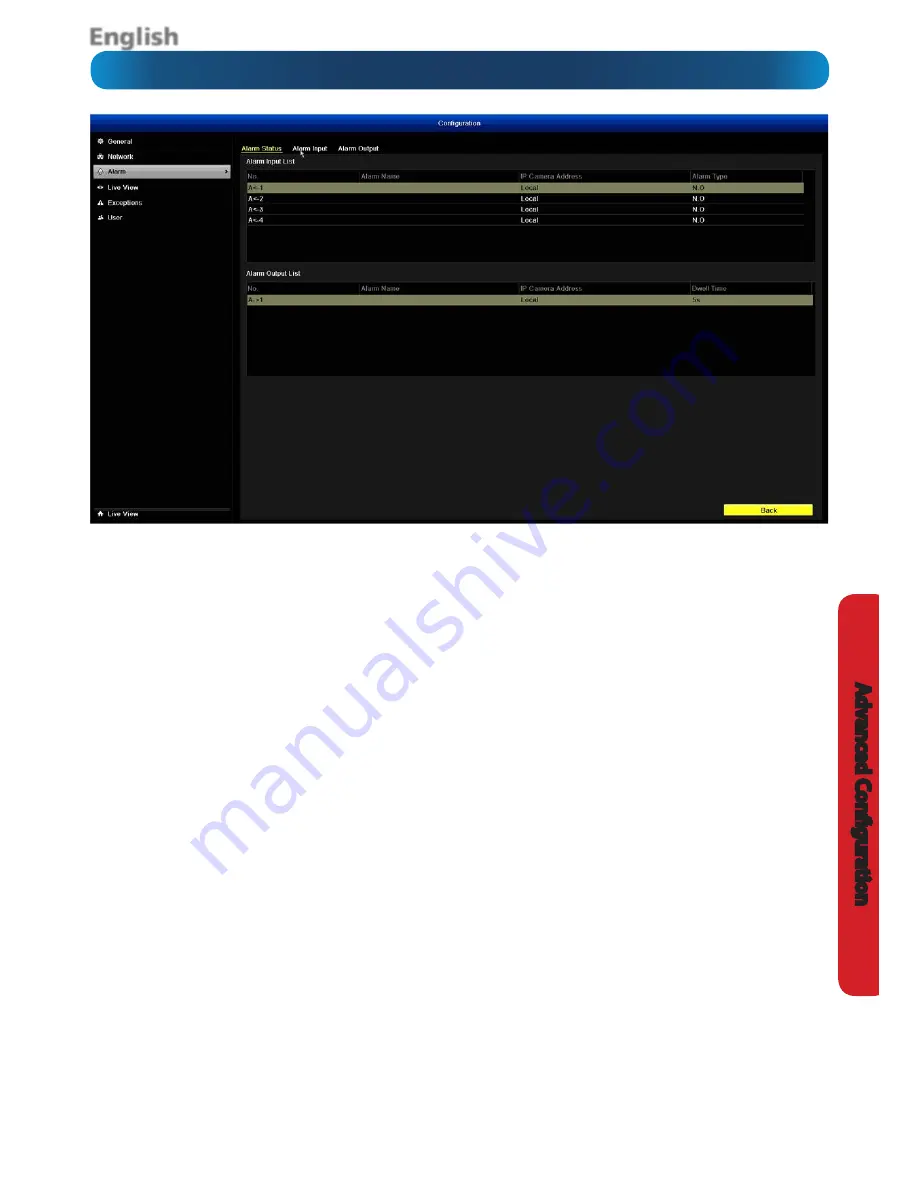
Configuration: Alarm: Status
Alarm: Input List
The
Alarm: Sensor
menu will allow you to customize and
configure how you’d like the DVR to interpret input from and
respond to the sensor input panel on the rear of the DVR.
Alarm Input No.:
The connection that corresponds to the
input you’ve connected the sensor to. Note that the Alarm
Input Number and the Channel Number don’t have to be the
same.
The <- characters indicate that these are
alarm inputs
.
Alarm Name:
The name you want to associate with the
alarm. We suggest something descriptive and useful, such as
“Lounge Room PIR Sensor” or “Front Door Sensor”. The DVR
will use this name in email alerts and in the event log to let
you know where alarms are being generated.
Type:
Whether the sensor is a NO (normally open) or
NC (normally closed). You’ll need to check your sensor’s
documentation to learn the correct value to use. It refers
to the way the sensor tells the DVR when it has detected
something. If this is set to the wrong value, you’ll get constant
“false” alarms, which will stop only when the sensor detects
something.
Alarm: Output List
Here you can control the operation of the DVR’s Alarm Out
port(s).
Note that the alarm output(s) on the DVR is
Normally Open
(NO)
. If you’ve got an external device, it must be configured
to use a NO triggering method; otherwise they’ll be in a
permanently alarmed state.
Please note: depending on the configuration and intended
purpose of your external alarm device, it may or may not
continue to be in an alarmed state once the DVR’s signal
has ceased.
If you enabled an action for a sensor input and set the sensor
type to NO and don’t have a sensor connected to the DVR,
then this will constantly trigger alarm events.


