14
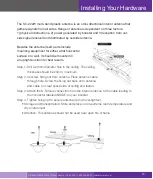
Installing Your Hardware
Step 4. Install the Signal Booster
1. Select a location for your booster close to a working AC outlet. Do not expose the signal
booster to excessive heat, direct sunlight, moisture, and airtight enclosures.
2. Attach the supplied mounting kit to the booster using the supplied screws. Tighten the
screws with a screwdriver until snug, then add a 1⁄4-to-1/2 turn. Do not over tighten.
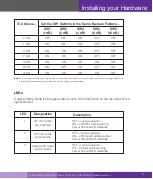
3. Orient the signal booster so the LEDs and DIP switches face away from the wall and
the LEDs are seen easily. Then mount the signal booster to the wall using appropriate
screws and/or wall anchors.
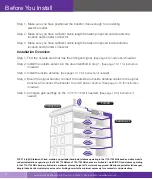
4. Connect the outside antenna cable to the signal booster connector marked
OUTSIDE
.
Hand tighten the connection.
5. Connect the inside antenna cable to signal booster marked
INSIDE
. Hand-tighten the
connection.
6. Connect the AC power cord to the signal booster.
7. Connect the plug on the other end of the 110V AC power outlet.
8. Turn the booster’s power switch on.
• The signal booster turns on automatically.
• The
Power
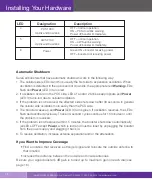
LED lights up to show that the signal booster is ready for use.
• The Alert LEDs flash 5 times on each band to show the band is activated.
Note
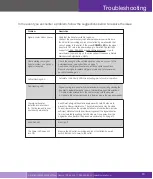
: If the Power LED does not turn ON or the Alert LEDs continue to flash, see Troubleshooting page 19. This booster is rated for
19VA
v input
voltage. DO NOT use the booster with a higher voltage power supply. This can damage the booster, cause persoanl injury and viod your warrenty.
SureCall | 48346 Milmont Drive, Fremont CA 94538 | 1-888-365-6283 | [email protected]

