H8SME-F SERVERBOARD USER'S MANUAL
2-6
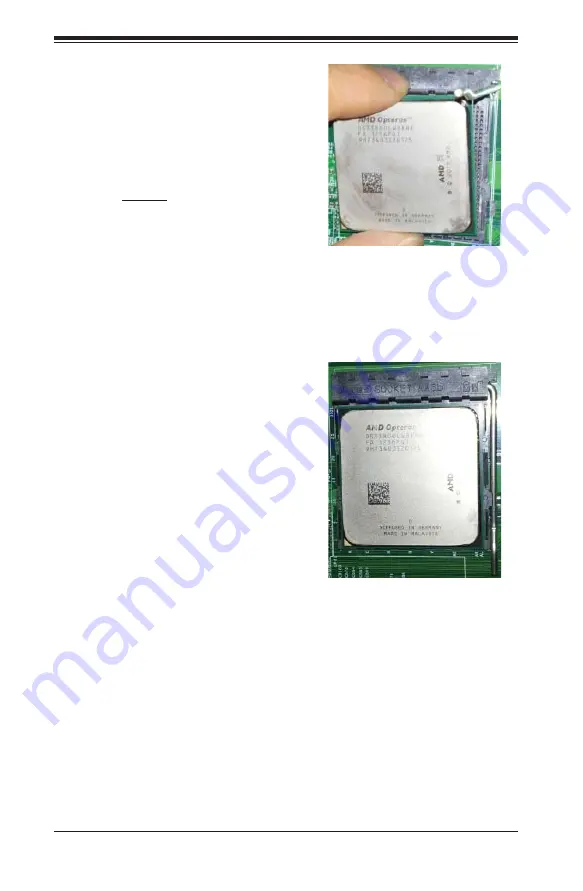
3. With the lever raised, locate
and align pin 1 of the CPU
socket with pin 1 of the CPU.
Both are marked with a triangle.
Place the processor into the
AMD Socket AM3+ processor
socket so that both are aligned,
then carefully place the CPU into
the socket.
Warning:
Do not drop the CPU on the
socket, move the CPU horizontally or
vertically or rub the CPU against the
socket or against any pins of the socket
otherwise you may damage the CPU and/
or the socket.
4. With the CPU inserted into the
socket, inspect the four corners
of the CPU to make sure that it is
properly installed and fl ush with
the socket. Then, carefully press
the CPU socket lever down until it
locks into its retention tab.
Installing the Heatsinks
We recommend the use of Supermicro 12-node MicroCloud CPU heatsink (SNK-
P0047PSR) for the H8SME-F.
1. Place the heatsink on top of the CPU so that the four mounting holes are aligned
with those on the motherboard and the heatsink bracket underneath.
2. Screw in two diagonal facing screws until just snug (do not over-tighten the screws
to avoid possible damage to the CPU.)
3. Finish the installation by fully tightening all four screws.
4. Reverse the order of this procedure to remove a heatsink.
Note:
Make sure the heatsink is placed so that the fi ns of the heatsink are in the
direction of the airfl ow in your system.


