5-5
Chapter 5: Chassis Setup and Maintenance
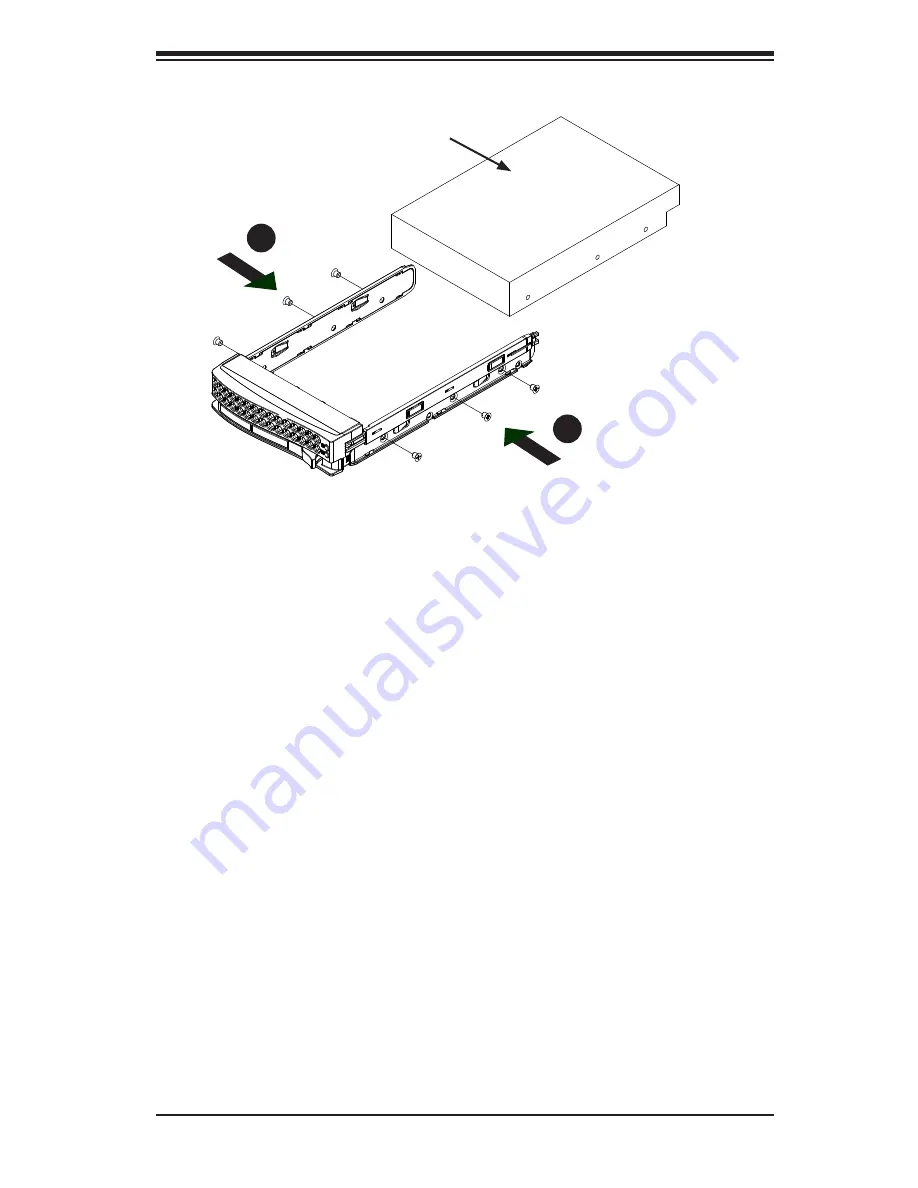
3. Install a new drive into the carrier with the printed circuit board side facing
down so that the mounting holes in the drive align with those in the carrier.
4. Secure the hard drive to the carrier by tightening all six screws.
5. Place the drive carrier into the drive bay of the chassis. Make sure to close
the drive carrier handle.
6. Repeat these steps for each hard drive you want to install.
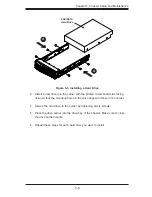
SAS/SATA
Hard Drive
Figure 5-5. Installing a Hard Drive
4
4
Summary of Contents for SC823MTQ-R700LPB
Page 5: ...v Preface Notes ...
Page 12: ...SC823M Chassis Manual 1 4 Notes ...
Page 32: ...2 20 SC823M Chassis Manual Notes ...
Page 60: ...SC823M Chassis Manual 5 22 Notes ...
Page 70: ...SC823M Chassis Manual 6 10 Notes ...
Page 72: ...SC823M Chassis Manual A 2 Notes ...


