12
EN
GLISH
Q700 M/M HD/F/R/UP-M/UP-F Rev.G
1
A
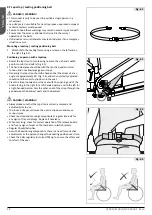
45°
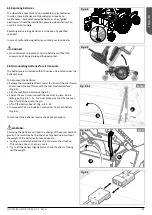
Fig. 4.4
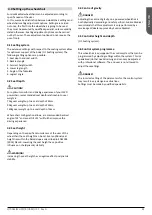
Fig. 4.3
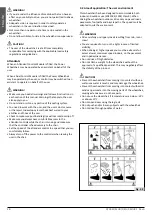
Fig. 4.2
Fig. 4.1
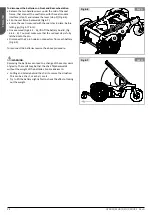
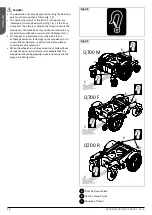
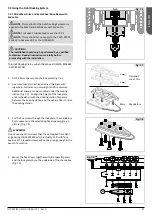
4.7 Lap strap / seating positioning belt
DANGER! / WARNING!
•
This product is only to be used to position a single person in a
wheelchair.
•
Lap straps are not suitable for transit purposes, approved occupant
restraint systems must be used.
•
Failure to heed these warnings may result in severe injury or death.
•
Ensure that the carer or attendant is trained in the correct
operation of the belts.
•
Untrained carers or attendants may lead to delays, if an emergency
situation occurs.
Mounting a lapstrap / seating positioning belt
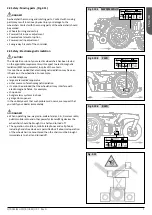
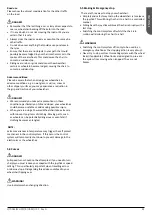
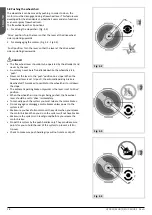
1. Attach (A) to the seating frame using a screw on the left and on
the right. (Fig 4.2)
Positioning an person with a lapstrap
•
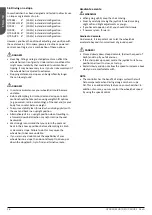
Adjust the lap strap to suit, leaving no more than a hand’s width
gap for comfort and safety (Fig 4.3).
•
The hand clearance should be with the lap strap under normal
tension and not allow large gaps or loops.
•
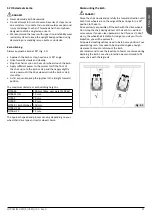
Generally, the lap strap should be fixed so that the straps sit at an
angle of approximately 45° (Fig. 4.4), and when correctly adjusted
should not allow user to slip down in the seat.
•
Place the strap loosely across the seat with the opening end of the
buckle facing to the right for a left-handed person and to the left for
a right-handed person. Pass the other ends of the strap through the
gap between the backrest posts and the backrest.
DANGER! / WARNING!
•
Always make sure that the lap strap is correctly secured and
adjusted prior to use.
•
Too loose a strap could cause the user to slip down and cause
serious injury.
•
Check lap strap and securing components at regular intervals for
any signs of fray or damage. Replace if necessary.
•
When servicing, check for correct operation of the release buckle
and for any signs of wear on the material or plastic brackets.
•
Regular Checks/Activities:
•
As with all positioning components, there is a need for corrective
adjustments as the person changes their seating position over time.
•
Check the belts regularly for correct fitting, to ensure the safety and
comfort of the user.
Summary of Contents for Quickie Q700 M
Page 150: ...150 Q700 M M HD F R UP M UP F Rev G ...


