6201 27th Street, Sacramento, CA 95822 | 916.395.4700 | 800.289.4700 |
www.sunoptics.com
© 2018 Acuity Brands Lighting, Inc. All rights reserved. 08‐18
Page 1 of 14
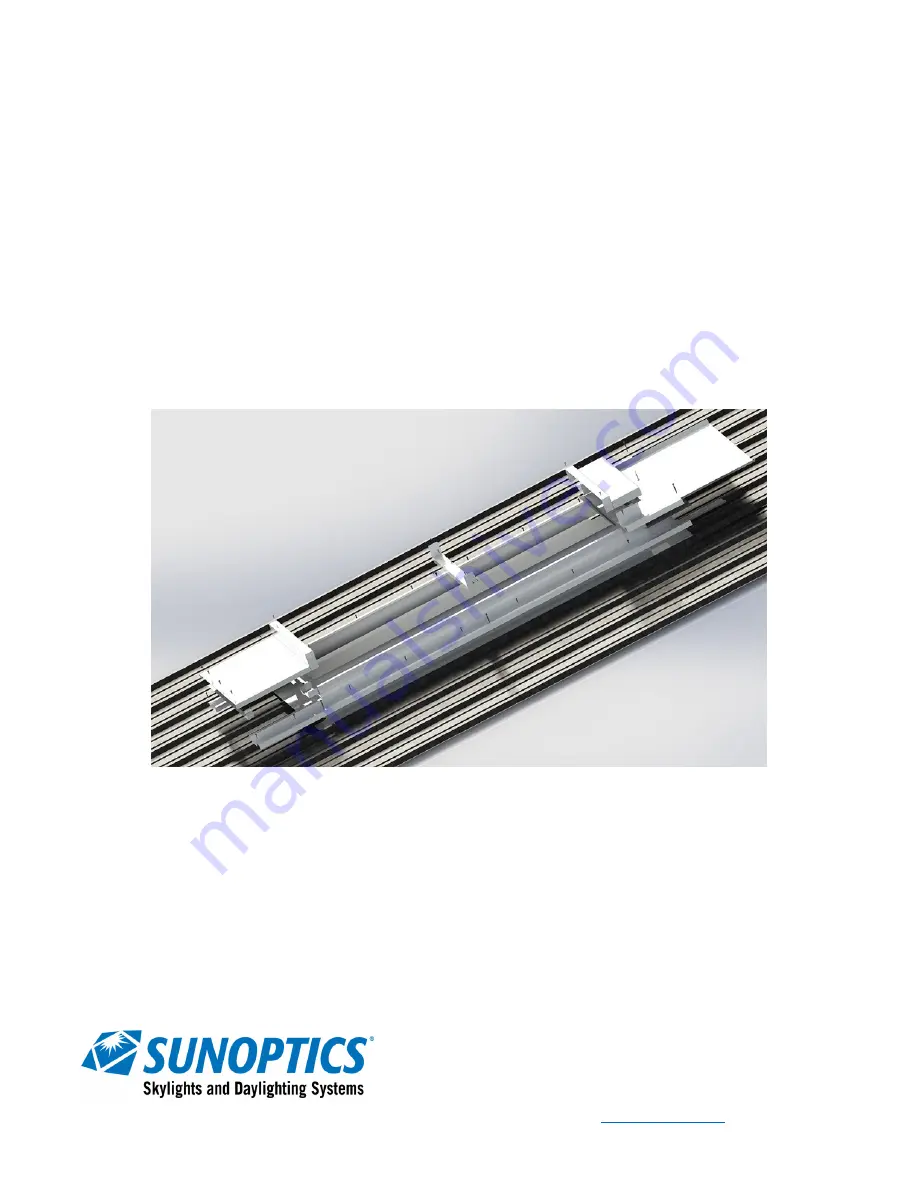
EZY CURB
™
(EZYSA)
Skylight Mounting System for R‐Panel Metal Roofs
INSTALLATION GUIDE
Sunoptics® Skylights and Daylighting Systems


