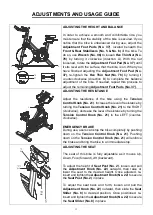
14
22
9
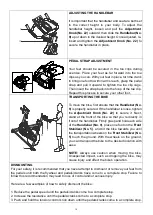
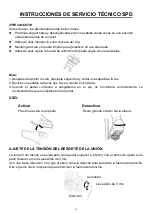
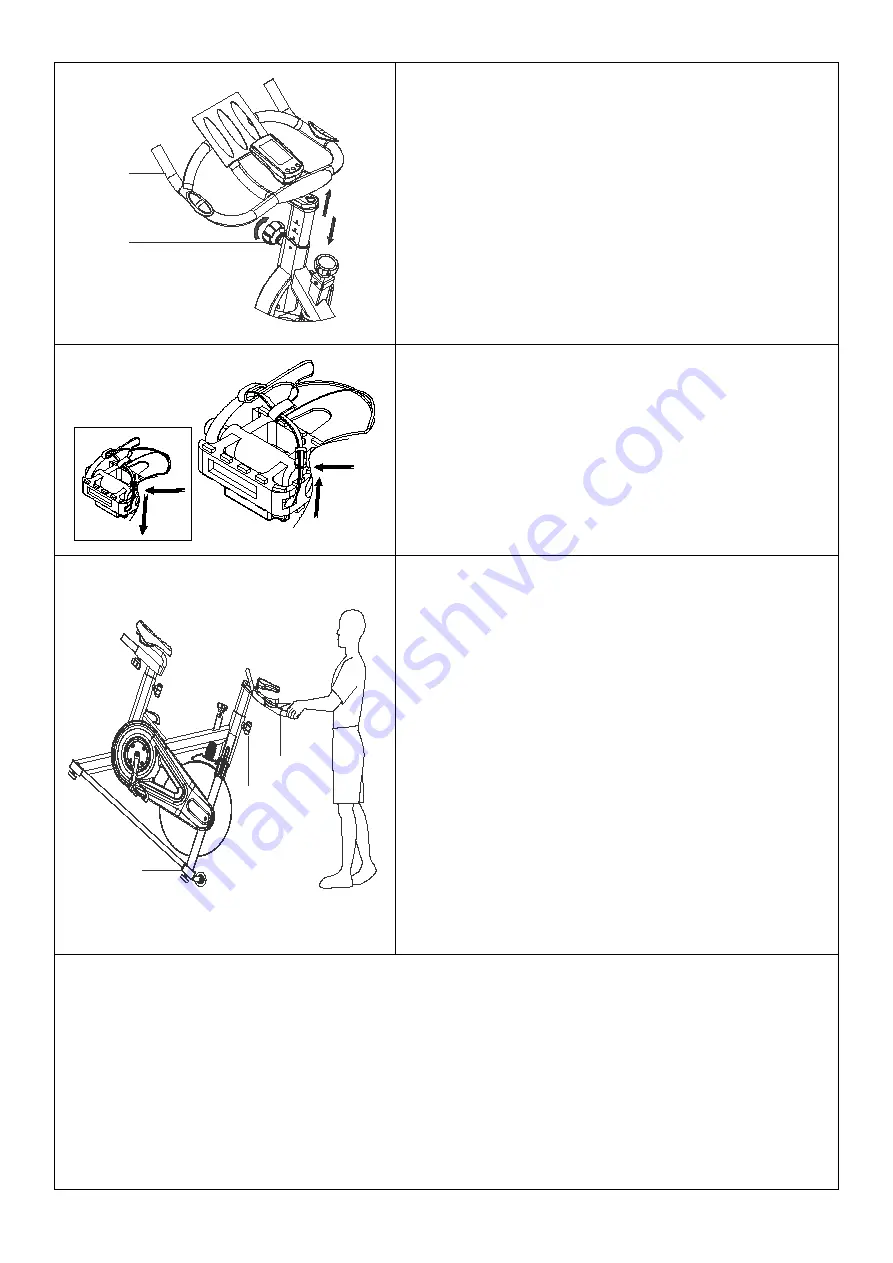
ADJUSTING THE HANDLEBAR
It is important that the handlebar and seat are both set
to the correct height to your body. To adjust the
handlebar height, loosen and pull the
Adjustment
Knob (No. 22)
outward, then slide the
Handlebar (No.
9)
up or down to the desired height. Once adjusted, re-
insert and tighten the
Adjustment Knob (No. 22)
to
secure the handlebar in place.
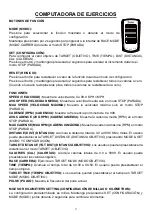
PEDAL STRAP ADJUSTMENT
Your feet should be secured in the toe clips during
exercise. Place your feet as far forward into the toe
clips as you can. With your feet in place, turn the crank
to bring one foot to within arm’s reach, grasp the pedal
strap and pull it upward to tighten the toe clip cage.
Then insert the strap back into the hoop of the toe clip.
Repeat this process to secure your other foot.
9
22
5
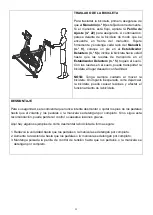
TRANSPORTING THE BIKE
To move the bike, first ensure that the
Handlebar (No.
9)
is properly secured. If the handlebar is loose, tighten
the
Adjustment Knob (No. 22)
to secure it. Next,
stand at the front of the bike so that you’re directly in
front of the handlebar. Firmly grasp and hold each side
of the
Handlebar (No. 9)
, place one foot on the
Front
Stabilizer (No. 5)
, and tilt the bike towards you until
the transportation wheels on the
Front Stabilizer (No.
5)
touch the ground. With the wheels on the ground,
you can transport the bike to the desired location with
ease.
NOTE:
Always use caution when moving the bike.
Unexpected impact, such as dropping the bike, may
cause injury and affect the bike’s operation.
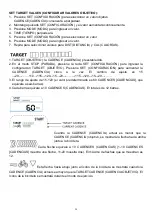
DISMOUNTING
For your safety, it is recommended that you never attempt to dismount or remove your feet from
the pedals until both the flywheel and pedals/cranks have come to a complete stop. Failure to
follow this recommendation may lead to loss of control and/or serious injury.
Here are a few examples of how to safely dismount the bike:
1. Reduce the pedal speed until the pedals/cranks come to a complete stop.
2. Increase the resistance until the pedals/cranks come to a complete stop.
3. Push and hold the tension control knob down until the pedals/cranks come to a complete stop.
Summary of Contents for SYNERGY PRO SF-B1851
Page 55: ......


