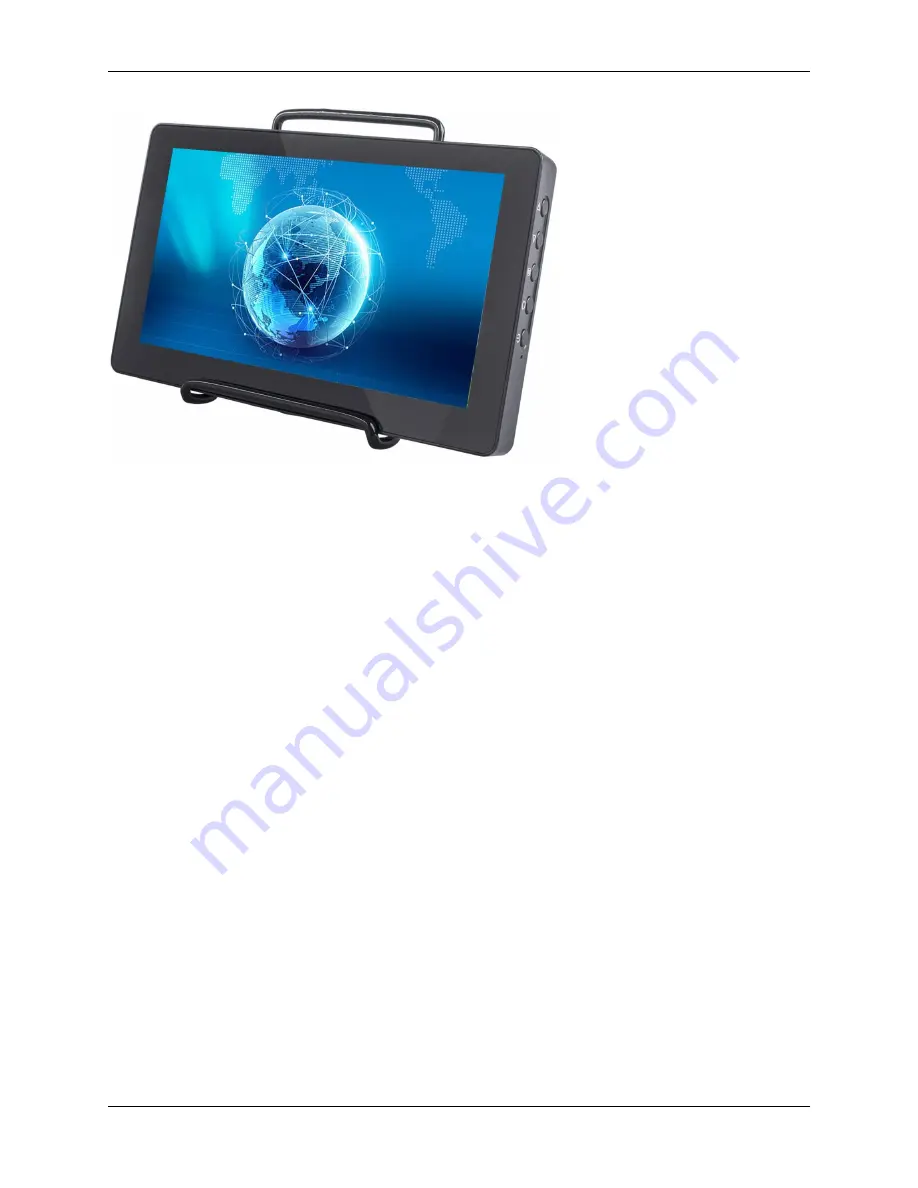
7-inch Touch Screen
Dear Customwers:
Thanks for purchasing SunFounder 7 inch Touchsceen. It uses a premium integrated circuit, which has the advan-
tages of low power consumption, stable performance, no radiation, etc. It is small, easy to use, and secure. The
display applies to computer, Raspberry Pi devices, portable display and so on. It is suitable for the Raspberry Pi 3
model B/B+ and 4 Model B, and has the 1024×600 physical resolution. The resolution is adjustable within the range
640×480~1920×1200.
Please read this instruction carefully for reliable and long-term use and the best audio-visual effects.
Note:
1) Please use the proper power adapter included in the package. Pay attention to using other qualified power
supplies if needed.
2) Do not expose the device to sunlight, neither deposit or use it at too cold, too hot or humid place.
3) Avoid bright light exposure when you use it to ensure good image effect and long-term use of the device.
4) Although shock protection and precautions have been designed inside the device, you should avoid violent
collisions.
5) For the screen equipped with touch display, please avoid excessive force on it when you touch in case of potential
damages on the touch screen surface.
6) Do not use chemical reagent or solvent to clean the device. Please use a piece of soft cloth to wipe the dust on
the device so it can display the beautiful colors as it always does.
7) No adjustable components for users in the device. For nonprofessionals, do not try to open or repair this product
by yourself in case of unwanted damages.
If you have any questions, please send an email to
and we’ll reply as soon as possible.
CONTENTS
1
Summary of Contents for 7-inch Touch Screen
Page 1: ...7 inch Touch Screen www sunfounder com Jul 15 2021 ...
Page 2: ......
Page 4: ...ii ...
Page 6: ...7 inch Touch Screen 2 CONTENTS ...
Page 7: ...3 ...
Page 8: ...7 inch Touch Screen CHAPTER ONE PACKING LIST 4 Chapter 1 Packing List ...
Page 14: ...7 inch Touch Screen 10 Chapter 2 Install the Raspberry Pi OS ...
Page 15: ...CHAPTER THREE QUICK GUIDE 1 Plug the HDMI cable 2 Wire up the USB cable 11 ...
Page 17: ...7 inch Touch Screen 13 ...
Page 18: ...7 inch Touch Screen 14 Chapter 3 Quick Guide ...
Page 19: ...CHAPTER FOUR BUTTON PORT 15 ...
Page 20: ...7 inch Touch Screen 16 Chapter 4 Button Port ...
Page 23: ...CHAPTER SIX ON SCREEN SETTINGS 19 ...
Page 24: ...7 inch Touch Screen 6 1 Menu Item Descriptions 20 Chapter 6 On Screen Settings ...
Page 36: ...7 inch Touch Screen 32 Chapter 8 Product Features ...


