


13.
1
Play Key
14.
3
Stop Key
15.
5 6
Fast Rewind Key/Fast forward Key
16.
4
\
17.
P+/P-
Chanel up/down
18.
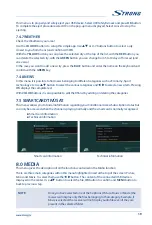
MEDIA
Gives access to Media menu
19.
INFO
Display Current/Next Event name,and Event Information
20.
EPG
Display information about the Program Guide
21.
EXIT
Returns to the previous menu or exits the whole menu
22.
TV/R
Switch TV and radio channels
23.
Mute/ Unmute the sound
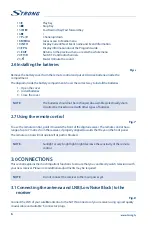
2.6 Installing the batteries
Fig. c
Remove the battery cover from the remote control and put 2x AAA size batteries inside the
compartment.
The diagram inside the battery compartment shows the correct way to install the batteries.
1. Open the cover
2. Install batteries
3. Close the cover
NOTE:
The batteries should not be recharged, disassembled, electrically short-
circuited, be mixed or used with other types of batteries.
2.7 Using the remote control
Fig. 7
To use the remote control, point it towards the front of the digital receiver. The remote control has a
range of up to 7 metres from the receiver, if properly aligned towards the IR eye on the front panel.
The remote control will not operate if its path is blocked.
NOTE:
Sunlight or very bright light might decrease the sensitivity of the remote
control.
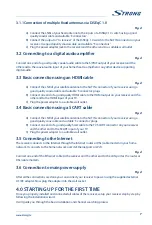
3.0 CONNECTIONS
This section explains the most important functions to ensure that you can directly watch television with
your new receiver. Please note additional adjustments may be required.
NOTE:
Do not connect the receiver to the main power yet.
3.1 Connecting the antenna and LNB (Low Noise Block) to the
receiver
Fig. 8
Connect the LNB of your satellite antenna to the SAT IN connector of your receiver using a good quality
coaxial cable and suitable ‘F-connector' plugs.
6