19
English
English
With
pq
, select the timer you wish to set or change and press
YELLOW
or
OK
to edit it.
The timer setting menu will now be displayed.
Use
pq
to select required parameter.
Use
u
to edit the selected parameter. Use
OK
to confirm changes.
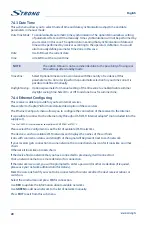
The following settings are available:
Date
:
Use the
0-9
buttons to enter the date for the timed event
Programme Name
:
Press
u
to access the channel list, use
p
/
q
to select a channel and press
OK
to
confirm. The name of this channel will appear in the options line
Start Time
:
Use the
0-9
buttons to enter the time to start the timed event
End Time
:
Optional field to define the ending time for timed event
Duration
:
Optional field for Recorded type to define the duration of timed event
Mode
:
Choose between
Once
,
Daily
(the timer will be executed every day, same time) or
Weekly
(the timer will be executed every week, same day, same time) and
Monthly
(the
timer will be executed every month, same day, same time).
Type
:
Choose between
Channel
(the timer will switch to the selected channel),
On
(the timer
will wake up the receiver),
Standby
(the timer will turn the receiver into standby mode)
or
Recorder
(the timer will start recording the scheduled event)
AD Record
:
Optional field for Recorded type to define will Audio description be recorded for timed
event
Subtitle Record
: Optional field for Recorded type to define will subtitles be recorded for timed event
Teletext Record
: Optional field for Recorded type to define will teletext be recorded for timed event.
When all settings have been made, press
OK
to set timer.
To quit the timer without saving your settings, press
EXIT
.
Use
GREEN
(Delete) to delete selected timer.
Use
RED
(Delete All) to delete all defined timers.
A confirmation banner will be displayed. Select
Yes
to confirm deletion or
No
to discard.
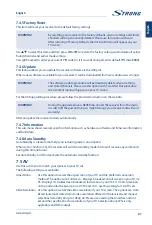
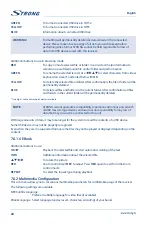
7.4.2 Child lock
This sub-menu allows you to protect the installation menu, some settings and/or access to some
channel preview with PIN-code.
In this sub-menu you can also define new PIN-code.
You will be asked to enter your PIN code.
(DEFAULT PIN: 0000)
Use
pq
to select Optional required parameter.
Use
OK
or
u
to change Optional selected parameter. Use
OK
to confirm changes.
System Lock
:
Locks the installation menu. You can set it to
On
or
Off
.
Parental Rating
: Choose between:
Off
,
4
and up to
18
of age. Channels with a parental rating above the
chosen age will be protected with PIN code (if defined in your local broadcast)
Change Pin Code
: To set or change the PIN code. You will be asked to enter your current PIN-code (or, if
it was not changed, enter default PIN code
0000
), then enter your new PIN code and
confirm it with re-enter it again. Once it is confirmed, a confirmation pop-up window
will appear to tell you that it has been saved successfully. Then your old PIN code will
be replaced with your new PIN code.
Summary of Contents for SRT 8203
Page 2: ...TEXT SUB FAV TV R REC TEXT SUB FAV TV R REC ...
Page 3: ...TEXT SUB FAV TV R REC ...
Page 36: ......
Page 37: ......


