31
Appendix A: 2D Barcode Samples
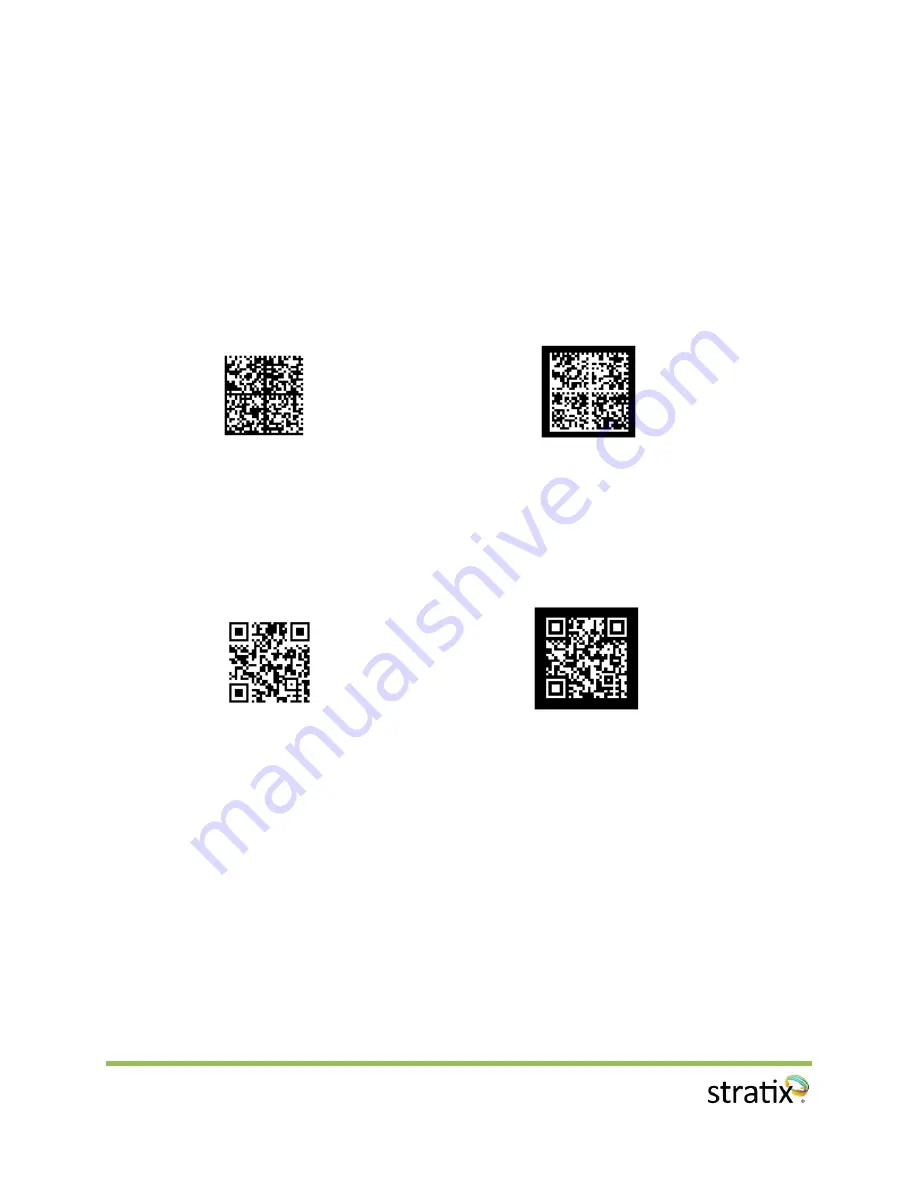
A1. Data Matrix samples
Data Matrix
Positive (dark on light)
Negative (light on dark)
A2. QR Code samples
QR Code
QR Code Negative (light on dark)
Page 1: ...6 17 2015 STRATIX XAMINER EZ 2D BARCODE VERIFIER PRODUCT REFERENCE GUIDE V2 0...
Page 2: ...Grades Window 14 Symbol Statistics Window 16 Chapter 3 User Preferences Options 17 Accessing the Parameter Setup Window 17 Symbol Grades Setting 21 Chapter 4 GS1 Data Structure Validation 22 GS1 Data...
Page 3: ...n within two business days of receipt of your verifier System Requirements Windows 7 32 bit 64 bit Windows 8 32 bit 64 bit Intel Core 2 Duo Processor 2GB of RAM USB port 2 0 Microsoft NET Framework 4...
Page 4: ...3 Figure 1 1 Figure 1 2...
Page 5: ...bigger barcode which the FOV at stand position 1 is too small for the barcode to be verified The FOV at stand position 2 is 1 30 x 1 30 Figure 1 4 white square and the maximum barcode size is 1 2 1 2...
Page 6: ...and position 1 2 Loosen the knob to move down the bottom plate to make enough room for placing the barcode item between top plate and bottom plate 3 Place barcode item on the surface of bottom plate m...
Page 7: ...6 Figure 1 5 a Figure 1 5 b...
Page 8: ...logies QR Code and Data Matrix ECC 200 QR Code The minimum symbol size is 21X21 and the maximum symbol size is 57X57 See Figure 1 6 Data Matrix The minimum symbol size is 10X10 and the maximum symbol...
Page 9: ...x Xaminer eZ 2D click the Stratix Xaminer eZ 2D icon Figure 1 8 on your desktop or open the Start Menu and click on All Programs Stratix Corporation Stratix Xaminer eZ 2D exe Figure 1 9 the main user...
Page 10: ...fier The first time you open Stratix Xaminer eZ 2D you will see the three data windows shown below Figure 2 1 Verification reports are displayed in these windows Figure 2 2 by commanding the Stratix X...
Page 11: ...three principal selections Aiming Scan and Auto Scan Aiming To center a barcode in the FOV of the half circle bracket click the Aiming button This will project the laser beam from the imager scanner S...
Page 12: ...lick Start to begin scanning the barcode When the requested number of scans has been completed the operation will end automatically 5 Completed scans can be viewed by clicking the List button Figure 2...
Page 13: ...red verification reports Previous or Next The Previous or Next button reviews any of the stored verification reports Delete The Delete button deletes the current verification report Empty The Empty bu...
Page 14: ...ernet Explore Brower which the URL is embedded in the barcode of the current verification report Symbol Image Window Symbol image window Figure 2 4 provides the symbol position in the field of view an...
Page 15: ...the symbol data for the barcode and displays the Symbol verification results for the currently selected report User may click the List button on the toolbar to display any verification results of all...
Page 16: ...15 Figure 2 5 b Data Matrix Report...
Page 17: ...measures on certain parameters for all the reports in the active file The measures provided are Min Max Delta and Average for all scanned reports The Statistics parameters including Unused Error Corre...
Page 18: ...ID Miscellaneous Stand Position Setting 1 Select tab Stand Position Figure 3 1 2 Choose 1 or 2 for stand position Default is 1 3 Click OK or Apply button to complete the setting Figure 3 1 Analysis M...
Page 19: ...ing Figure 3 3 Miscellaneous Setting 1 Select tab Miscellaneous Figure 3 4 2 Select desired average scan number in the field labeled Average Scan 3 Enable Disable imager scanner beeper by check unchec...
Page 20: ...he factory parameter settings Figure 3 5 Calibration Check 1 Go to the Tools pull down menu select Calibration Check the Calibration Check window is displayed Figure 3 6 2 Click Start button to start...
Page 21: ...alibration Check Card in the center of the field of view See Figure 3 7 2 The Calibration Check Card must be kept in a clean environment and keep free from damage in order for it to give accurate resu...
Page 22: ...rom which a number of analysis parameters may be chosen These parameters may be changed during the session and the results displayed will be adjusted accordingly Click OK when selections have been mad...
Page 23: ...tifier AI 2 AI Data character 3 AI Data Check Digit 4 AI Data Date Time format 5 AI Data length GS1 Application Identifier Details GS1 Application identifier details Figure 4 1 can be displayed by sel...
Page 24: ...23 Figure 4 1 GS1 Data Structure The GS1 Data Structure button Figure 4 2 on the toolbar will be enabled if the bar code is GS1 Data Matrix or GS1 QR Code Figure 4 2...
Page 25: ...le ID User ID Job ID Time and Error Messages User can configure Export Data by selecting Window on the toolbar then selecting Symbol Grades Setting To export select the Excel icon on tool bar The expo...
Page 26: ...ication report may be exported as a Adobe PDF file for archiving or printing the report To export select the PDF icon on tool bar The export operation automatically opens a PDF file Figure 5 2 with pr...
Page 27: ...26 Figure 5 2...
Page 28: ...27 The PDF report will have the GS1 Data Structure report on the second page of the PDF file for GS1 Data Matrix and GS1 QR Code Figure 5 3 a and 5 3 b Figure 5 3 a...
Page 29: ...ontact Stratix at 1 800 883 8300 if the problems could not be resolved System Error Messages Error ID Error Messages Action Solution ID_1000 Could not find scanner Plug the scanner to the PC USB port...
Page 30: ...Click OK to terminate the application Download and Install Microsoft Visual C 2010 Redistributable Package x86 from the link https www microsoft com en us download details aspx id 5555 ID_1010 Invalid...
Page 31: ...30 Scanner Reset Scan the following three barcode labels in sequence 1 Enable Scanner Parameter Scanning 2 Set Scanner Factory Default 3 Set Scanner SNAPI Mode...
Page 32: ...Appendix A 2D Barcode Samples A1 Data Matrix samples Data Matrix Positive dark on light Data Matrix Negative light on dark A2 QR Code samples QR Code Positive dark on light QR Code Negative light on d...