3
MAS TER
TEM PO
PL AY
ON
SYN C
EFFECT SELECT
SC RATCH
EFFECT ON
FOLDER/SKIP +
SE AR CH
FOLDER OUT
BP M
LOOP ADJ+
FOLDER IN
EFFECT SELECT
SC RATCH
EFFECT ON
FOLDER/SKIP +
SE AR CH
FOLDER OUT
BP M
LOOP ADJ+
FOLDER IN
MAS TER
TEM PO
PL AY
ON
SYN C
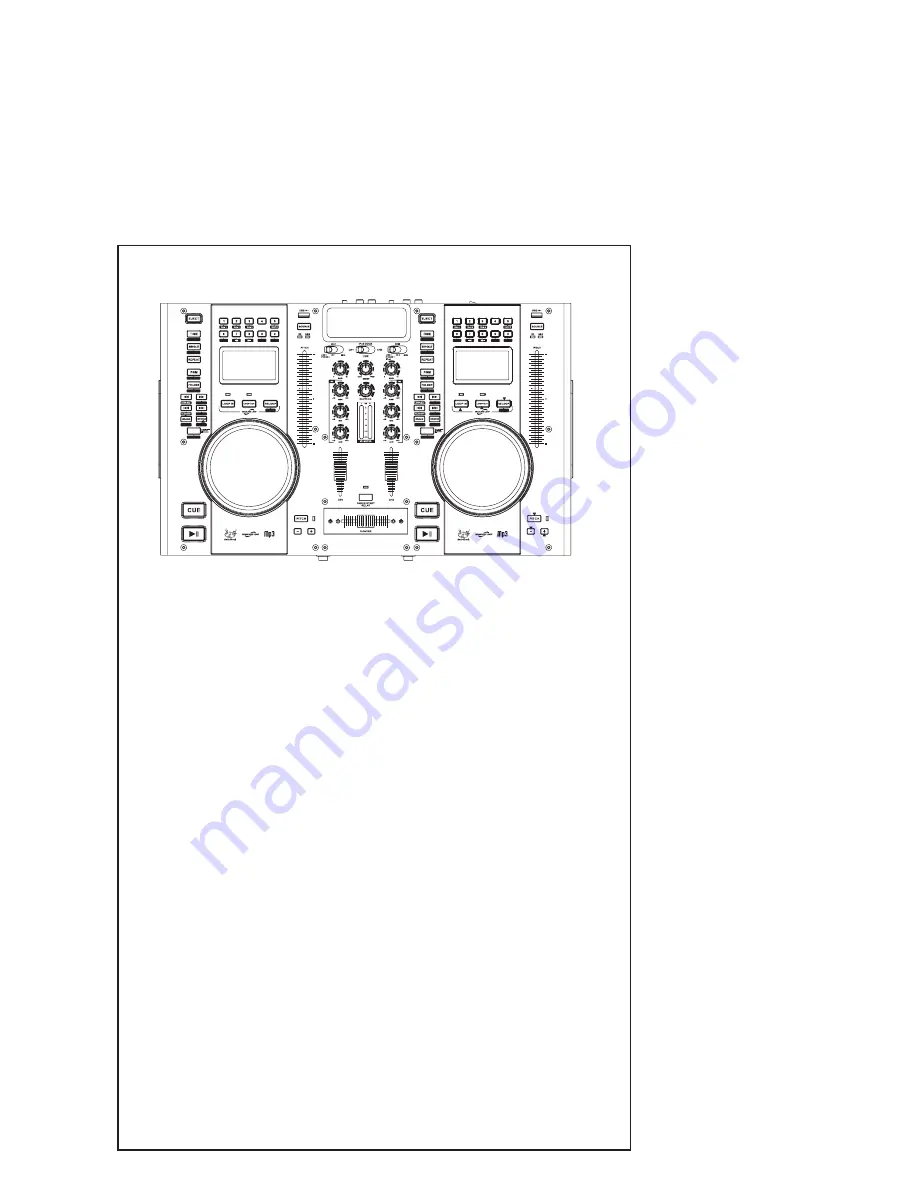
Quick Start Guide
Quick Start Guide
Achieving maximum benefit of the vast features of this product requires review
of the supplied manual and may take considerable time. However we realize
that you are likely eager to put this device to use immediately. For that reason,
we have assembled this brief Quick Start page. You won’t even need an external
system. A pair of headphones is fine!
(1) Make sure the rear power switch is in
the OFF position, and connect the unit to
AC power.
(2) Set all rotary controls in the center of the
console to the mid position.
(3) Make sure all slide controls are in the
center position.
(4) Set the CH1 and CH2 toggles (just below
the iPod™ dock) to the CD1 and CD2 positions.
(5) On the front of the unit, next to the headphone
jack, set the CUE VOL to the minimum position.
(6) Plug in a set of headphones into the
HEADPHONES jack.
(7) Turn the rear power switch to the ON position.
(8) Both blue displays will light and blink
READING. After a few seconds will read NO DISC.
(9) Press both red EJECT buttons, cd trays will open.
(10) Place a CD in each tray and press the buttons again.
(11) Press the white play button on both the CD1
and CD2 side.
(12) Slowly adjust the CUE volume on the front
panel, you will hear both CD's playing simulataneously
(13) Adjust the CUE/PGM Mixing control
(directly above MASTER VOL in center)
to the full PGM position
(14) Slide the X-Fader (crossfader) to
the left and right, you will belnd from one
CD to the other.
(15) Press both SCRATCH buttons twice
so they blink red.
(16) Slide the PITCH controls up and down
to see the full pitch-bend effect
(17) quickly rotate the scratch wheels
back and forth to achieve simulated
scratch effects on the CD.
(18) Press the LOOP IN, wait a few seconds
and press LOOP OUT. Notice the sample
loop that is repeated. Press LOOP OUT
again to resume.
(19) Insert USB thumb drives into both
the CH1 and CH2 side, then press the
white play button on both sides to pause
each CD.
(20) Press each SOURCE button under
each USB thumb drive to switch from
CD to USB mode.
(21) Press both white play buttons, you
will have the same functions on MP3
files as you did with CD's.
(22) Set the MASTER VOL control to the
minimum position (center of panel).
(23) Using either the XLR or RCA type
MASTER outputs, connect to your external
sound system.
(24) Adjust MASTER VOL to desired level.
Summary of Contents for 555-19520
Page 2: ...2...


