Page 10
WARNING
!
Be sure that the machine is disconnected from
the power source.
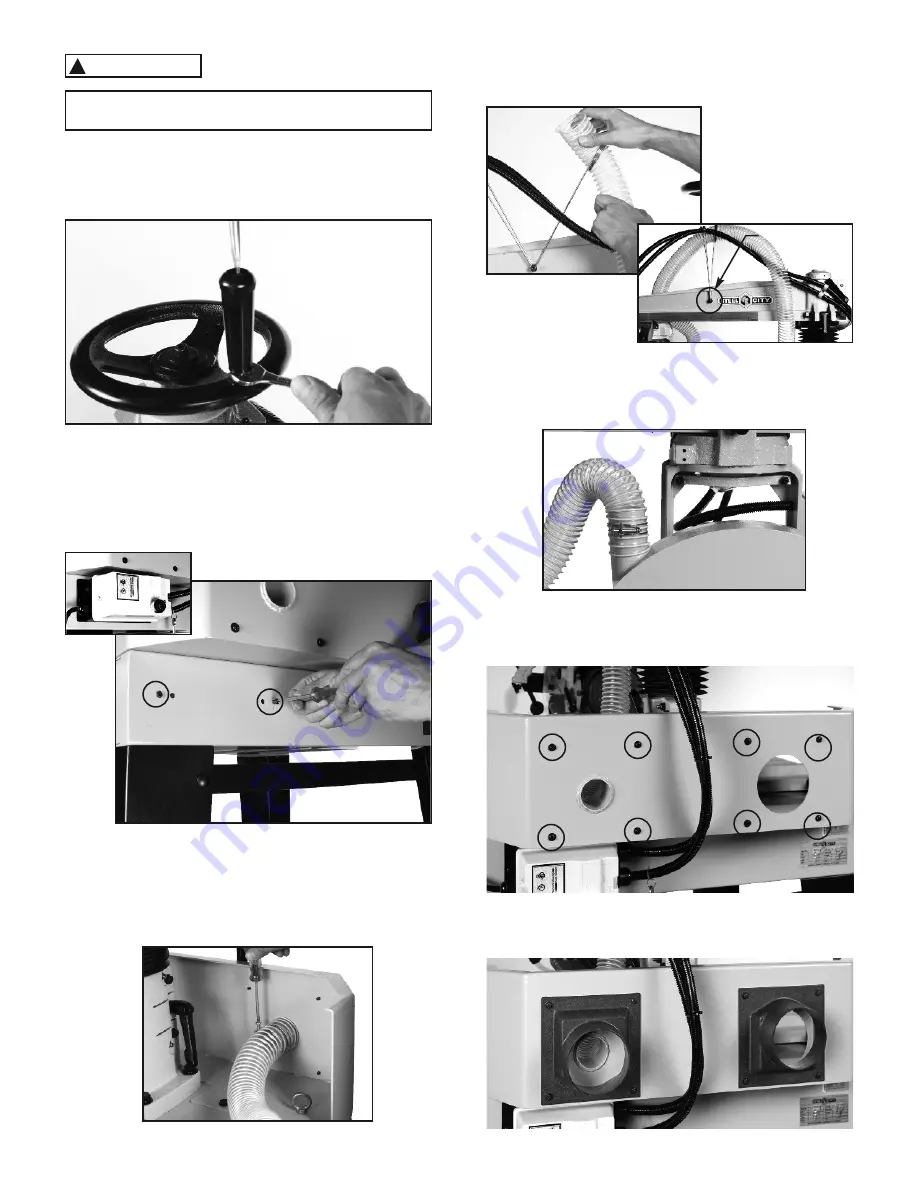
◊ HANDLE
Thread the handle into the handwheel using a screwdriver
and secure the handle by tightening the jam nut using a
wrench.
◊ ELECTRICAL BOx
Remove the 2 screws at the back of the machine and align
the electrical box mounting holes with the corresponding
holes in the machine, then secure the box to the stand using
the two screws.
◊ DUST HOSE
1. Slide the hose clamp onto the end of the dust hose.
2. Slide the hose end onto the outlet, then secure it by
tightening the hose clamp.
3. Slide the hose through the hose holder, then secure it
in the vertical position by tightening the cap screw.
4. Slide the last hose clamp on the hose slide and the hose
onto the blade cover outlet, then secure with the hose
clamp.
◊ DUST PORT
1. Remove the 8 screws at the back of the machine.
Cap screw
2. Secure the two dust ports to the support with the 8
screws.
Summary of Contents for 10-722
Page 21: ...Page 21 PART LISTS A...
Page 22: ...Page 22...
Page 23: ...Page 23 B...
Page 24: ...Page 24...
Page 25: ...Page 25...
Page 26: ...Page 26 C...
Page 27: ...Page 27...
Page 28: ...Page 28 D...
Page 29: ...Page 29...
Page 30: ...Page 30...
Page 31: ...Page 31 E...
Page 32: ...Page 32...
Page 33: ...Page 33...
Page 34: ...Page 34...
Page 35: ...Page 35...
Page 36: ...Page 36 u NOTES u...


