Instruction Manual
7
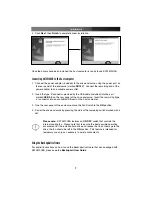
4. Click
Next
, then
Finish
to complete driver installation.
Once the drivers have been installed, the host computer is ready to use SAT3510U2B.
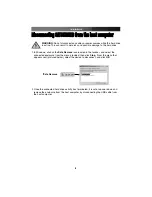
Connecting SAT3510U2B to the host computer
1. Connect the power adapter (included) to the drive enclosure, using the power port on
the rear panel of the enclosure (marked
DC12V
). Connect the remaining end of the
power adapter to an available power outlet.
2. Insert the type ‘b’ connector provided by the USB cable (included) into the port
marked
USB 2.0
on the rear panel of the drive enclosure. Insert the remaining (type
‘a’) connector into an available USB port on the host computer.
3. One the rear panel of the enclosure, move the Fan Switch to the
ON
position.
4. Power the drive enclosure by pressing the side of the remaining switch marked with a
dot.
Please note:
SAT3510U2B features an
ON
/
OFF
switch that controls the
internal cooling fan. Please note that to ensure the best possible operating
environment for the installed hard drive and reduce the risk of damage to the
drive, the fan should be left in the
ON
position. This feature is intended for
temporary use only, as necessary to quiet environments.
Using the Backup4all software
For explicit instructions on how to use the Backup4all software that was packaged with
SAT3510U2B, please see the
Backup4all User Guide
.


