EyeLink Portable Duo Host Software
©
2016-2017 SR Research Ltd.
23
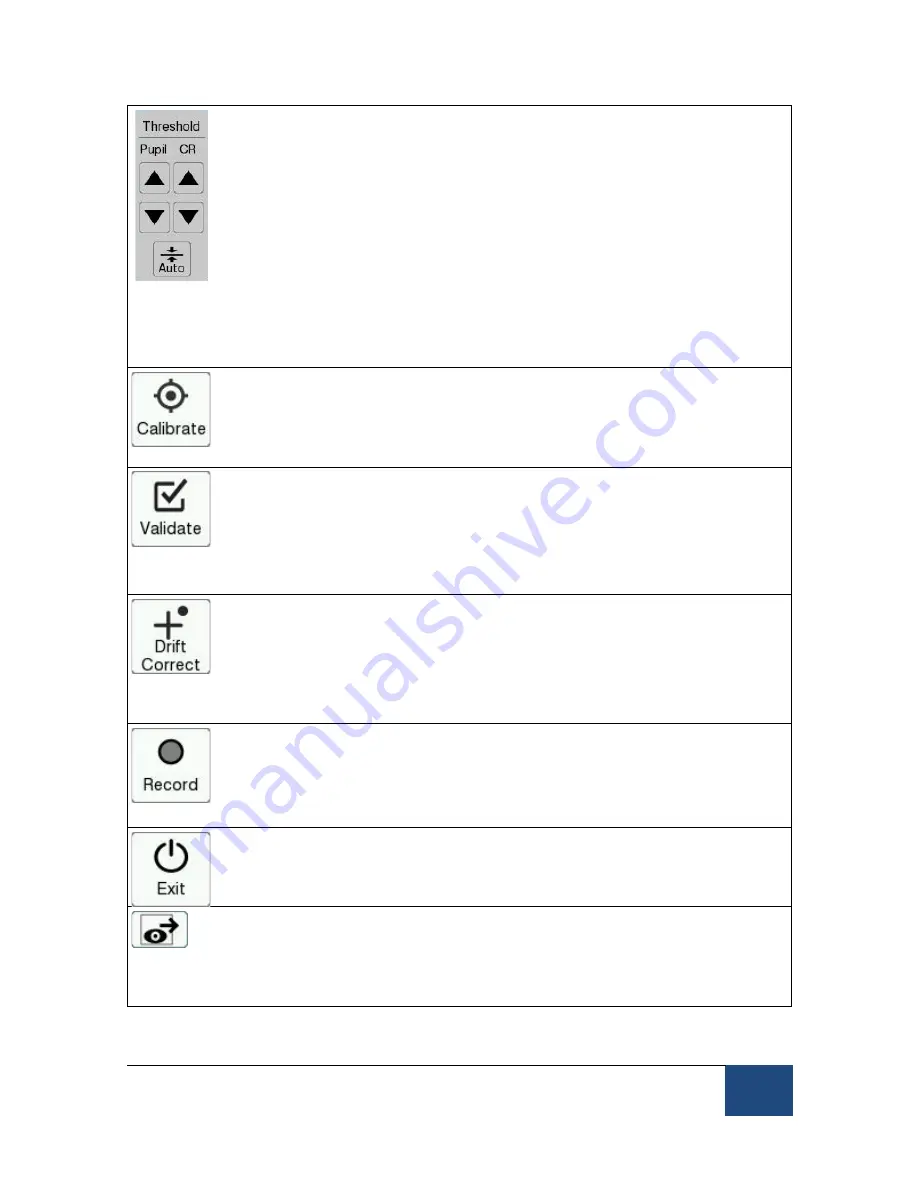
Clicking the UP / DOWN buttons manually increases or decreases
the selected pupil threshold or CR threshold. If you click the “Auto”
button the Host PC will automatically compute the pupil and CR
threshold levels. Fine-tuning may be necessary.
Keyboard Shortcuts:
⇑
and
⇓
increase and decrease pupil threshold
respectively; + and - increase and decrease CR threshold
respectively; A = Auto Threshold. For the Head-Stabilized Mode,
pressing the key automatically computes the pupil and CR
thresholds for the selected eye image; for the Remote Mode, it centers the
search limit area on top of the current eye position, and resets the pupil/CR
threshold bias.
Click to go to the ‘Calibration’ screen. After setting up the camera
and adjusting thresholds, users need to calibrate the system for
proper gaze recording.
Keyboard Shortcut: C = Go to Calibration screen
Click ‘Validate’ to go to the Validation screen. Validation shows the
experimenter the gaze position accuracy achieved by the current
calibration model. Validation should be run
after
a calibration has
been performed.
Keyboard Shortcut: V = Go to Validation screen
Click to go to the ‘Drift Check’ or ‘Drift Correct’ screen. A Drift
Check/Correction is recommended before each trial to ensure that
accuracy of the calibration parameters is maintained. Generally this
is initiated via the application running on the Display PC.
Keyboard Shortcut: D = Go to Drift Check/Drift Correct screen
Click to start eye tracker recording. This is generally initiated by the
application running on the Display PC, so is most useful when using
the EyeLink eye tracker in the standalone mode.
Keyboard Shortcut: O = Go to ‘Record’ screen
Click to exit the Host Application or to shut down the Host PC.
Select to present the camera image on the Display PC monitor. This
button will only be available when a display program is running on
Display PC to control the eye tracker.
Keyboard Shortcut: ENTER = toggle sending images over link


