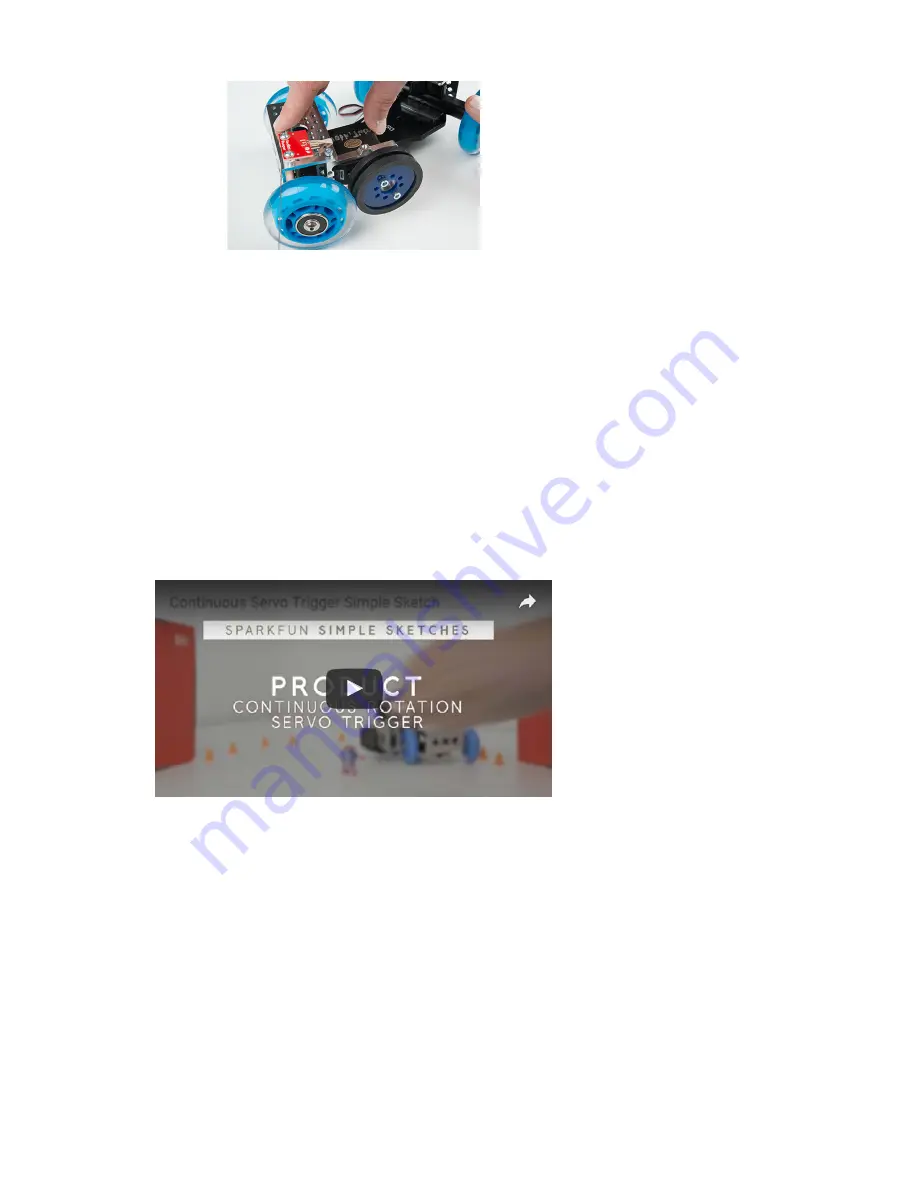
The bracket channel was simply placed over the axle bolt on the cart
chassis. A rubber band was looped around the assembly, putting tension
on the servo, so that the drive wheel gently touched one of the skate
wheels.
On the other end of the cart, a 1.5" channel was placed over the other pivot.
This allowed both axles on the cart to be spaced evenly, ensuring that all
four skate wheels touch the tabletop. It also gave us some holes to mount
the front whisker switch and a place to secure the battery and other
electronics.
Testing Results
The first time out was somewhat disappointing – the cart would drive until
the first switch closed, then stall. It turns out the battery was nearly
discharged! After a couple hours charging from a USB port, it behaved as
expected.
We adjusted the trimmers so it drove slowly in both directions, with a
medium transition time, so it wouldn’t skid or jerk as it turned around.
Resources and Going Further
Resources
• For more background information on servo motors, check out the
Hobby Servo Tutorial.
• We’ve got continuous rotation servos in both micro and standard
sizes.
• The design files for the Servo Trigger PCB and firmware can be
found in the Servo trigger Github Repository
Going Further
• If you’re ambitious, you can program the Servo Trigger with your own
custom firmware. Consult the Servo Trigger Programming Guide for
details.
Continuous Servo Trigger Simple Sketch
Page 12 of 13


