7
1. LCD DISPLAY -- Indicates test results.
2. ENTER BUTTON--Confirms a selection (or action) from a menu.
3. ESC BUTTON -- Returns to previous menu.
4/5. UP/DOWN BUTTONs-- Move cursor up or down for selection.
6/7. RIGHT/LEFT BUTTONs -- Move cursor right or left for selection; Or turn page up or
down when more than one page is displayed.
8. USB PORT -- Connects to computer to update the AUTO SCANNER online.
9. Cable with OBD II CONNECTOR -- Connects the AUTO SCANNER to the vehicle.
3.2 Specifications
Display: 2.8" TFT colour LCD screen
Input voltage range: 8~16V
Operating temperature: 0 to 50° °C (32 to 122 ° F°)
Storage temperature: -20 to 70 C (-4 to 158 F°) @ RH60% °
Outline dimension: 11.5*8*2CM (L *W *H)
Weight: 200g (7.12 oz)
3.3 Accessories Included
User Manual -- Show the user how to operate the tool.
CD -- Include the software.
USB cable -- Connect to a computer for upgrading online.
3.4 Power supply
The power of the Car scanner is provided via the vehicle Data Link
Connector (DLC). Follow the steps below to power it up:
A. Find DLC on vehicle: A plastic DLC cover may be found for some vehicles and you
need to remove it before plugging the OBDII cable.
B. Plug the connector at the end of OBD II cable to the vehicle.
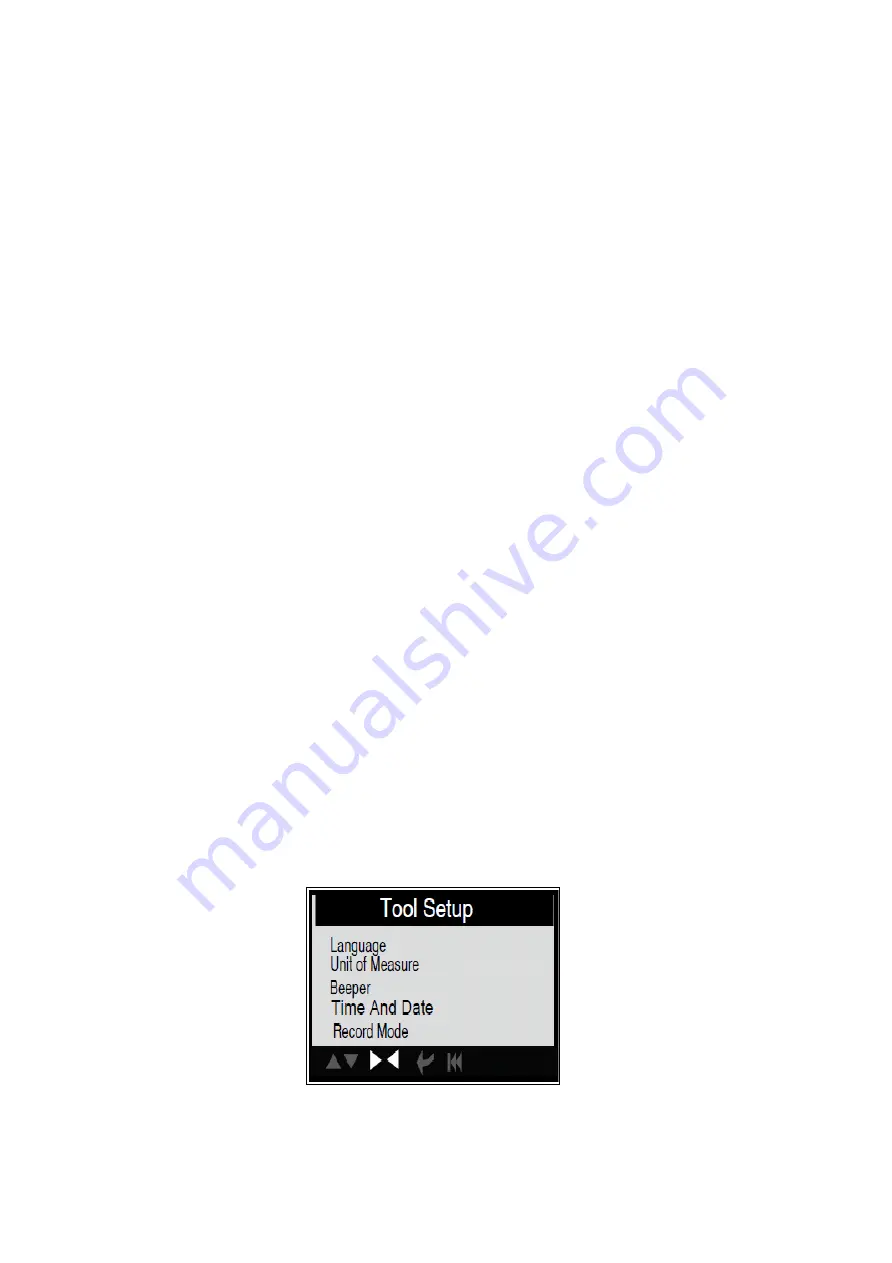
3.5 Tool Setup
Select [Tool Setup] in the Main Menu and press [ENTER], the screen will display the
interface as shown below:
to make the following adjustments, settings:


