Cue Points
During playback, pressing the FILES button will set a cue point. The previous cue point is always
displayed with green text in the lower left-hand corner of the OSD. To quickly jump to the next or
previous cue point, tap the Fast Forward (
>>
) button or Rewind (
<<
) button respectively.
Looping
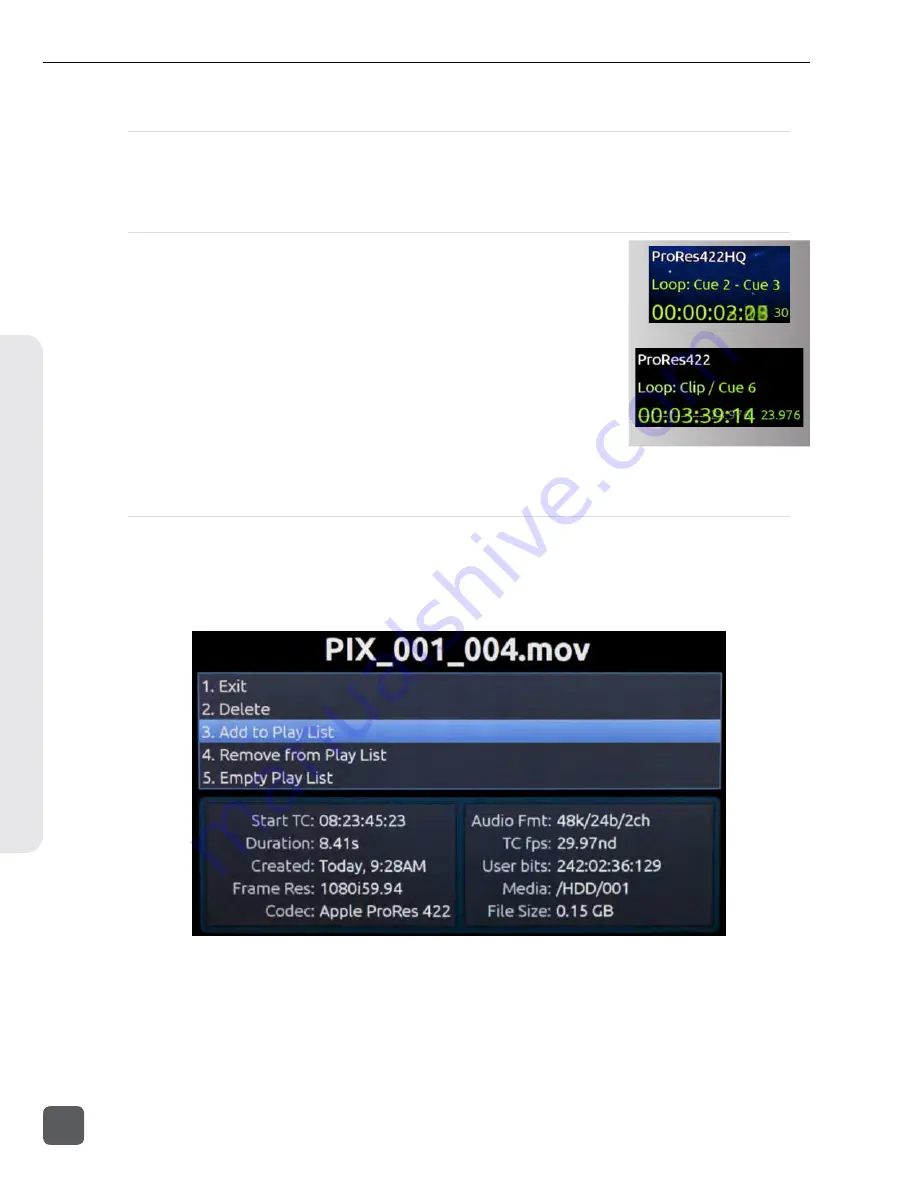
Looping playback can be enabled between consecutive cue points or
the beginning and end of the current clip. To toggle Looping Mode and
begin looping the currently playing clip, hold the Play (
) button for
1 second during Shuttle Mode or Playback Mode. “Loop: Clip” will be
displayed with green text in the bottom left-hand corner of the OSD.
To loop between two consecutive cue points, hold down the Play
(
) button and press the Fast Forward (
>>
) button while playback is
in between the two cue points. The two points that are being looped
between will be displayed in green text in the bottom left-hand corner
of the OSD. To return to looping the entire clip, hold down the Play (
)
button and press the Rewind (
<<
) button.
To exit Looping mode, hold down the Play (
) button for 1 second.
Play List
Files can be added a play list in order to play them back sequentially. Play list functions are accessed
from the File Detail view of any file. To access the File Detail view of a file:
1.
Push the FILES button to view the File List.
2.
Highlight the desired file, then push in on the Control Knob to enter the File Details view.
Add to Play List
will add the file to the end of the play list.
Remove from Play List
will remove the
file from the play list and decrease the position of all files above in the play list.
Empty Play List
will
clear the play list completely (note that this function affects the entire play list).
Looping between cue points
Looping entire clip
PIX 220i and PIX 240i Video Recorder User Guide and Technical Information
36
v. 3.51
Features and specifications are subject to change. Visit www.sounddevices.com for the latest documentation.
Pla
ybac
k


