XDCAM Workflow Guide
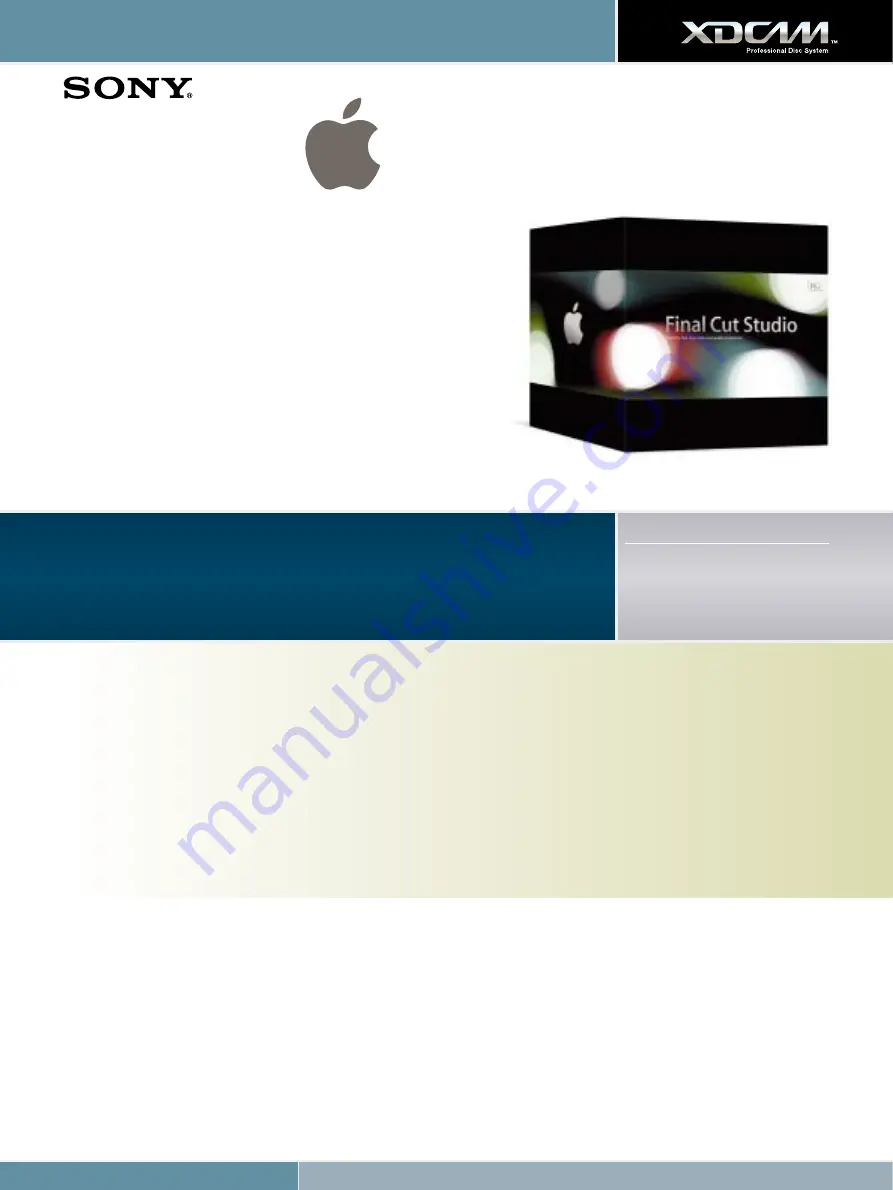
Final Cut Studio 2
Final Cut Studio 2 is the new standard for HD post-production, with
integrated, real-time tools designed to help you deliver beautiful HD
programming on impossibly tight deadlines. Start with Final Cut Pro for
editing of virtually any format – DV, SD, HDV, DVCPRO HD, XDCAM HD,
fully uncompressed HD as well as Apple’s new ProRes 422 production
format. Add 3D motion graphics in real time with Motion, the fastest way
to animate and express your creative vision. Sculpt, mix and repair audio
using Soundtrack Pro, the only audio application designed from the
ground up for HD production work. Finish with Color, the newest addition
to the Studio, that allows professional color grading that can elevate the
quality of any production. Finally, deliver your finished production in the
format of your choice using Compressor.
1. Connecting to XDCAM
You can choose two types of XDCAM Professional Disc device to use with Final Cut Pro:
XDCAM decks and camcorders
, connected through i.LINK to your Mac with
File Access Mode (FAM) activated.
PDW-U1 stand-alone XDCAM drive
, connected through USB 2.0 to your Mac.
In both cases, when a Professional disc is inserted into the drive, it will show up in the Finder, just like any other removable storage.
2. Import to Final Cut Pro
Select
File>Import>Sony XDCAM... to launch the import window of the XDCAM Transfer application, which will be connected to your Final Cut Pro
project. Metadata will be automatically transferred from the XDCAM disc and thumbnails will be generated for each clip; this information is cached on
your Mac enabling the disc contents to be viewed while the disc itself is not connected. Optionally, the proxy version of each clip can also be cached on
your Mac. The clip metadata includes information about A/V format, bit-rate, number of audio channels and so on.
Final Cut Studio 2
Supported File Formats
MPEG IMX (50/40/30 Mb/s)
DVCAM
MPEG HD (35/25/18 Mb/s),
50/60i, 25p, 30p, 23.98p


