23
Operation
Adjusting the Printouts
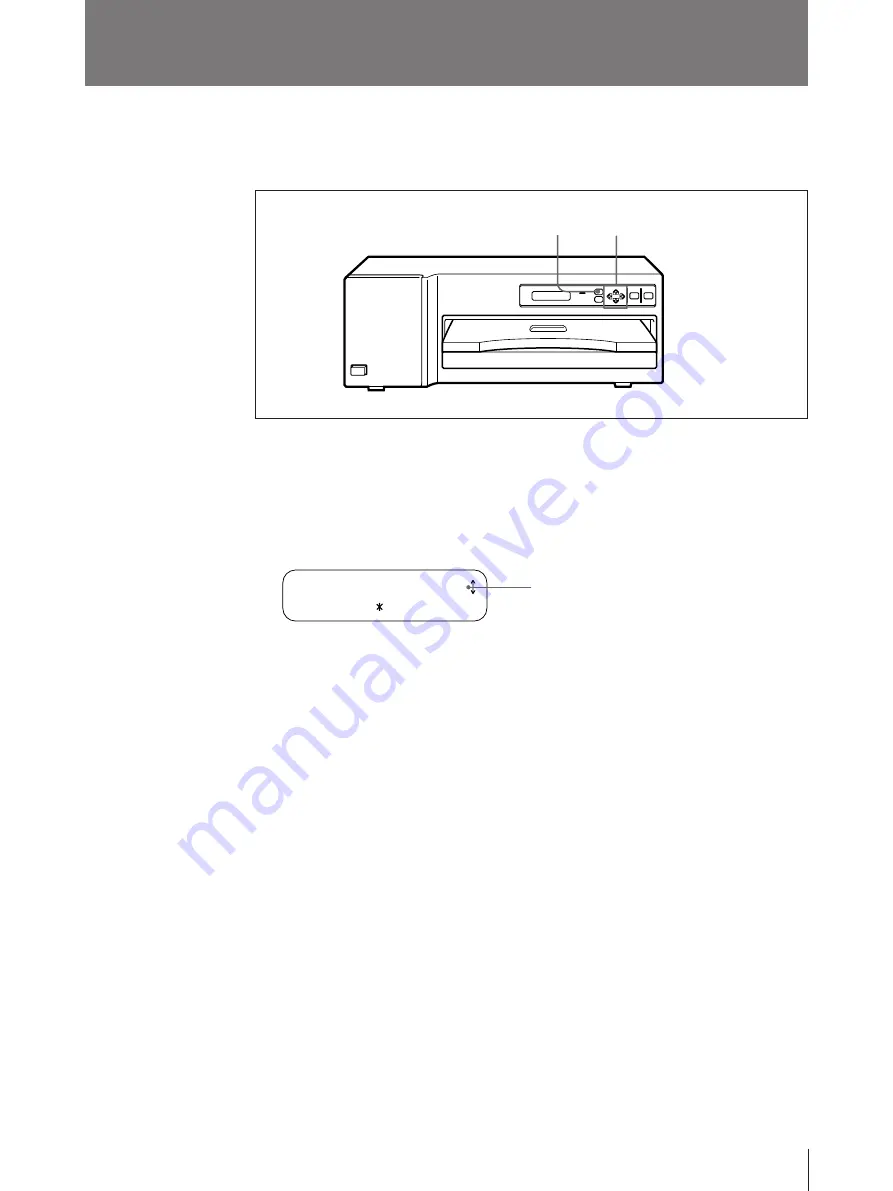
You can adjust the picture quality of a printout with the MENU button before
printing. The most recent setting remains effective until changed.
1
Press the MENU button.
2
Display the COLOR ADJUST menu by pressing the
◊
or
√
button.
The first item of the printout adjust menu (for RED) appears in the printer
window display. The default or preset level is shown both as a value and
graphically.
_
RED
:
0
_ _ _ _ _ _ _ _ _ _ _ _ _
3
Perform ajdustment.
1
Select the item for adjustment by using the
◊
or
√
button.
√
: Scrolls up to the next item.
◊
: Scrolls down to the previous item.
2
Adjust the level by pressing the
ı
or
∫
button.
You can adjust the level for RED, GREEN and BLUE of the color, DARK
and LIGHT of the tone and GAMMA of the half tone between –32 to +32.
The center of the graph and the value 0 is the standard level.
∫
Increases the level.
ı
: Decreases the level.
The sharpness can be adjusted among 4 levels: NONE /LOW/MIDDLE/
HIGH.
The LAMINATION can be adjusted among 5 kinds of the lamination types:
OFF/Glossy/NonGlare/Texture/Matte.
Default level (or preset level)
1, 4 2, 3
(Continued)


