1-12
UP-D70/D70A (UC,CE)
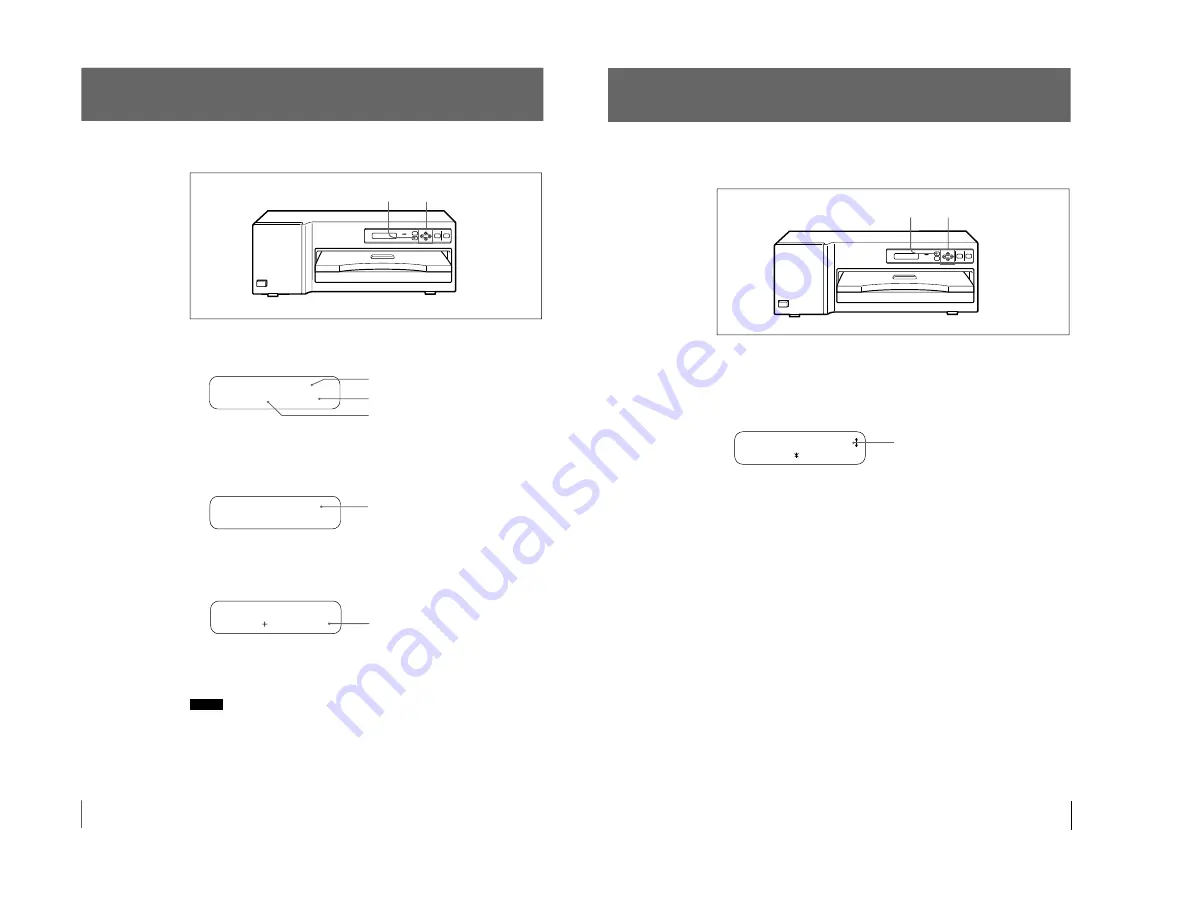
Setting the Print Quantity
You can set a print quantity value up to 20 before or during printing.
1
Press the PRINT QTY button.
The print quantity setting menu is displayed in the printer window display.
(
CO L OR 1 0 0
)
PR I N T QT Y :
1
2
Set the quantity with the
ı
or
∫
button.
ı
: The number increases.
∫
: The number decreases.
When you keep the button pressed, the number changes quickly.
(
CO L OR 1 0 0
)
PR I N T QT Y :
1 2
3
To exit from the print quantity setting menu, press the PRINT QTY button
again.
The printer window display returns to standby status and you can print the
number of copies of the renewed setting.
A 4 QT Y 1 2
RE ADY
When the print paper runs out during printing
Load the print paper in the paper tray and press the PRINT button. The printer
prints the remaining copies.
Notes
• When you turn off the power, the print quantity setting is reset to 1.
• You can also set the print quantity from the application software. The most
recently set quantity remains effective until changed.
• The “QTY” value in the printer window display decreases each time one
printout comes out to indicate the remaining copies to be printed.
Number of printouts the remaining ribbon can
afford.
1, 3
2
Current setting
Type of ink ribbon being loaded
(COLOR, B&W, LAMI)
Printing quantity changes.
Renewed setting
22
Operation
Adjusting the Printouts
You can adjust the picture quality of a printout with the MENU button before
printing. The most recent setting remains effective until changed.
1
Press the MENU button.
2
Display the COLOR ADJUST menu by pressing the
◊
or
√
button.
The first item of the printout adjust menu (for RED) appears in the printer
window display. The default or preset level is shown both as a value and
graphically.
_
RED
:
0
_ _ _ _ _ _ _ _ _ _ _ _ _
3
Perform ajdustment.
1
Select the item for adjustment by using the
◊
or
√
button.
√
: Scrolls up to the previous item.
◊
: Scrolls down to the next item.
2
Adjust the level by pressing the
ı
or
∫
button.
You can adjust the level for RED, GREEN and BLUE of the color, DARK
and LIGHT of the tone and GAMMA of the half tone between –32 to +32.
The center of the graph and the value 0 is the standard level.
∫
Increases the level.
ı
: Decreases the level.
The sharpness can be adjusted among 4 levels: NONE /LOW/MIDDLE/
HIGH.
The LAMINATION can be adjusted among 5 kinds of the lamination types:
OFF/Glossy/NonGlare/Texture/Matte.
Default level (or preset level)
1, 4 2, 3
(Continued)
23
Operation


