


2-37 (E)
SRX-T615
2-6-1. Correcting the Color Space “sRGB (709)”
1. Start the SRX Controller, then click the [SERVICE] tab. (Refer to Section 2-1-3.)
The [SERVICE] screen is displayed.
2. Select “sRGB (709)” in [Color Space] of the [COLOR SPACE CONVERTER].
3. Click
the
[RESET]
button.
4. Click
the
[APPLY]
button.
The color space function becomes OFF, and then the characteristics of this unit can be measured.
5. Select “Gray-10” in [Test Pattern Select].
6. Measure the value of x and y at the center of screen using the color meter.
7. Enter the measured value of x and y in the W box of “Projector Color Gamut” in [COLOR SPACE
CONVERTER].
8. Project “Red-1”, “Green-1”, and “Blue-1” in [Test Pattern Select] and measure the x and y values in
the center of the screen.
9. Enter the measured values in step 8 in the “R”, “G”, and “B” fields of [Projector Color Gamut].
10. Click the
[CALC]
button.
11. Click the
[APPLY]
button.
12. Project “Gray-10”, “Red-1”, “Green-1”, and “Blue-1” again and measure the x and y values in the cen-
ter of the screen.
13. Confirm that the error between the measured values in step 12 and the value of [Target Color Gamut]
is within
?
0.005.
t
Gamma may be misaligned when specifications are not satisfied. Readjust the gamma in this case.
n
When adjusting color space DCDM or AdobeRGB, purchase an optional trimming filter kit and perform
the adjustment after replacement of a trimming filter. A correct color does not appear even if you perform
adjustment before replacement.
When replacing the trimming filter, contact your local Sony Sales Office/Service Center.
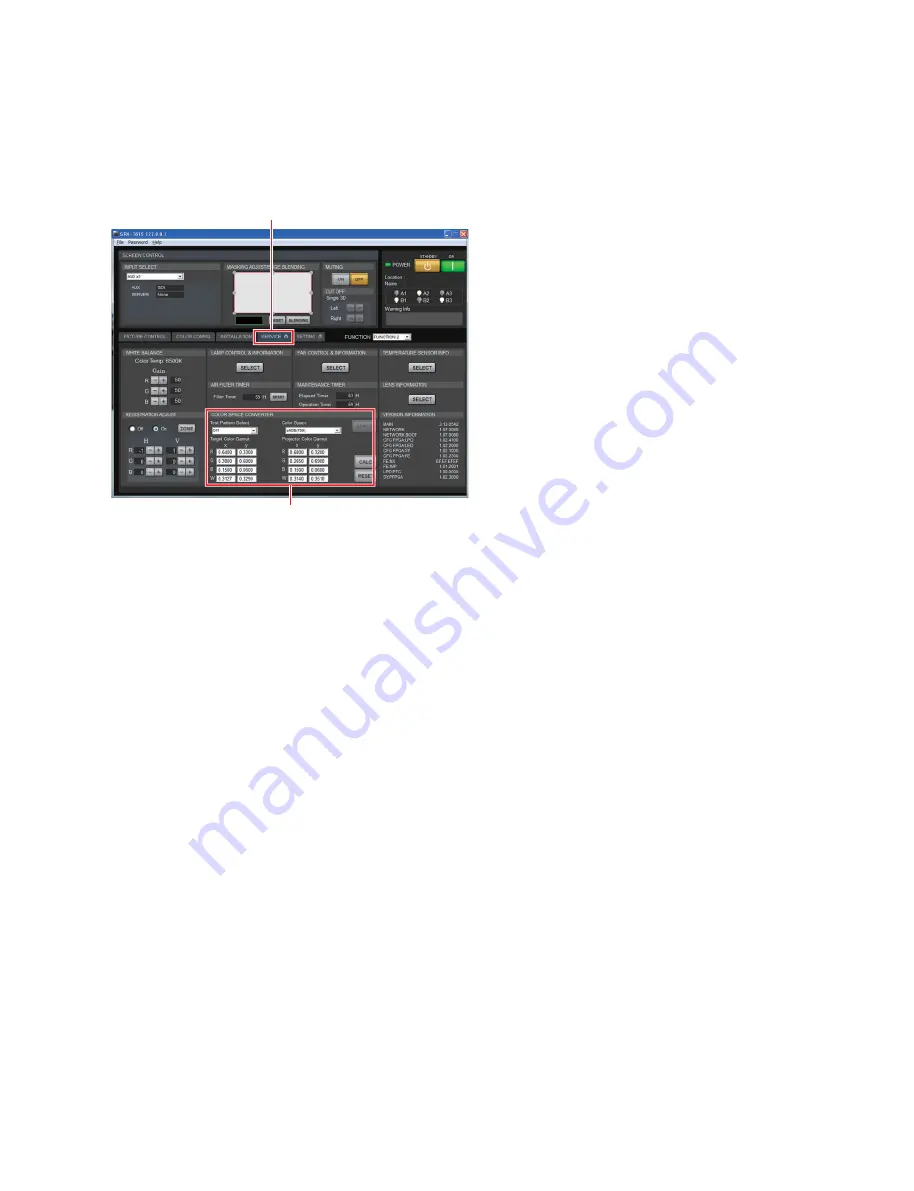
Screen example
[SERVICE] tab
[COLOR SPACE CONVERTER]


