A
d
mini
s
tra
ting
t
he
Came
ra
Configuring the System — System setting Page
14
Default frame rate
Select the initial frame rate which is selected when you
log in this unit and display the main viewer.
Click the down-arrow button in the box and select the
frame rate from the drop-down list.
The selectable frame rates are the following:
For the NTSC camera:
1
,
2
,
3
,
4
,
5
,
6
,
8
,
10
,
15
,
20
,
25
,
Fastest
For the PAL camera:
1
,
2
,
3
,
4
,
5
,
6
,
8
,
12
,
16
,
20
,
Fastest
The numbers indicate “FPS” (the number of frames
transmitted per second).
With
Fastest
, the camera transmits the maximum
number of frames possible for the connected line. The
maximum frame rate is 30 FPS (NTSC) or 25 FPS
(PAL).
Note
To update the main viewer for the changed setting, click
Refresh
of the browser.
Default URL
Select
/index.html
.
Exclusive control mode
Limits the pan operation of the camera.
If you select
Off
, multiple users can pan the camera at
the same time. The operation by the user accessed later
has priority.
If you select
On
, only one user can pan the camera. The
period of operation allowed to one user is determined by
the Operation time setting. If a user tries to operate the
camera while another user is operating it, the control
right is limited according to the Operation time and
Maximum wait number settings.
Operation time
Sets the period that one user can operate the camera
exclusively, between
10
and
600
sec.
This setting is valid when the Exclusive control mode
menu is set to
On
.
Maximum wait number
Sets the maximum number of users that can wait to
control the camera while another user is operating the
camera. The selectable number is between
0
and
20
.
This setting is valid when the Exclusive control mode
menu is set to
On
.
Notes
• Before using the Exclusive control mode, you need to
set the date and time correctly on this unit and the
connected computer.
• When you use the Exclusive control mode, enable the
Cookie on your browser. The Exclusive control mode
does not function if the Cookie is disabled.
• After you have changed a setting of the Exclusive
control mode menu, click
Refresh
of the browser to
update for the changed setting.
System log_V1.1
Click
View
to display the Log file Events page.
The Log file Events page shows the software version and
troubleshooting information.
Access log
Click
View
to display the Access Log page.
The Access Log page shows the history of accessing this
unit.
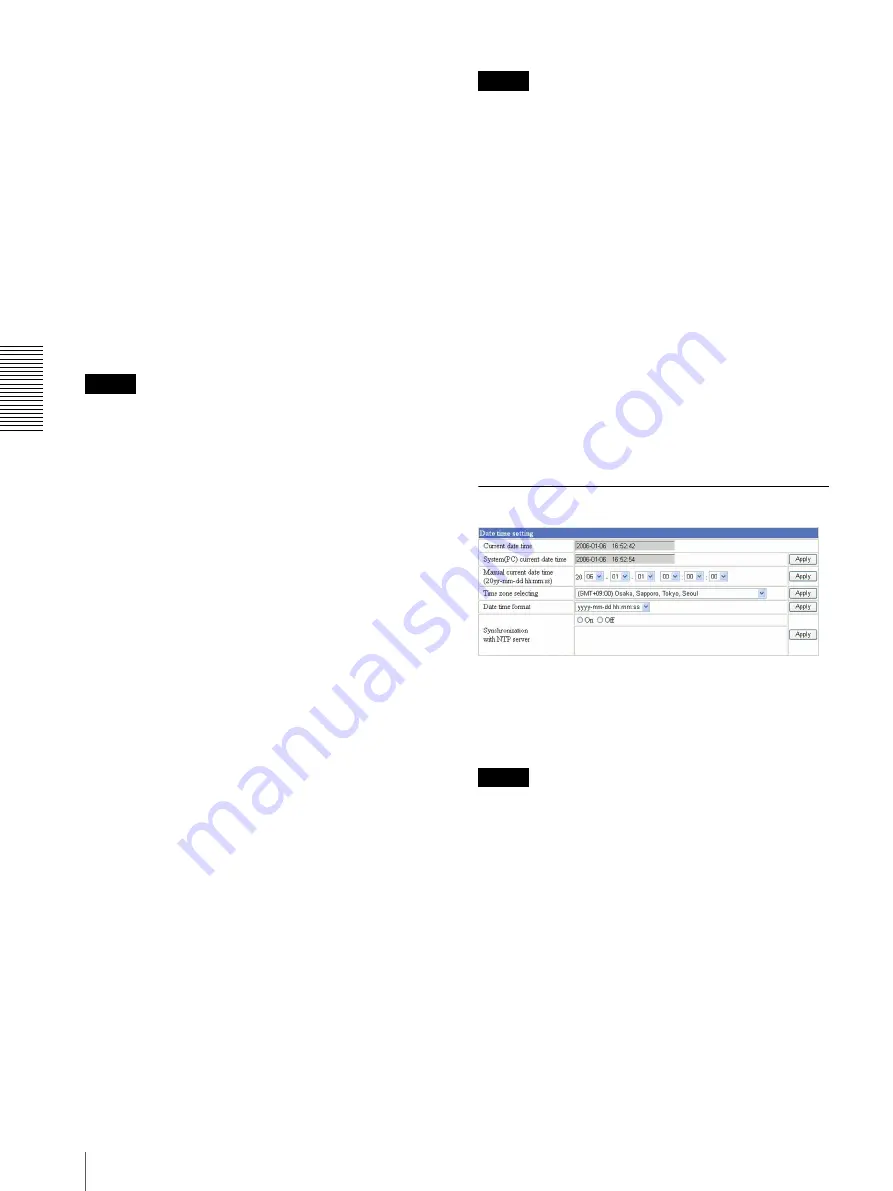
Date time setting Section
Current date time
Displays the date and time set on this unit.
You can set the date and time using the following two
methods.
Note
When you purchased this unit, be sure to check the date
and time of this unit and set them if necessary.
System (PC) current date time
Displays the date and time set on your computer.
Click
Apply
to transfer the computer’s date and time to
this unit.
The set date and time are shown on Current date time.
Manual current date time
When you want to set this unit’s date and time manually.
Select the lower 2-digits of the year, month, date, hour,
minutes and seconds from each drop-down list. Click
Apply
to update the Current date time setting to the date
and time you selected.


