85
Se
tti
n
gs
a
nd
Adj
u
st
m
e
n
ts
Audio Settings (Audio)
The “Audio” setup allows you to adjust the
sound according to the playback and
connection conditions.
1
Press SYSTEM MENU while the
recorder is in stop mode.
2
Select “SETUP,” and press ENTER.
3
Select “Audio,” and press ENTER.
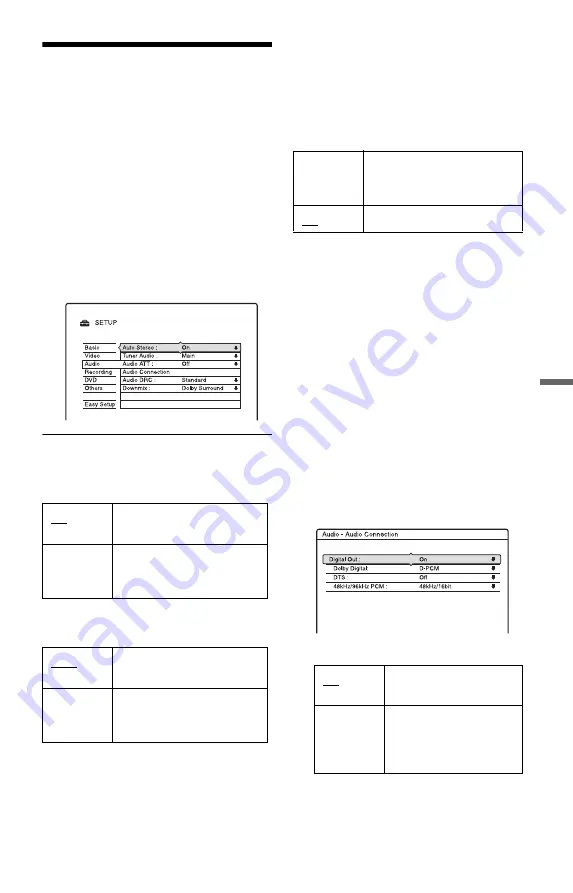
The “Audio” setup appears with the
following options. The default settings
are underlined.
Auto Stereo
This function is effective only when “Tuner
Audio” is set to “Main.”
Tuner Audio
Selects the sound to be recorded.
b
Note
If no SAP sound is received, the main sound is
recorded regardless of the setting.
Audio ATT (attenuation)
If the playback sound is distorted, set this
item to “On.” The recorder reduces the audio
output level.
This function affects the output of the
following jacks:
– LINE OUT R-AUDIO-L jacks
Audio Connection
The following setup items switch the method
of outputting audio signals when you connect
a component such as an amplifier (receiver)
with a digital input jack.
For connection details, see “Step 3:
Connecting the Audio Cords” on page 18.
Select “Dolby Digital,” “DTS,” and “48kHz/
96kHz PCM” after setting “Digital Out” to
“On.”
If you connect a component that does not
accept the selected audio signal, a loud noise
(or no sound) will come out from the
speakers, and may affect your ears or cause
speaker damage.
1
Select “Audio Connection” in “Audio,”
and press ENTER.
2
Select “Digital Out,” and press ENTER.
3
Select “On,” and press ENTER.
4
Set the digital output signal.
On
Receives stereo programs.
Normally select this.
Off
Select this to reduce noise.
The sound changes to
monaural.
Main
Records only the main
sound.
SAP
Records only the SAP
(Second Audio Program)
sound.
On
Select this when the playback
sound from the speakers is
distorted.
Off
Normally select this position.
On
Normally select this
position.
Off
The influence of the
digital circuit upon the
analog circuit is
minimal.
,
continued


