²²
.);%5;%5
.
50<50<
+L/HYHO&XW2II$GMXVWPHQW
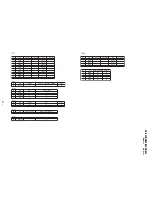
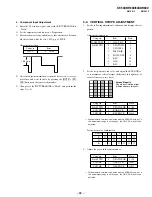
1) Enter the Video window signal, and set the PICTURE MODE
to “Vivid”.
2) Connect an oscilloscope to the CN702 on the BB board.
Measurement positions
R
pin
5
(TP742)
G
pin
3
(TP743)
B
pin
1
(TP744)
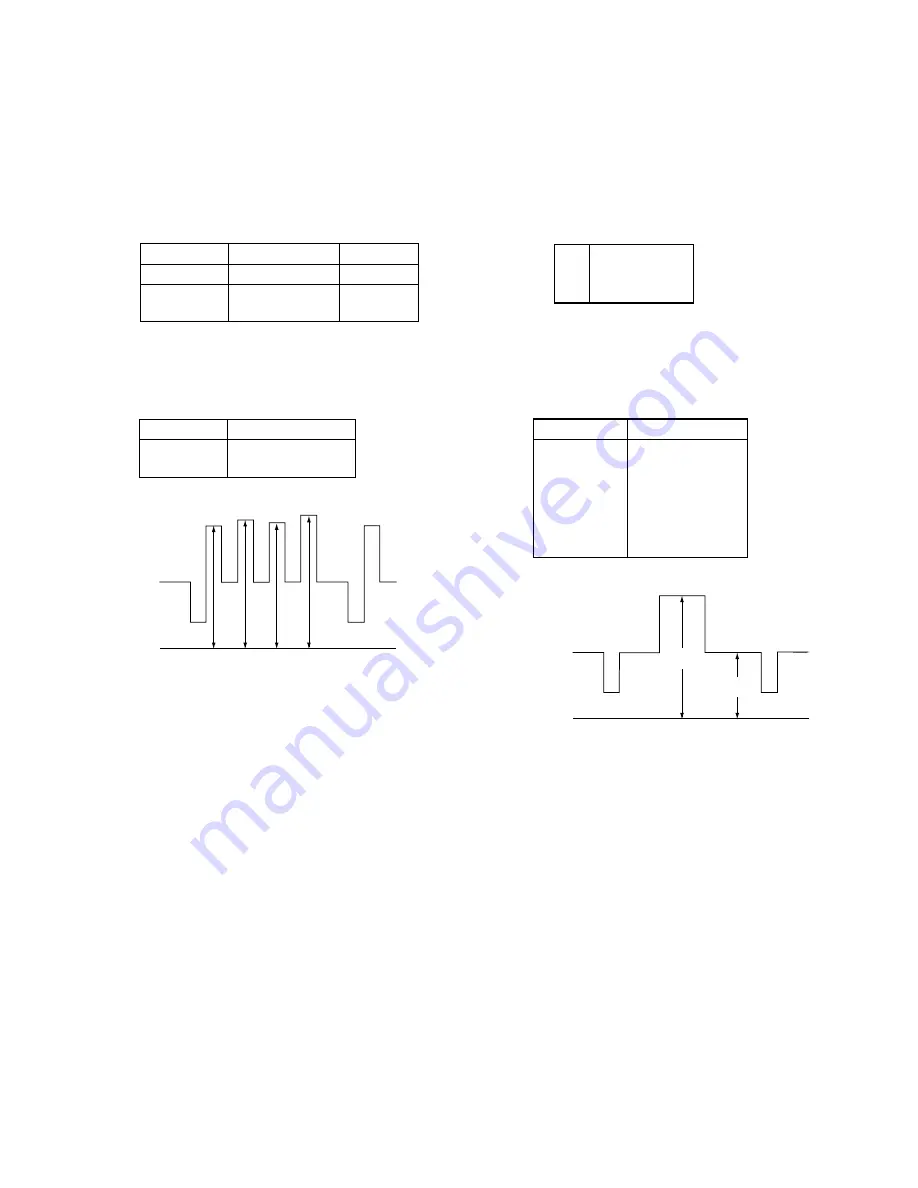
3) For each output waveform of R, G, and B, repeat respective
adjustment items so as to attain H/L = 3.90 V
(
1 STEP and C/
O = 2.20 V
(
1 STEP.
Adjustment position
Category
Item
MCP ADJ1
0
RDRV
1
RCUT
2
GDRV
3
GCUT
4
BDRV
5
BCUT
&RPSRQHQW,QSXW$GMXVWPHQW
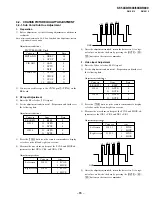
1) Enter the Component 480i color bar (100%) signal.
2) Set the adjustment conditions in 1. Preparation, and further set
the following data.
Adjustment conditions
Category
Item
Data
P-BOOST1
0
BSET
0
2103-1
22
ATPD
0
23
DCTR
0
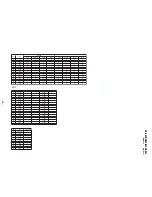
3) Measure the waveform, and repeat the SCOL and SHUE ad-
justments so that VB1 = VB4, and VB2 = VB3.
Adjustment position
Category
Item
2170P-4
0
COL
1
HUE
*1'
9% 9% 9%
9%
4) After the adjustment finished, return the data set in 2) to origi-
nal values, and write the data by pressing the
[MUTE]
+
[EN-
TER]
buttons on the remote commander.
5) Enter the Component 1080i color bar (100%) signal.
6) Set the adjustment conditions in 1. Preparation, and perform
adjustment in step 3).
7) After the adjustment finished, return the data set in 6) to origi-
nal values, and write the data by pressing the
[MUTE]
+
[EN-
TER]
buttons on the remote commander.
8) Enter the Component 480p signal. Set same values as those
adjusted in 6) and write the data by pressing the
[MUTE]
+
[EN-
TER]
buttons on the remote commander.
9) Enter the Component 720p signal. Set same values as those
adjusted in 6) and write the data by pressing the “
[MUTE]
+
[ENTER]
buttons on the remote commander.
10) Enter the Component 1080i signal. Set same values as those
adjusted in 6) and write the data by pressing the “
[MUTE]
+
[ENTER]
buttons on the remote commander.
*1'
+/
&2
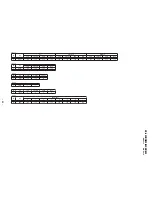
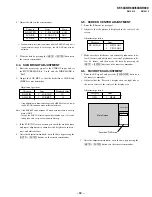
4) After the adjustment finished, write the data by pressing the
[MUTE]
+
[ENTER]
buttons on the remote commander.
5) Change over the PICTURE MODE to “Mild”, and perform the
steps 3) and 4).
6) Enter the Component 480i window signal, and change over the
PICTURE MODE to “Vivid”.
7) Perform the steps 3) to 5).
8) Enter the Component 1080i window signal, and change over
the PICTURE MODE to “Vivid”.
9) Perform the steps 3) and 4).
10) Enter the Component 480p signal. Set same values as those
adjusted in 9) and write the data by pressing the
[MUTE]
+
[EN-
TER]
buttons on the remote commander.
11) Enter the Component 720p signal. Set same values as those
adjusted in 9) and write the data by pressing the
[MUTE]
+
[EN-
TER]
buttons on the remote commander.
Summary of Contents for KF-60XBR800 - 60" Xbr Grand Wega™ Rear Projection Television
Page 13: ... 5 5 50 50 2 5 5 029 8 0 2 5 6 5 029 2 3 M board BB board 4 BC board 1 U board 2 1 5 3 4 ...
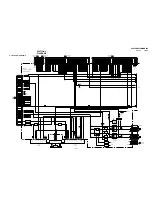
Page 82: ... 5 5 50 50 6FKHPDWLF LDJUDP RI RDUG ...
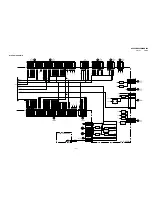
Page 83: ... 5 5 50 50 6FKHPDWLF LDJUDP RI RDUG ...
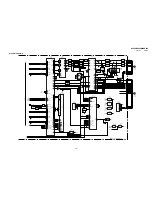
Page 84: ... 5 5 50 50 6FKHPDWLF LDJUDP RI RDUG ...
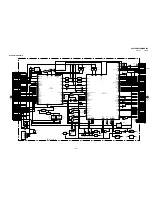
Page 85: ... 5 5 50 50 6FKHPDWLF LDJUDP RI RDUG ...
Page 86: ... 5 5 50 50 6FKHPDWLF LDJUDP RI RDUG ...
Page 87: ... 5 5 50 50 6FKHPDWLF LDJUDP RI RDUG ...
Page 88: ... 5 5 50 50 6FKHPDWLF LDJUDP RI RDUG ...
Page 89: ... 5 5 50 50 6FKHPDWLF LDJUDP RI RDUG ...
Page 90: ... 5 5 50 50 6FKHPDWLF LDJUDP RI RDUG ...
Page 91: ... 5 5 50 50 6FKHPDWLF LDJUDP RI RDUG ...
Page 92: ... 5 5 50 50 6FKHPDWLF LDJUDP RI RDUG ...
Page 93: ... 5 5 50 50 6FKHPDWLF LDJUDP RI RDUG ...
Page 94: ... 5 5 50 50 6FKHPDWLF LDJUDP RI RDUG ...
Page 95: ... 5 5 50 50 6FKHPDWLF LDJUDP RI RDUG ...
Page 96: ... 5 5 50 50 6FKHPDWLF LDJUDP RI RDUG ...
Page 97: ... 5 5 50 50 6FKHPDWLF LDJUDP RI RDUG ...
Page 98: ... 5 5 50 50 6FKHPDWLF LDJUDP RI RDUG ...
Page 99: ... 5 5 50 50 6FKHPDWLF LDJUDPV RI RDUGV ...
Page 100: ... 5 5 50 50 6FKHPDWLF LDJUDP RI RDUG ...
Page 101: ... 5 5 50 50 6FKHPDWLF LDJUDP RI RDUG ...
Page 102: ... 5 5 50 50 6FKHPDWLF LDJUDP RI 0 RDUG ...
Page 103: ... 5 5 50 50 6FKHPDWLF LDJUDP RI 0 RDUG ...
Page 104: ... 5 5 50 50 6FKHPDWLF LDJUDP RI 0 RDUG ...
Page 106: ... 5 5 50 50 6FKHPDWLF LDJUDP RI DQG 7 RDUG ...
Page 107: ... 5 5 50 50 6FKHPDWLF LDJUDP RI 0 RDUG ...
Page 108: ... 5 5 50 50 6FKHPDWLF LDJUDP RI 0 RDUG ...
Page 109: ... 5 5 50 50 6FKHPDWLF LDJUDP RI 0 RDUG ...
Page 110: ... 5 5 50 50 6FKHPDWLF LDJUDP RI 0 RDUG ...
Page 111: ... 5 5 50 50 6FKHPDWLF LDJUDP RI 8 RDUG ...
Page 112: ... 5 5 50 50 6FKHPDWLF LDJUDPV RI 8 RDUGV ...
Page 113: ... 5 5 50 50 6FKHPDWLF LDJUDP RI 8 RDUG ...
Page 114: ... 5 5 50 50 6FKHPDWLF LDJUDP RI 8 RDUG ...
Page 115: ... 5 5 50 50 6FKHPDWLF LDJUDP RI 8 RDUG ...
Page 122: ... 5 5 50 50 2 5 RPSRQHQW 6LGH 2 5 RQGXFWRU 6LGH 0 025 67 ...
Page 123: ... 5 5 50 50 0 0 2 5 RPSRQHQW 6LGH 0 2 5 RQGXFWRU 6LGH 5 0 ...
Page 127: ... 5 5 50 50 2 5 RPSRQHQW 6LGH 2 5 RQGXFWRU 6LGH 1 ...
Page 128: ... 5 5 50 50 2 5 RPSRQHQW 6LGH 2 5 RQGXFWRU 6LGH 6 5 6 32 5 6 7 ...

