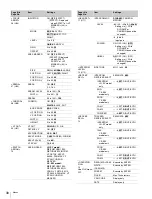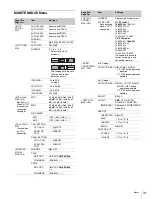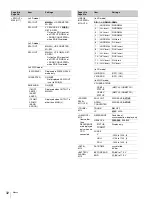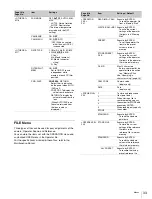
28
Menus
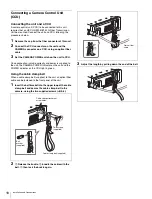
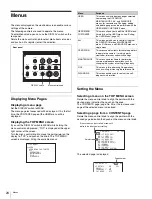
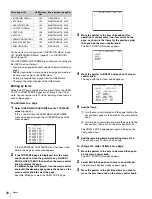
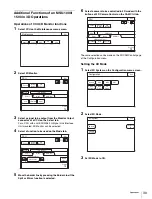
The EDIT FUNCTION screen appears.
2
Select MOVE then push on the menu control knob.
The EDIT PAGE screen appears again.
3
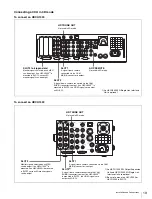
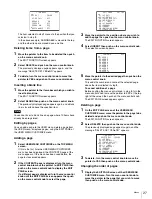
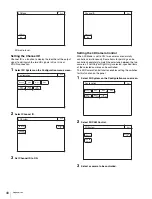
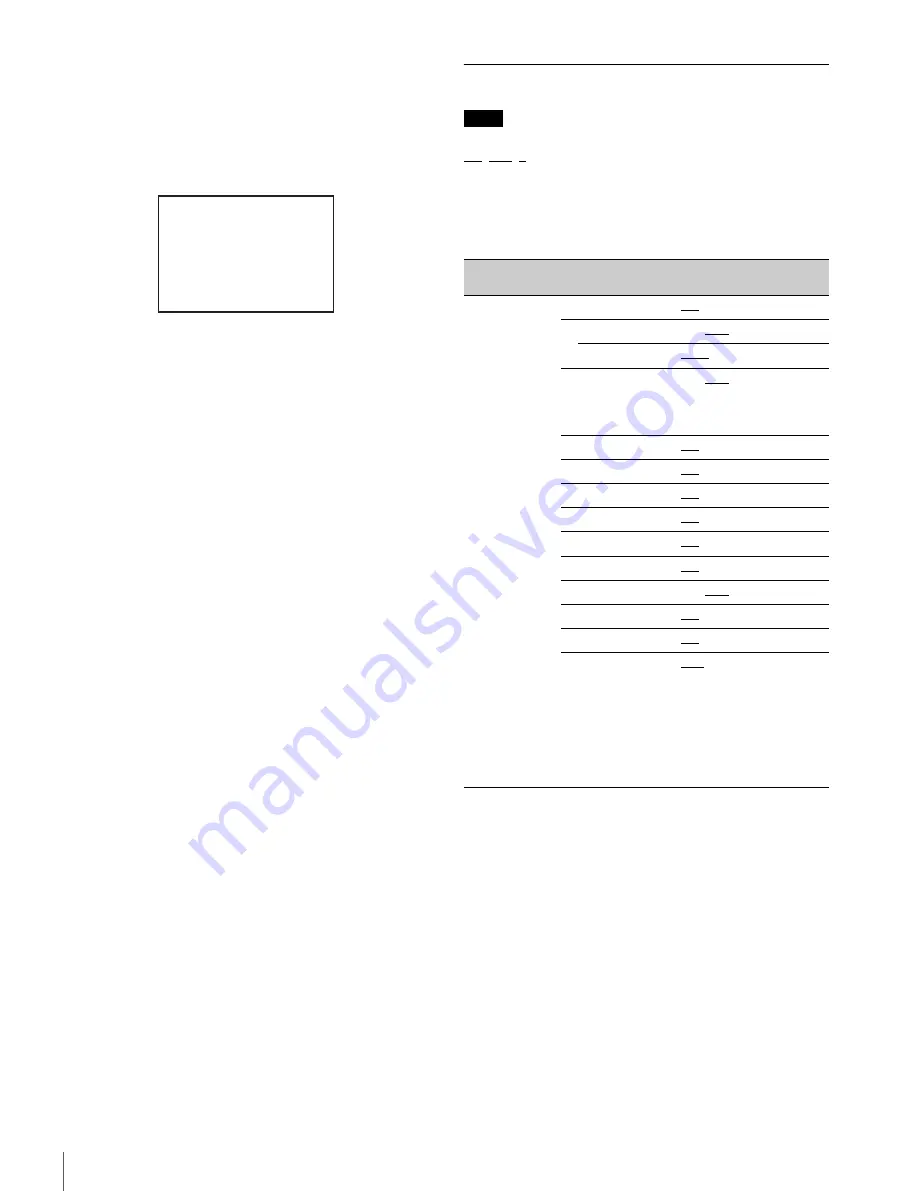
Move the pointer to the position where you wish to
move the page then push on the menu control knob.
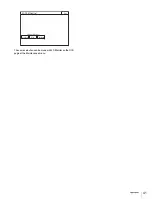
The page selected in step
1
is moved to the position
selected in step
3
.
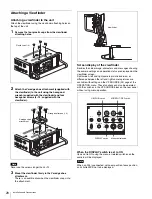
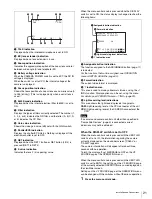
In the above example, <SWITCH ASSIGN> moves to the
“04” position, and the <VF DISPLAY> and following pages
move down one line.
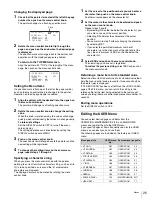
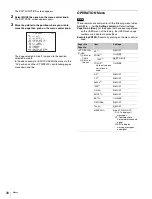
OPERATION Menu
These remarks are common for all the following menu tables.
ON
,
OFF
,
0
, ... , in the Settings columns:
Default settings
Page No. nn (Unn):
For the pages that have been registered
on the USER menu at the factory, the USER menu page
numbers are indicated in parenthesis.
Execute by ENTER:
Execute by pushing on the menu control
knob.
ITEM MOVE
xx
01.<VF OUT>
02.<VF DETAIL>
03.<FOCUS ASSIST>
c
04.<VF DISPLAY>
05.<'!' IND>
06.<VF MARKER>
07.<CURSOR>
08.<ZEBRA>
z
09.<SWITCH ASSIGN>
10.<POWER SAVE>
ESC
Note
Page title
Page No.
Item
Settings
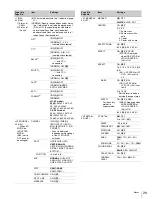
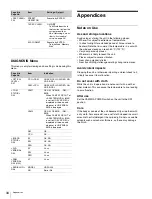
<VF DISPLAY>
01(U05)
1) Status of
CAM L
2) Status of
this unit
EX
1)
ON
, OFF
ZOOM
1)
ON,
OFF
DISP
1)
LEFT
, RIGHT
FOCUS
1)
Valid only when a
serial lens is
used
ON,
OFF
ND
1)
ON
, OFF
CC
1)
ON
, OFF
5600K
1)
ON
, OFF
IRIS
1)
ON
, OFF
GAIN
1)
ON
, OFF
SHUTT
1)
ON
, OFF
BATT
2)
ON,
OFF
RETURN
2)
ON
, OFF
TALK
2)
ON
, OFF
MESSAG
2)
ALL
, AT, WRN, OFF
ALL: To display all
messages
AT: To display Auto
Setup information and
higher
WRN: To display
warning messages
and higher

