


Connecting your camcorder to a computer using a cable
You can connect your camcorder to a computer using a USB cable.
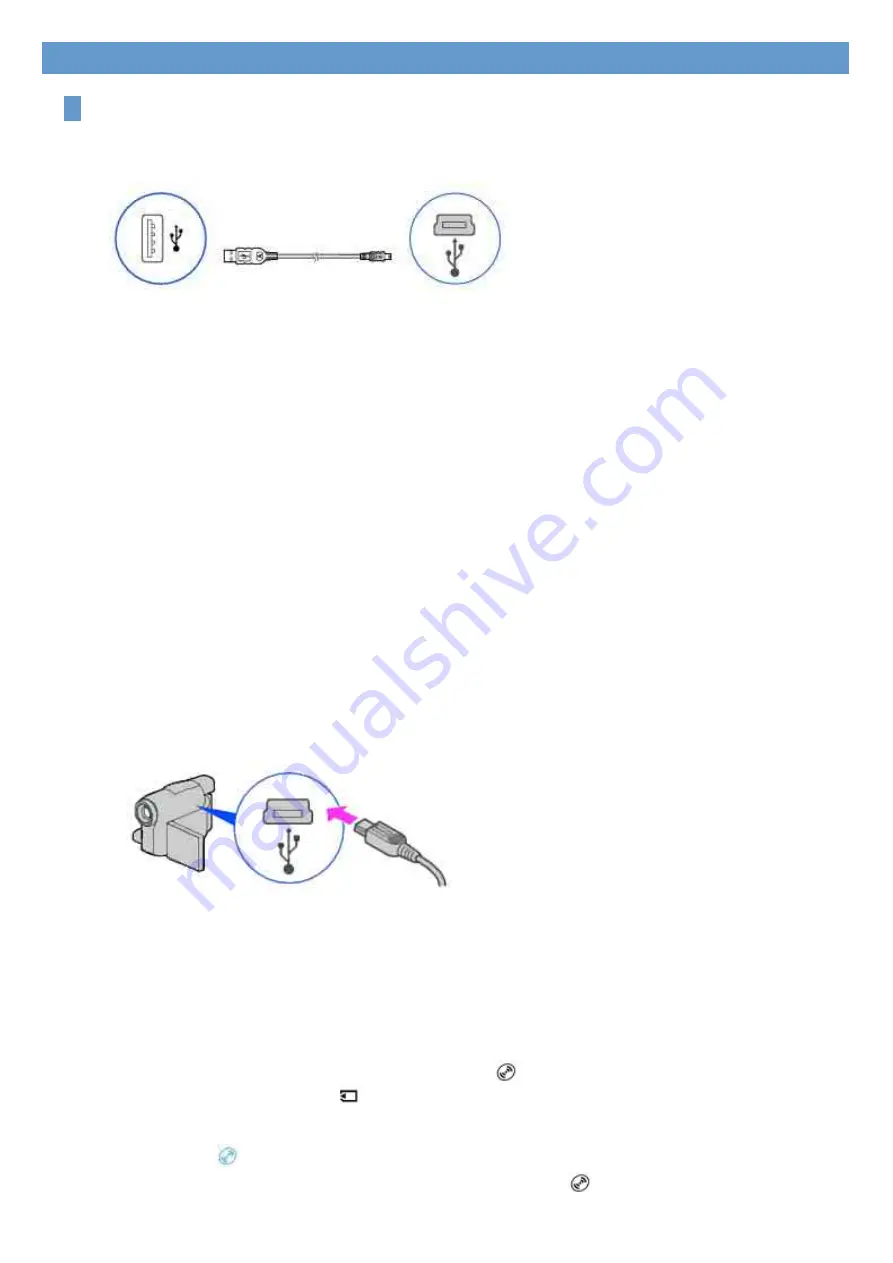
Connection image (USB cable and USB jack)
Note
z
When connecting your camcorder to a computer, make sure you insert the connector in the correct direction. Do not insert
the connector forcibly as it may damage the cable or your camcorder.
Tip
z
Your camcorder is compatible with Hi-Speed USB (USB 2.0). You can transfer data at a faster rate using a computer
compatible with Hi-Speed USB (USB 2.0). When you connect a USB interface not compatible with Hi-Speed USB (USB
2.0), the data transfer ratio will be that of USB 1.1 (USB Full-Speed).
1
Turn on the computer.
If any software starts on the computer automatically, close it.
2
Connect your camcorder to a power source, and turn on your camcorder.
Use the AC Adaptor as the power source.
For operating the POWER switch, refer to the Operating Guide supplied with your camcorder.
3
Insert a recorded disc or a “Memory Stick Duo” into your camcorder.
4
Connect the USB cable to the USB jack on the camcorder firmly.
For the location of the USB jack, refer to the Operating Guide supplied with your camcorder.
5
Connect the other end of the USB cable to the USB port on your computer.
The [USB SELECT] screen is displayed on the screen of your camcorder.
Tip
z
When the screen is not displayed, select the item from the menu. For selecting the menu, refer to the operating
instructions supplied with your camcorder.
6
When using videos recorded on a disc, select [
COMPUTER]. When using ones in a
“Memory Stick Duo,” select [
COMPUTER].
When you select [
COMPUTER]
The first time you connect your camcorder to a computer and select [
COMPUTER], it takes some
time until the computer recognizes your camcorder. When the computer recognizes your camcorder,
Chapter 1: Setting up for the first time


