45
Messages
Mi
sc
el
la
ne
ou
s
Messages
There are two kinds of messages: error messages and
warning messages. This section lists these messages
together with their possible causes and remedies. Note the
messages and act accordingly.
Besides error and warning messages, other messages
stating the operating status of the unit are also displayed.
Those messages are not described here.
Error Messages
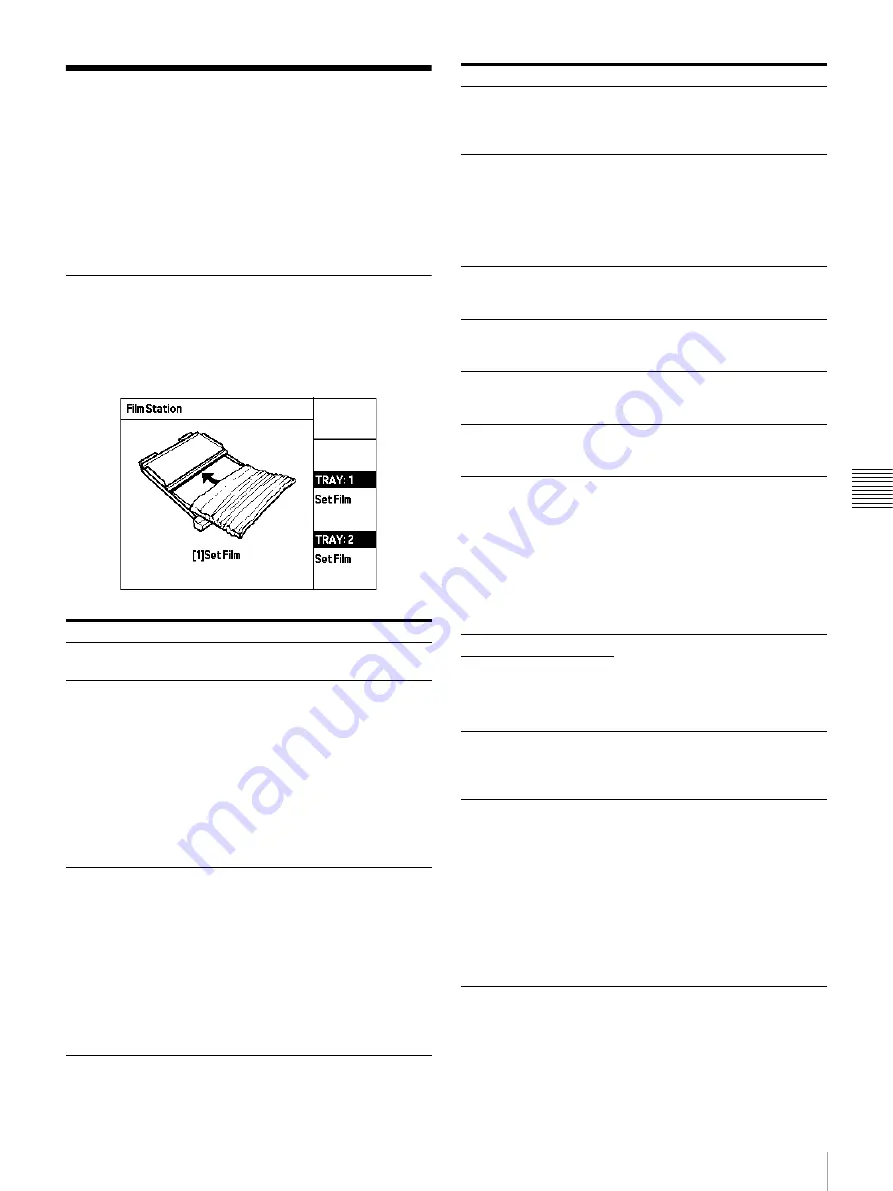
If a problem occurs, the ALARM indicator lights and an
error message as well as an illustration indicating required
steps appear on the LCD panel. Perform the appropriate
action, as indicated below.
[*] stands for the tray number (1 or 2).
1) “XXXXXX” indicates the location where the film jam has
occurred. For details, see “If the Film Sheets Jams” on page 47.
Message
Cause/Countermeasures
Close Cover
The front, rear, or top cover is open.
t
Close the cover.
Memcon/0 Trouble
Memcon/1 Trouble
An internal error has occurred in the
printer.
t
Press the
1
ON/STANDBY
switch to turn power off, and then
turn power on again by pressing
the
1
ON/STANDBY switch
once more. Normally this will
restore correct operation. If the
above steps do not provide a
solution and the message appears
again, turn power to the unit off
and contact your Sony dealer.
Mecha Trouble
(Mechanical problem)
A mechanical problem has occurred
in the printer.
t
Press the
1
ON/STANDBY
switch to turn power off, and then
turn power on again by pressing
the
1
ON/STANDBY switch
once more. Normally this will
restore correct operation. If the
above steps do not provide a
solution and the message appears
again, turn power to the unit off
and contact your Sony dealer.
Remove FilmXXXXXX
1)
Film has jammed at the location
indicated by XXXXXX. Refer to the
illustration shown on the LCD panel
and remove the jammed film.
Error
Please Power OFF
Power ON Again
Internal system of printer could not
be started.
t
Press the
1
ON/STANDBY
switch to turn power off, and then
turn power on again by pressing
the
1
ON/STANDBY switch
once more.
[*] Set Tray
The required film tray is not installed.
t
Install the required film tray.
(page 19)
[*] Check Tray
2)
Film is not loaded correctly in film
tray.
t
Load film correctly. (page 19)
Set Output Tray
Output tray is not installed correctly.
t
Make sure that output tray is
pushed all the way in. (page 15)
[*] Set Film
2)
Film sheets in the specified tray have
run out.
t
Load film sheets.(page 20)
[*] Tag Mismatch
2)
The IC tag setting of the film sheets
in the tray does not match the IC tag
setting at the printer.
t
Insert film sheets from a package
designed for use with this unit.
(page 19)
t
If this does not clear the error,
press the
1
ON/STANDBY
switch to turn the unit off, and
contact your Sony dealer.
[*] Tag Invalid T
2)
There is a problem with the IC tag.
t
Insert film from a new package.
t
If this does not clear the error,
press the
1
ON/STANDBY
switch to turn the unit off, and
contact your Sony dealer.
[*] Tag Invalid I
2)
Remove Prints
Printouts have accumulated on the
output tray.
t
Unload the accumulated printouts.
Printing starts again. (page 25)
Dicom Trouble
There is a problem with the DICOM
section.
t
Press the
1
ON/STANDBY
switch to turn power off, and then
turn power on again by pressing
the
1
ON/STANDBY switch
once more. Normally this will
restore correct operation. If the
above steps do not provide a
solution and the message appears
again, turn power to the unit off
and contact your Sony dealer.
Message
Cause/Countermeasures


