3-3 Setting Edit Points
3-6
Editing
Chapter 3 Editing
To set audio IN points
separately from video IN
points (audio split editing)
In insert editing, press the AUDIO IN
button together with the ENTRY/
SHIFT button at the point you want to
set as the audio IN point.
The audio IN point is set and the
AUDIO IN button lights.
3-3-2 Checking Edit
Points
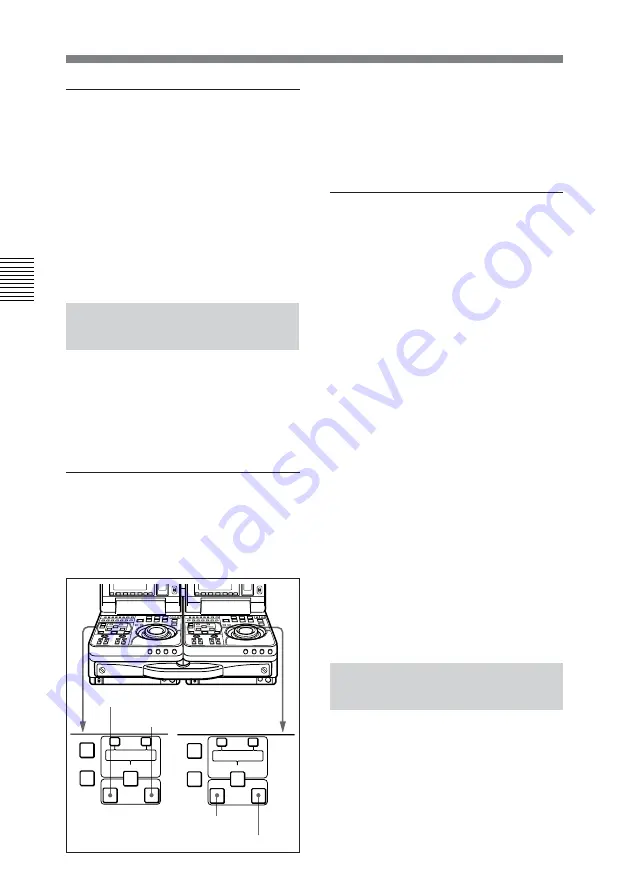
You can check the time data of edit
points and the duration between two
edit points by displaying them in the
submenu screen.
To display the time data of
edit points
Press the recorder side or player side
IN or OUT button.
While the button remains pressed, the
time data for the corresponding edit
point is displayed in the submenu
screen.
To display the duration
between two edit points
From among the recorder side and
player side IN buttons (or AUDIO IN
buttons) and OUT buttons, press two
of the buttons together.
The duration appears in the submenu
screen while the buttons are kept
pressed. In some cases, negative
durations preceded by a minus sign (–)
may be displayed.
The displayed durations are calculated
as follows.
When two edit points are set: The
duration between the two edit
points
When only one edit point is set:
The duration between the edit
point and the current tape
position
When no edit points are set: The
duration of the most recently set
edit points
3-3-3 Cueing Up Edit
Points
You can cue up any edit point, or cue
up a position located a specified
amount of time before the edit start
point (preroll).
AUDIO IN
TRIM
LIST
MARK
GOOD
SHOT
IN
OUT
–
+
TRIM
LIST
MARK
GOOD
SHOT
ENTRY SHIFT
IN
OUT
–
+
DELETE
AUDIO IN
DELETE
ENTRY SHIFT
IN button
OUT button
IN button
OUT button


