– 9 –
SECTION 4
TEST MODE
DISPLAY CHECK MODE
Note:
This will not work properly if the DISC is set to any slit.
1. Press the
I
/
u
button, turn ON the power, and set a CD in any
slit.
2. Press the
I
/
u
button, and turn OFF the power.
3. While pressing the
[CHECK]
and
[PLUS ONE]
buttons to-
gether with the power OFF, press the
I
/
u
button and turn ON
the power.
4. All the segments of the fluorescent indicator tube light up, and
the
·
,
P
, and
[PLUS ONE]
LEDs light up.
5. To exit the display check mode, press the
I
/
u
button.
ADJ MODE
1. Press the
I
/
u
button to turn the power ON.
2. Open the front cover, and press the
[PLUS ONE]
button.
3. Set the disc (YEDS-18 : 3-702-101-01) in the PLUS ONE slit.
4. Close the front cover, and chuck the disc.
5. Press the
I
/
u
button, and turn OFF the power.
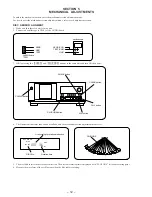
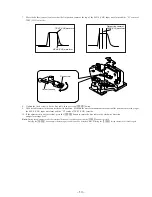
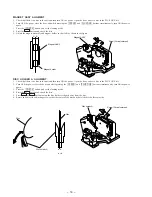
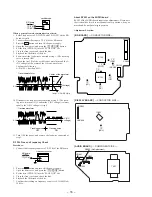
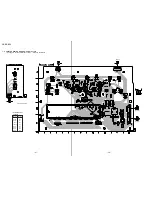
6. Connect TP (ADJ) of the DISPLAY board and the ground with
a lead wire.
7. Press the
I
/
u
button and turn ON the power.
The ADJ mode is set with the above.
Differences with normal mode
• No high speed search is performed during access
• Ignored even if GFS becomes L
• Ignored even if Q data cannot be read
• Spindle servo gain is set to 12 cm mode (Even with 8 cm disc)
The following special functions will work when certain functions
are pressed in this mode.
Special functions in ADJ mode
(The ( ) buttons function only with the general purpose remote.)
Button
Function
(3)
Tracking servo, sled servo OFF
(8)
Tracking servo, sled servo ON
CHECK
S shape observation mode
FLUORESCENT INDICATOR TUBE, LED ALL LIT,
AND KEY CHECK MODE
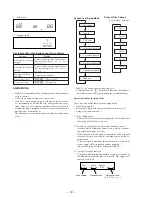
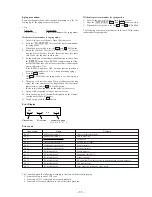
Connect TP (AFADJ) and ground of the DISPLAY board with a
lead wire.
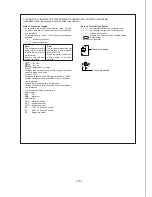
When a button is pressed, the left side of the indicator tube will
show how many buttons have been pressed so far.
(However, buttons already pressed once will not be counted.)
The right side will show the numbers corresponding to the pressed
buttons.
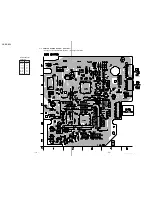
[ DISPLAY BOARD ] — CONDUCTOR SIDE —
Buttons and Corresponding Button Numbers
Button
Button Number or Display
CLEAR
0
CHECK
1
DISC
2
PUSH ENTER
±
8
≠
9
REPEAT
14
PLAY MODE
15
BLOCK 5
16
BLOCK 4
17
BLOCK 3
18
BLOCK 2
19
BLOCK 1
20
I
/
u
21
PLUS ONE
While the button is pressed, LED (D803) lights up.
·
While the button is pressed, LED (D801) lights, and
the whole fluorescent indicator tube lights up.
The fluorescent indicator tube (segment check)
P
is partially lit and LED near by (D802) is lit while
pressed.
p
The fluorescent indicator tube is partially lit while
pressed (grid check).
CNP801
IC801
CNP804
TP(AFADJ)
TP(ADJ)
1 DISC
CD 1
*
*
* *
2
Count up
Button number


