1
Install Manual
English
Introduction
This product is a rack mount kit for the Auto Changer BW-
J601.
Caution
The Auto Changer is heavy, weighing approximately 65
lbs. (30 kg).
You will need at least two people to safely move the Auto
Changer. Otherwise you may have a back injury or drop
the Auto changer and damage to it.
Make sure to turn off the Auto Changer and disconnect all
cables before the installation.
Required Tools
You will need the following tools, screws, and nuts to
perform this installation.
Tools
• Phillips screwdriver
• Standard screwdriver
• 10/32 inch wrench
Screws and Nuts
You will also need some screws and nuts (sold separately)
to install the Auto Changer to the rack.
• Eight screws to place the slide rail brackets to the rack.
• Two screws to place the front of the tray to the rack.
• Ten nuts that match the screws above.*
* You will not need the nuts if the rack comes with the nuts
or the holes of the frames have been tapped. Use the nuts
if the rack comes with the nuts.
Installation Precautions
Note the following points before the installation.
• The mounting kit fits a rack 900 mm in depth. You
cannot use any other sized rack.
• The slid rail brackets require between 484 and 488 mm
in width and 600 and 650 mm in depth to assemble to the
rack. Ensure that the rack has enough space to place the
brackets.
• Ensure that the rack frames are assembled with the
specified value as referred to above.
• Ensure you have adequate ventilation and environmental
controls to support your Auto Changer.
• Ensure that nothing obstructs the filter at the rear panel
and the mail slot at the front panel of the Auto Changer.
• The rack must be bolted securely to the floor or equipped
with a sturdy and extendable anti-tip leg. You must
prevent the cabinet from tipping forward when one or
more Auto Changers and other devices are fully
extended out the front of the rack.
• Ensure that you have adequate power to supply all the
devices installed in the rack.
• Ensure that you earth the power outlets and power cables
you are using.
• To avoid producing a static during the installation, keep
the working environment properly. We recommend
using an antistatic mat and a wristband.
Unpacking
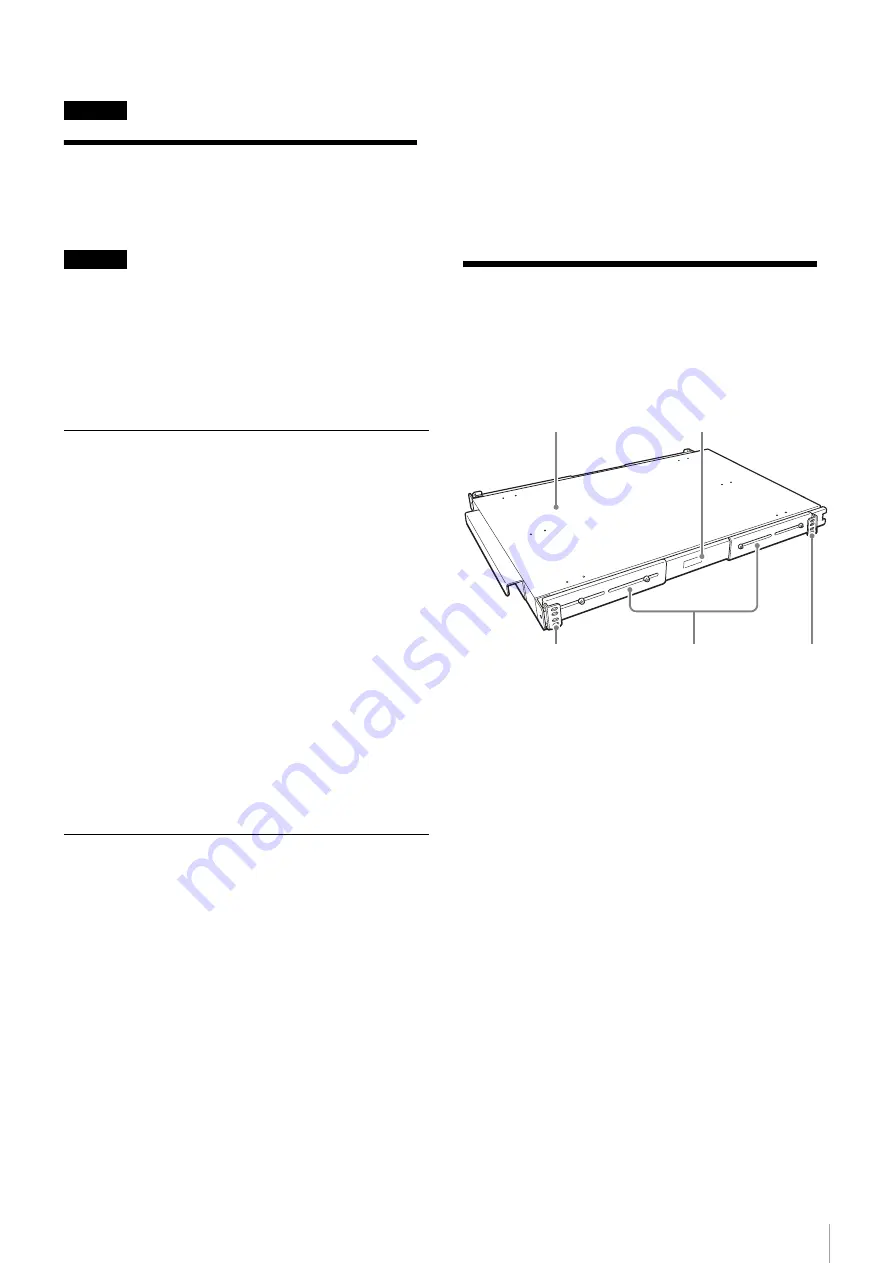
The rack mount kit comes with the following parts:
• Tray (1)
• L-shaped slide rail bracket (4) with screws (8)
• Rail guide (4)
• Rail (2)
• Screws to place the Auto Changer on the tray (6)
• Install Manual (this document) (1)
Slide rail bracket
Rail
Rail guide
Tray
Slide rail bracket


