


31
FCC ID:
KWCRX23
IC:
2262A-RX23
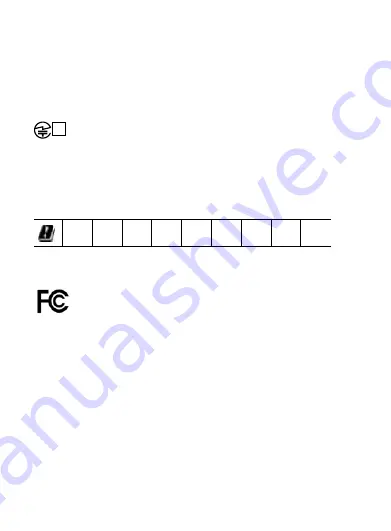
R 202-SMI050
In compliance with Regulation (EU) 2017/1354,
authorization for frequency use requirements in the
countries as shown on the pictogram below:
BE
DK
FR
IE
LT
MT
PT
SK
SI
Notice 1:
This device complies with Part 15 of the FCC
Rules and with RSS-210 of Industry Canada.
Operation is subject to the following two
conditions:
1) this device may not cause interference, and
2) this device must accept any interference,
including interference that may cause undesired
operation of the device.


