background image

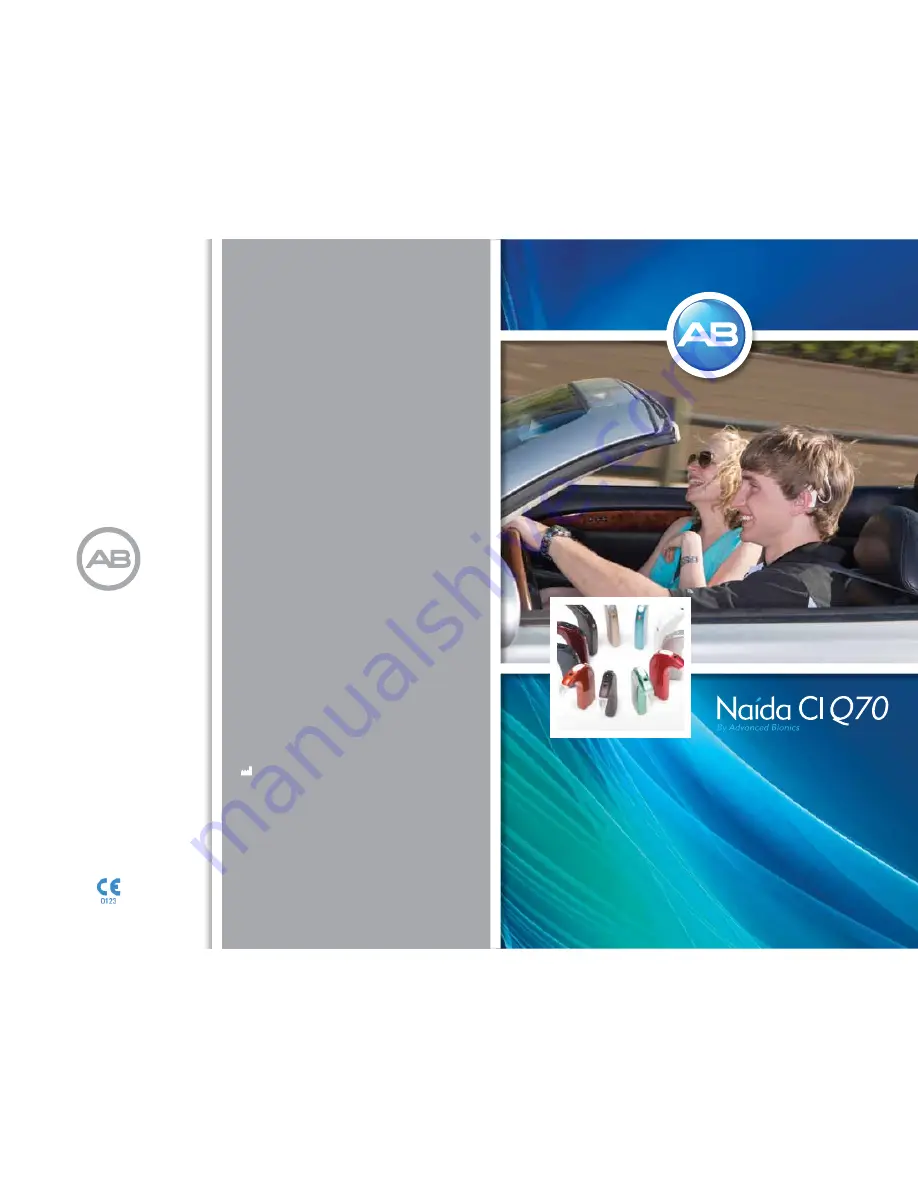
Naída CI Sound Processor


user guide


English, French, Spanish, German, Dutch, Portuguese

AdvancedBionics.com

029-M303-85 Rev A
©2013 Advanced Bionics AG and affiliates. All rights reserved.

Advanced Bionics AG

Laubisrütistrasse 28
8712 Stäfa, Switzerland
+41.58.928.78.00

Manufactured by:
Advanced Bionics, LLC

California, U.S.A.
+1.661.362.1400

2013

Summary of Contents for Nadia CIQ70

Page 1: ...ch Portuguese AdvancedBionics com 029 M303 85 Rev A 2013 Advanced Bionics AG and affiliates All rights reserved Advanced Bionics AG Laubisr tistrasse 28 8712 St fa Switzerland 41 58 928 78 00 Manufact...

Page 2: ...user guide for the Na da CI Sound Processor...

Page 3: ...o affix the CE Mark in 2013 REF Model number Date of manufacture Serial number Manufacturer Type of Protection B Store at temperatures between 20 C 4 F and 55 C 131 F Fragile Do not get wet See Instru...

Page 4: ...contact with skin mouth or eyes Donotexposebatteries toheat e g donotstorein directsunlightorin ahotcar Do not dispose of batteries in fire Do not allow children to charge batteries unattended Do not...

Page 5: ...a clinician Store additional headpieces away from items with magnetic strips e g credit cards hotel room key cards as this may de magnetize cards Portable and mobile RF communications equipment inclu...

Page 6: ...sor seem erratic re pair the AB myPilot and the Na da CI Note When streaming audio with the ComPilot if your headpiece becomes unlocked turn off the ComPilot prior to re locking your headpiece Not doi...

Page 7: ...onic Sensors Ultrasonic sensors sometimes used in lighting sensors and security systems will not damage your implant system however they may be picked up by the headpiece microphone and lead to distor...

Page 8: ...ne 15 QuickSync 15 ZoomControl 15 Assembling the Na da CI 15 20 Connecting the Universal Headpiece UHP Color Caps 16 Connecting the Headpiece to the Na da CI 16 Removing the Headpiece from the Na da C...

Page 9: ...Using FM 30 32 Pairing to the AB myPilot 33 35 The Na da CI Listening Check and Listening Check Earbuds 36 41 Listening to the Microphone s and Auxiliary Inputs 36 39 Using the Telephone 39 40 Teleph...

Page 10: ...51 52 Recommended Na da CI Operating and Storage Temperatures 53 Approved Power Sources 53 Troubleshooting the Na da CI 53 57 Troubleshooting Na da CI LEDs 55 57 Troubleshooting Na da CI Internal Ala...

Page 11: ...as well as important safety information Please read the entire manual prior to using the Na da CI About the Na da CI Sound Processor The Na da CI sound processor is one part of a complete cochlear im...

Page 12: ...a da CI Sound Processor This section will familiarize you with the Na da CI Sound Processor and Accessories AB myPilot ComPilot Sound Processor Battery Cartridge Program Button Volume Control and Tri...

Page 13: ...ss all listening environments The Na da CI has diagnostic indicators such as LEDs and internal audible alarms The Na da CI LEDs provide important information about Na da CI status battery life program...

Page 14: ...eds The Na da CI sound processor works with the Universal Headpiece The Universal Headpiece UHP works with all Advanced Bionics sound processors and is intended for use with the Na da CI processor out...

Page 15: ...nd volume changes via the ComPilot only to the Na da CI If you are bilaterally implanted changes can be made to both Na da CI processors simultaneously The ComPilot also connects both Na da CI process...

Page 16: ...ty to control both cochlear implants sound processors with just one touch ZoomControl Focuses on the speaker to the left or right that you want to hear when you cannot face them such as when driving i...

Page 17: ...the Na da CI Align the Color Cap with the headpiece Gently press the cap and headpiece together The Color Cap will snap into place 1 2 Insert the UHP Removal Tool into the slot above the headpiece ca...

Page 18: ...ide of the tool to push the pin inward so it lies flush with the processor 3 4 Hold the cable s connector the right angled plastic plug not the wire Gently pull the cable s connector away from the Na...

Page 19: ...Earhook on the Na da CI processor Gently press the tool in the hole pushing the pin out the other side 1 2 The pin does not need to be fully removed from the processor As long as the tool was pushed i...

Page 20: ...nd Turn the hand holding the T Mic 2 Cover counter clockwise to slowly unscrew the T Mic 2 Cover from the T Mic 2 1 2 Hold the T Mic 2 Cover in one hand In the other hand hold the T Mic 2 at the end t...

Page 21: ...processor and securely attached elsewhere on the recipient s body These designs ensure the most comfortable secure and discreet wearing options possible Na da CI cables come in a variety of lengths a...

Page 22: ...s well as the Zn Air Battery Pak The clip also includes a silicon cover for added protection when the T Mic 2 Earhook is detached Inserting the Na da CI in the Clip Gently but firmly push the processo...

Page 23: ...e todate noinjurieshavebeenreported components maybecomehotduringnormaluseorintheeventofafault Ifthedevice stemperature results in discomfort or pain when touched disconnect the power source and conta...

Page 24: ...e green LED to indicate program position The Na da CI will always power on in Program 1 with the volume and sensitivity at the default settings To power down the Na da CI simply remove the battery car...

Page 25: ...ges are designedtobeinsertedinonlyonedirection applyingforcemaydamagetheequipment Hold the Na da CI in one hand Rotate the RF cable upward to avoid bumping it upon battery placement Align the battery...

Page 26: ...tery is almost depleted and cannot support stimulation Sleep Mode Fades out No The Na da CI is entering Sleep Mode Red Blinks once per second Yes Loss of lock with the implant Blinks rapidly more than...

Page 27: ...he Na da CI works with the Universal Headpiece UHP The Universal Headpiece The UHP is designed for use with the Na da CI processor during all daily activities with the exception of swimming and bathin...

Page 28: ...erience irritation or discomfort Consult a hearing care professional if you have any concerns regarding magnet strength If deemed appropriate your hearing care professional may insert additional magne...

Page 29: ...lor Caps Adjusting Controls on the Na da CI Changing Programs The program button is located on the spine of the Na da CI to allow the recipient to easily change the listening program during use The Na...

Page 30: ...fading out This indicates the processor has entered Standby Mode NOTE LEDs will not light up during Standby Mode Passively Entering Standby Mode The device will also enter Standby Mode passively if l...

Page 31: ...ol settings please contact an implant center Please see Changing Sensitivity with the AB myPilot Remote Control in the AB myPilot User Guide Connectivity Using FM The FM feature helps many cochlear im...

Page 32: ...room or the Phonak MyLink will allow the recipient to hear the speaker without the use of connecting wires Please see ComPilot User Guide or AB addendum for ComPilot for more information Note To avoid...

Page 33: ...dingFMuse refertotheInstructions for UseincludedwiththeFMsystem With the ComPilot turned off hold the ComPilot in one hand With the other hand align the three FM connector pins with the Europort on th...

Page 34: ...g is no longer possible If you need more time to pair you must remove and replace the Na da CI battery to begin the Pairing Window again Sound input to the processor is not affected during this period...

Page 35: ...ces option When the Na da CI is found it will show the recipient s initials on the AB myPilot as well as the ear it is primarily programmed for 6 7 There will be a green circle with a checkmark in it...

Page 36: ...with accessory devices such as the AB myPilot and or the ComPilot At this time the AB myPilot will not be able to communicate with the Na da CI The Na da CI will have to be power cycled restarted by...

Page 37: ...dently Without the AB myPilot Remote Control sound sources are listened to on a program by program configuration The available sound sources are Microphones Front and Rear Head Piece T Mic 2 FM receiv...

Page 38: ...lot select Listening Check from the AB myPilot menu and select the input sound source to which you would like to listen Alternatively if the Na da CI is alreadyconnectedtotheNa daCIListeningCheckandpa...

Page 39: ...Pilot and synchronize it with the FM transmitter Provide input to the FM transmitter to assess audio quality To close the Na da CI Listening Check when not in use remove the earbuds and grasp the grip...

Page 40: ...telephone receiver The telephone can be used by placing the telephone receiver directly over the T Mic 2 processor microphones or headpiece microphone if activated It is sometimes necessary to try di...

Page 41: ...a specific topic e g Call me at 6 00 p m to talk about going to the movies You may need to practice with several telephones to find one that is right When selecting a cellular phone remember to try th...

Page 42: ...industrial lighting fixtures store and airport security scanners band scanners power transformers motor starters and monitor screens Battery Information The Na da CI sound processor can be used with t...

Page 43: ...erature resultsindiscomfortorpainwhentouched disconnectthepowersourceandcontactAB CAUTION Only use the charger provided for charging AB PowerCels Do not use it to charge other batteries Do not try to...

Page 44: ...s recommended that you use and recharge the PowerCel s at least once every three months Please note that PowerCels will decrease in capacity with age even if not in use This is normal for all recharge...

Page 45: ...attery so be sure to install it immediately after peeling off the tape Note If the cells are inserted incorrectly the battery drawer will not close Place two Zn Air batteries positive flat side up in...

Page 46: ...h in and downward until you feel the Zn Air Battery Pak drawer release and the button of the Zn Air Battery Pak pops out 1 2 Set the tool aside and grasp the Zn Air Battery Pak drawer with your hand a...

Page 47: ...erent PowerCel in the charger bay that exhibits the problem If the red LED is still on there is a problem with the charger If the red LED does not light up there is a problem with the PowerCel If ther...

Page 48: ...lightorin ahotcar Carrybatteriesin thecarryingcaseprovidedorinasealed plasticbag Batteriescan shortcircuitifthey comeinto contact withmetallic objectssuchas coins orkeys Do not immerse batteries in wa...

Page 49: ...TheUHPisintendedtobeusedwiththeNa daCIduringdailyactivitiesoutsideofwaterenvironments ComPilot When used with the ComPilot the Na da CI is compatible with the Phonak MLxi wireless FM receiver For ins...

Page 50: ...ire attenuation to prevent sound from being too loud or distorted This attenuation can be applied by a hearing care professional during programming so the recipient can fully enjoy the sound from an a...

Page 51: ...n the Zephyr by Dry Store provided Zephyr by Dry and Store A Zephyr by Dry Store is included with the Na da CI The Zephyr is designed to remove moisture from the equipment and is intended for daily us...

Page 52: ...sories It is important to properly care for the Na da CI to ensure optimal hearing at all times If any part of the Na da CI needs to be cleaned use only a damp cloth to wipe the part s Do not expose a...

Page 53: ...hone cover on the end of the tool The microphone cover is quite small so the tool works as a guide to properly and easily replace the cover With the microphone cover on the end of the tool hold the Na...

Page 54: ...verify it is firmly attached to the headpiece and sound processor Remove any materials hat scarf headband etc that may be covering the microphone Unaided listeners may perform a listening check of the...

Page 55: ...ny materials hat scarf headband etc that may be covering your microphone Visually inspect the cable for any damage or breakage If any problems are noted replace cable Verify that the cable is firmly a...

Page 56: ...sound is heard with an FM or auxiliary audio device attached to the ComPilot Verify that the FM receiver and or auxiliary audio device is attached firmly to the ComPilot Verify that the ComPilot is p...

Page 57: ...n the Listening to the Microphone and Auxiliary Inputs section of the User Guide Try another auxiliary source a You will need a program which accepts input from external audio sources and to have wire...

Page 58: ...xplanation of the expected internal alarm behavior s If no internal alarm is heard Ensure the headpiece is correctly seated over the implant site Verify that the battery is inserted properly on the pr...

Page 59: ...Not applicable Immunity Test IEC 60601 Test level Compliance levela Electrostatic discharge ESD IEC 61000 4 2 6 kV contact 8 kV air Floors should be wood concrete or ceramic tile If floors are covered...

Page 60: ...transmitter in watts W according to the transmitter manufacturer Note These guidelines may not apply in all situations Electromagnetic propagation is affected by absorption and reflection from struct...

Page 61: ...CI C1 CII HiRes 90K Neptune Harmony Auria Platinum Sound Processor PSP 5 1 3 3 2 4 5 1 HiRes 90K Advantage 5 1 1 3 3 1 1 Processor Type Software Type Version Implant Type SClin2000 C1 CII HiRes 90K So...

Page 62: ...HiRes was accessed at the baseline visit and compared with HiRes 120 performance after three months of listening experience Subsequently subjects were refit and retested with HiRes Results showed equi...

Page 63: ...sor or your suggestions to improve our products Please feel free to contact AB or discuss your suggestions with the recipient s hearing care professional Advanced Bionics AG Laubisr tistrasse 28 8712...

Reviews: