50
Version 1.0
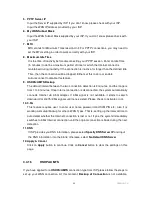
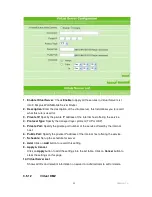
Connect to the Internet by setting up each time. After the Setup is finished, user has to
go to
Network Configuration
page to manually set up the connection and
disconnection.
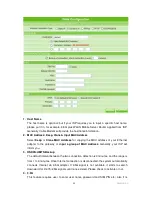
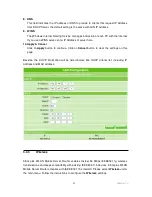
5. DNS
If ISP provides you DNS information, please select
Specify DNS Server IP
and input
the DNS information into the blank; otherwise, select
No Default DNS Server
.
6. Apply & Cancel
Click on
Apply
button to continue. Click on
Cancel
button to clear the settings on this
page.
3.4.2
LAN
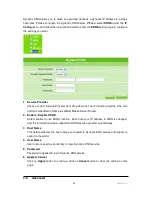
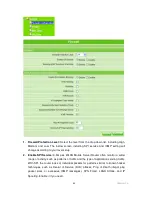
Use this page to set up the local IP address and subnet mask for your router. Please select
LAN
under the
IP Config
menu and follow the instructions below to enter the LAN setting
page to configure the settings you want.
1. IP Address
The default value of LAN IP address is
192.168.1.1
for this router.
2. IP Netmask
Input Subnet Mask, normally it is
255.255.255.0
.
3. DHCP
Enable or disable DHCP services. The DHCP server will automatically allocate an
unused IP address from the IP address pool to the requesting computer if enabled.
4. Start IP
This field specifies the first address in the pool to be assigned by the DHCP server in
your local network. The default setting is 2.
5. End IP
This filed specifies the last address in the pool to be assigned by the DHCP server in
your local network. The default setting is 253.
6. Advanced
Enable the advance setting and then setup the Router, DNS and WINS value.
7. Router
This field indicates the IP address of DNS to provide to clients that request IP Address
from DHCP Server, the default setting is the same with LAN IP address.
Summary of Contents for 3GWIFIMRD
Page 1: ...Version 1 0 1 3GWIFIMRD 3 5G plus WLAN Desktop Server Router User Manual ...
Page 18: ...Version 1 0 18 If it can t work it will show Request timed out ...
Page 209: ...209 Version 1 0 ...
Page 212: ...212 Version 1 0 Step 9 Your hostname has been created when you see the following page ...

