15
CARE AND CLEANING
FRONT PANEL AND CASE
Turn unit off and disconnect power supply.
To clean, use water and a mild detergent.
DO NOT
use bleach or abrasives. Some commercial cleaners
may damage the plastic parts.
OUTDOOR COIL
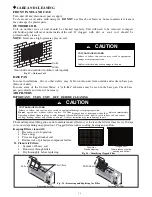
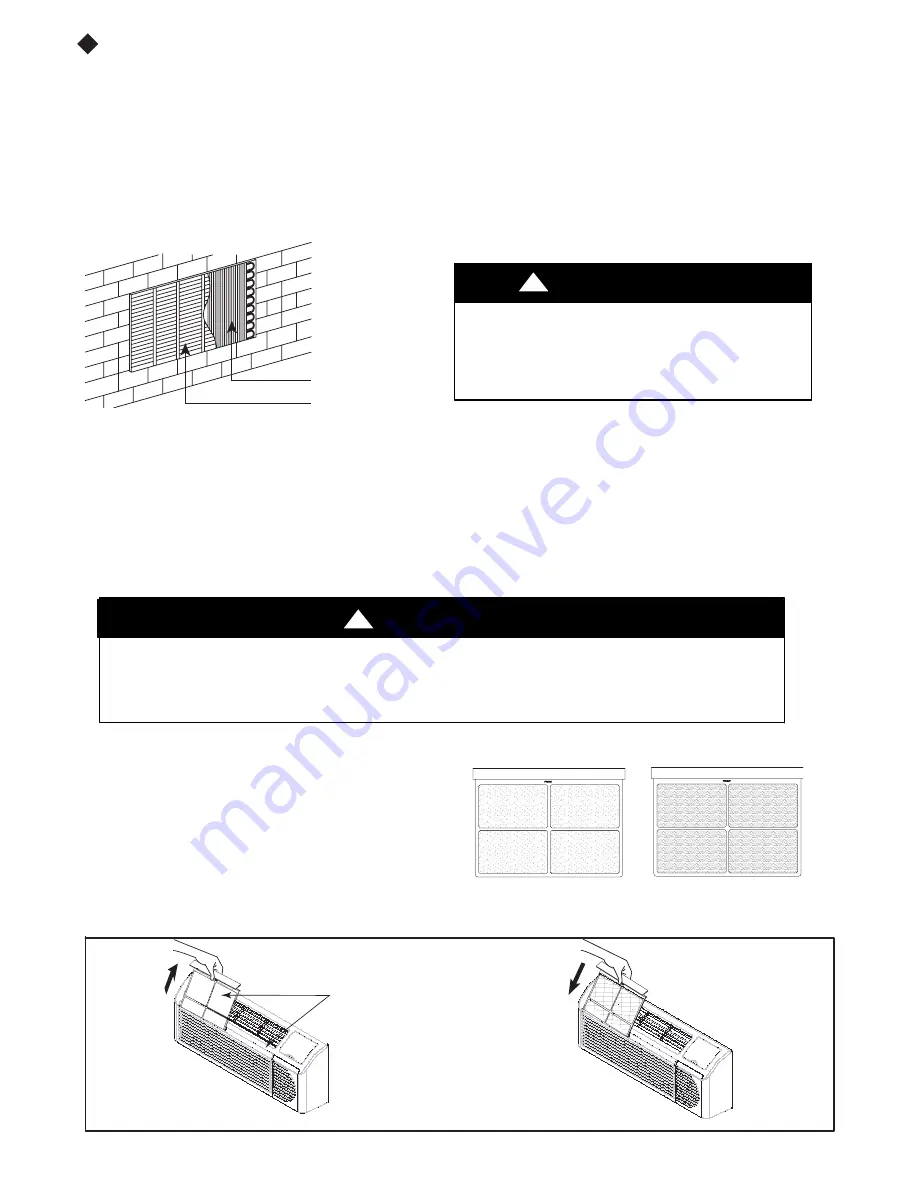
Coil on outdoor side of unit should be checked regularly. Unit will need to be removed to inspect
dirt build--up that will occur on the inside of the coil. If clogged with dirt or soot, coil should be
professionally cleaned.
NOTE
: Never use a high--pressure spray on coil.
Coils
Grille
Clean inside and outside of outdoor coils regularly .
Fig.
23
– Outdoor Coil
UNIT DAMAGE HAZARD
Failure to follow this caution may result in equipment
damage or improper operation.
Airflow restriction may cause damage to the unit.
CAUTION
!
BASE PAN
In some installations, dirt or other debris may be blown into unit from outside and settle in base pan
(bottom of unit).
In some areas of the United States, a “jell--like“ substance may be seen in the base pan. Check base
pan periodically and clean, if necessary.
AIR FILTERS
IMPORTANT: TURN UNIT OFF BEFORE CLEANING
UNIT DAMAGE HAZARD
Failure to follow this caution may result in equipment damage or improper operation.
Do not
operate unit without filters in place. If a filter becomes torn or damaged, it should be replaced immediately.
Operating without filters in place or with damaged filters will allow dirt and dust to reach indoor coil and reduce
cooling, heating, airflow and efficiency of unit. Airflow restriction may cause damage to unit.
CAUTION
!
Dirty filter-
Needs cleaning
Clogged filter -
Greatly reduces cooling,
heating and airflow.
Fig.
24
– Identifying Clogged Filter
The most important thing you can do to maintain unit efficiency is to clean the filters at least every 30 days
(or sooner depending on application). Clogged filters reduce cooling, heating and airflow.
Keeping filters clean will:
S
Decrease cost of operation.
S
Save energy.
S
Prevent clogged indoor coil.
S
Reduce risk of premature component failure.
To Clean Air Filters:
S
Vacuum off heavy soil.
S
Run water through filters.
S
Dry thoroughly before replacing.
2 Air filters
Pull up
Push down
Removing Air Filter
Replacing Air Filter
Fig.
25
– Removing and Replacing Air Filter
Summary of Contents for SG-PTAC-09HPDA
Page 3: ......


