© Trynex International 2009 L1102
5 — 5
Safety
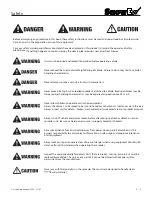
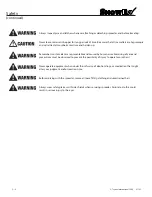
Before attempting any procedure in this book, these safety instructions must be read and understood by all workers who
have any part in the preparation or use of this equipment.
For your safety,
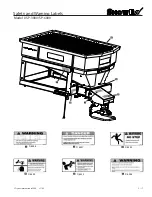
warning and information decals have been placed on this product to remind the operator of safety
precautions.
If anything happens to mark or destroy the decals, please request new ones from Snowex.
Unit must be pinned and locked into position before operating vehicle.
Never exceed the Gross Vehicle Weight Rating of vehicle. Failure to do so may limit a vehicle’s
handling characteristics.
Never attempt to take a unit a truck with material in it.
Never exceed 45 m.p.h. when loaded spreader is attached to vehicle. Braking distances may be
increased and handling characteristics may be impaired at speeds above 45 m.p.h.
Never
allow children to operate or climb on equipment.
Always check areas
to be spread to be sure no hazardous conditions or substances are in the area.
Always inspect unit for defects:
broken, worn or bent parts, weakened areas on spreader or mount.
Always shut
vehicle and power source before attempting to attach or detach or service
spreader unit. Be sure vehicle/power source is properly braked or chocked.
Always keep hands, feet, and clothing away from power-driven parts.
Remember
it is the
owner’s responsibility to communicate information on safe usage and proper maintenance
of all equipment.
Always make sure personnel are clear
of areas of danger when using equipment. Maintain 60'
distance from all bystanders when operating the spreader.
Inspect the unit periodically for defects. Parts that are broken, missing, or worn out must be
replaced immediately. The unit, or any part of it can not be altered without prior written
permission from the manufacturer.
Never use with foreign debris in the spreader. These units are designed to handle clean,
owing material.
Summary of Contents for Vee Pro 3000
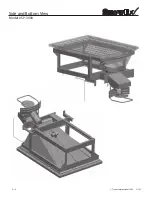
Page 8: ...Trynex International 2009 L1102 5 8 Side and Bottom View Model SP 3000...
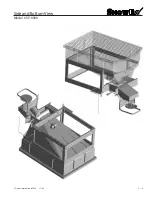
Page 9: ...Trynex International 2009 L1102 5 9 Side and Bottom View Model SP 6000...
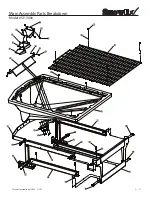
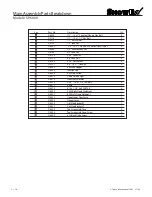
Page 11: ...Trynex International 2009 L1102 5 11 Main Assembly Parts Breakdown Model SP 3000...
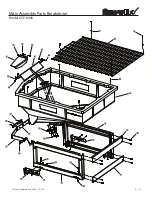
Page 13: ...Trynex International 2009 L1102 5 13 Main Assembly Parts Breakdown Model SP 6000...
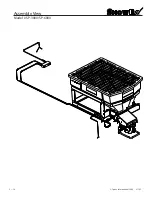
Page 18: ...Trynex International 2009 L1102 5 18 Assembly View Model SP 3000 SP 6000...
Page 39: ...THIS PAGE INTENTIONALLY LEFT BLANK Trynex International 2009 L1102 5 39...
Page 40: ...THIS PAGE INTENTIONALLY LEFT BLANK Trynex International 2009 L1102 5 40...
Page 41: ...THIS PAGE INTENTIONALLY LEFT BLANK Trynex International 2009 L1102 5 41...


