© Trynex International 2009 L1102
5 — 29
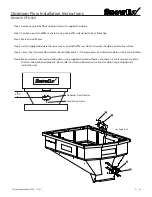
Optimum Flow Installation Instructions
Step 1:
Remove original baffles and plug holes with supplied hardware.
Step 2:
Position new style baffle so there are no gaps; baffle is designed to be self locating.
Step 3:
Mark and drill holes.
Step 4:
Install supplied hardware the same way as original baffle was. Nut and washer should be on exterior surface.
Step 5:
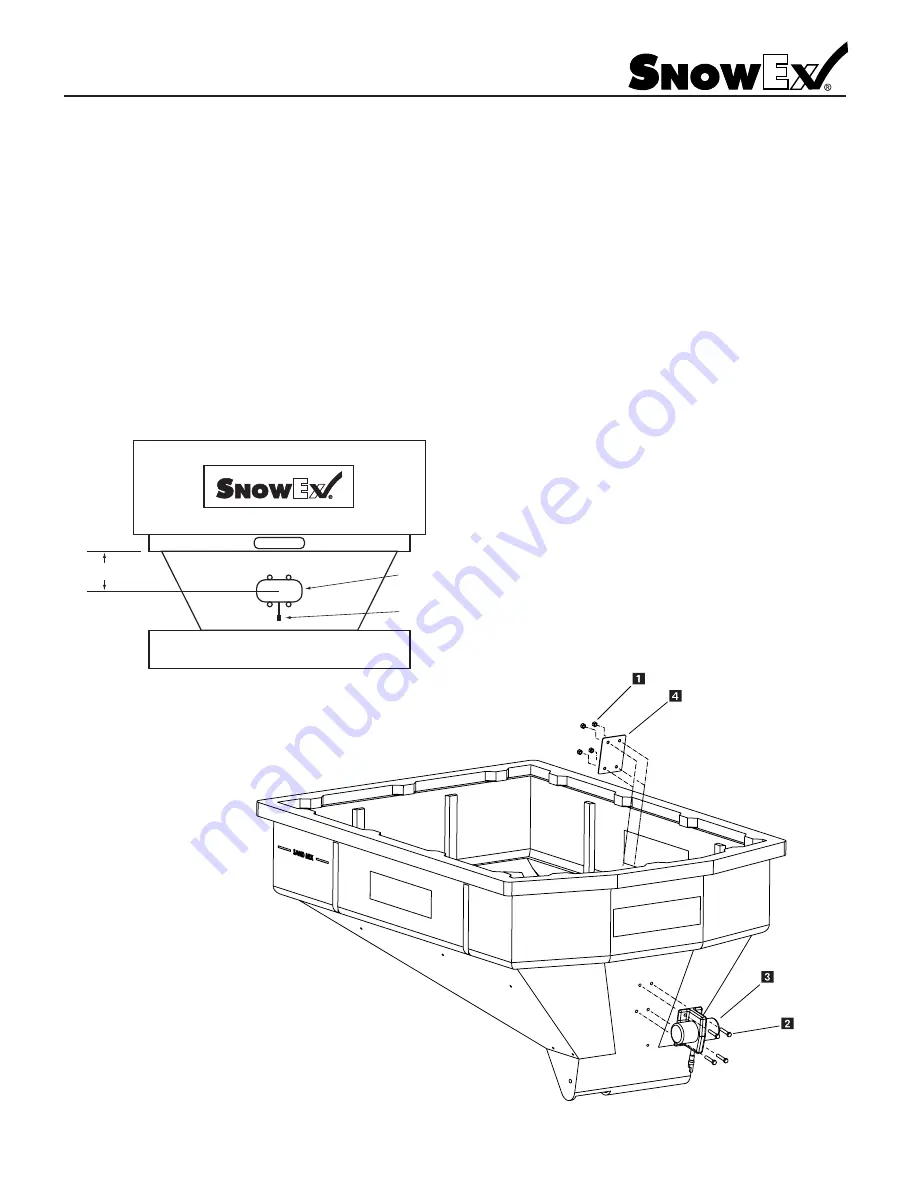
Center the Optimum Flow vibrator horizontally and 6-1/2" below apron; (see illustration below) mark and drill holes.
Step 6:
Mount vibrator with cord pointing down using supplied hardware. Please note: there is a vibrator backing plate
that must be positioned properly. Please refer to standard vibrator instructions for details regarding harness
installation, etc.
6-1/2”
Cord Facing Down
Optimum Flow Vibrator
Model # OFK-020
See Page 5-30
Summary of Contents for Vee Pro 3000
Page 8: ...Trynex International 2009 L1102 5 8 Side and Bottom View Model SP 3000...
Page 9: ...Trynex International 2009 L1102 5 9 Side and Bottom View Model SP 6000...
Page 11: ...Trynex International 2009 L1102 5 11 Main Assembly Parts Breakdown Model SP 3000...
Page 13: ...Trynex International 2009 L1102 5 13 Main Assembly Parts Breakdown Model SP 6000...
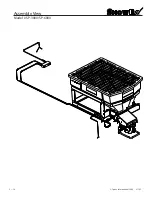
Page 18: ...Trynex International 2009 L1102 5 18 Assembly View Model SP 3000 SP 6000...
Page 39: ...THIS PAGE INTENTIONALLY LEFT BLANK Trynex International 2009 L1102 5 39...
Page 40: ...THIS PAGE INTENTIONALLY LEFT BLANK Trynex International 2009 L1102 5 40...
Page 41: ...THIS PAGE INTENTIONALLY LEFT BLANK Trynex International 2009 L1102 5 41...

