


34
10601034 Rev. B
LENS Integrated System
Operations/Service Manual
Customize Procedure Settings
Customize Procedure Settings
1. From the MAIN MENU, highlight the
Procedures icon and select it to
open the Procedure Selection menu.
2. Use the
Up and Down arrows on the control unit or the left and
right camera head buttons to navigate to the
Customize Procedure
Settings icon and press Select to open the SELECT PROCEDURE
screen.
3. Navigate to the procedure to be customized and press
Select
to open that procedure’s customization screen. The CUSTOMIZE
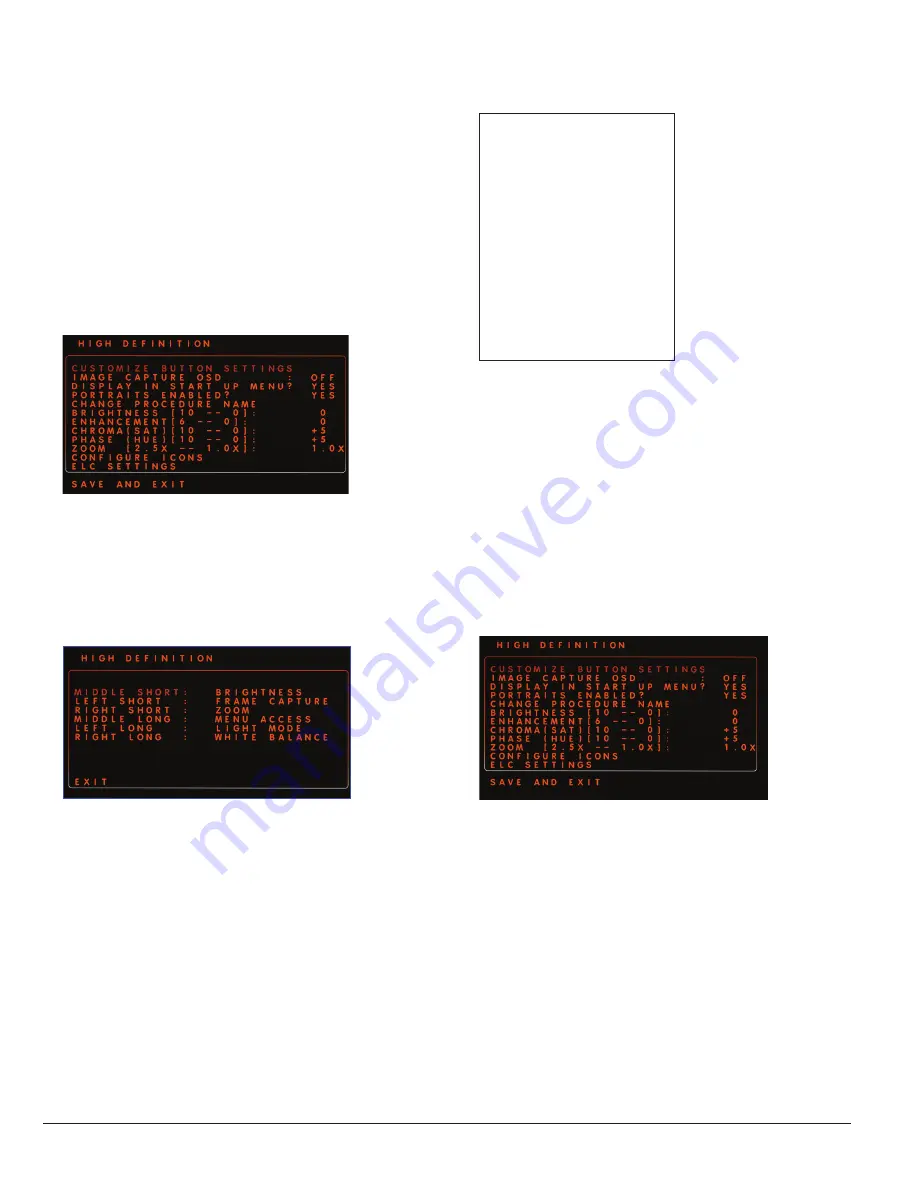
BUTTON SETTINGS option will blink (Figure 36).
Note: Changes to the procedure are not saved until SAVE AND EXIT is
selected.
Figure 36 . CUSTOMIZE PROCEDURE SETTINGS screen
Button Settings
Camera head button settings can be customized to the user’s preferred
settings for short and long button presses. To customize button
settings:
1. Press
Select to open that procedure’s button customization screen
(Figure 37)
.
Figure 37 .
2. Use the
Up and Down buttons on the control unit or the right and
left buttons on the camera head to navigate to the button press to
be customized (
MIDDLE SHORT, RIGHT LONG, etc.).
3. Press
Select to select the desired button press. To the right of the
button press name, the current setting for that button press will
begin to blink.
4. Use the
Up and Down buttons on the control unit or the right and
left buttons on the camera head to scroll through the list of options
(Figure 38). Press
Select to select the setting for that button press.
BRIGHTNESS
ENHANCEMENT
ZOOM
TOP PORT
BOTTOM PORT
PAUSE VIDEO
ALT PAUSE
ALT VIDEO
ALT FRAME
FRAME CAPTURE
LIGHT MODE
STRETCH
VIDEO CAPTURE
LAST IMAGE
MENU ACCESS
WHITE BALANCE
Figure 38 . Refer to Table 2 in the “System Controls” section of this
manual for an explanation of each setting option.
5. When all button presses have been customized as desired, use
the
Up and Down buttons on the control unit or the right and left
buttons on the camera head to navigate to the
Exit button. Select
Exit to save the settings, exit the button settings screen, and return
to the procedure’s customization menu.
Image Capture OSD
The
IMAGE CAPTURE OSD setting allows the user to determine if the
on screen display graphics appear in the image and video captures. The
default setting is
OFF. To customize Image Capture OSD:
1. Navigate to
IMAGE CAPTURE OSD (Figure 39). When IMAGE
CAPTURE OSD blinks, press Select to select it. The current setting
will blink.
Figure 39 .
2. Use the
Up and Down arrows on the control unit or the left and right
camera head buttons to switch between
OFF and ON. Press Select
to select the desired setting.
3. To save the changes and exit the CUSTOMIZE PROCEDURE
SETTINGS screen, select
SAVE AND EXIT .
Display in Startup Menu?
The
DISPLAY IN STARTUP MENU? setting allows the user to choose
whether or not to display the customized procedure in the
STARTUP
menu. To customize
DISPLAY IN STARTUP MENU?:
1. Navigate to
DISPLAY IN STARTUP MENU?. When DISPLAY IN
STARTUP MENU? blinks, press Select to select it. The current
setting will blink.
2. Use the
Up and Down arrows on the control unit or the left and right
camera head buttons to switch between
OFF and ON. Press Select
to select the desired setting.
Summary of Contents for LENS Integrated System
Page 1: ...LENS Integrated System Operations Service Manual...
Page 2: ......
Page 45: ......
Page 46: ......
Page 47: ......


